crossover steering done
#11
 05-10-2011, 12:37 AM


Try adjusting your steering box, deffinately fix your pitman arm issue... It may be the sector shaft in your steering box is toast. And cross over steering or not you need a stabilizer. The only way you can get by without the stabilizer is if you run a full hydraulic or hydraulic assist steering system.
i went out and took a look today and the pitmant arm and box are fine, aside from the massive power steering leek as always. the play is in where the drag link bolts to the pitmant arm, my bolt came loose. i ran it down with an impact gun with double distortion nuts, i guess ill switch to a castle nut and drill it for a cotter pin, maybe even weld the bolt to the pitmant arm on top to keep it more stable.
i guess im still working a few kinds out but overall im pretty happy with the setup.
#12
05-27-2011, 08:25 PM
Diesel Wrench
#13
05-29-2011, 03:47 PM
well inverted t beats inverted y by far because the tow never changes just like crossover steering. but its not crossover. crossover steering is better for a few reasons, 1: your drag link is longer with crossover, giving it a better angle. 2: your mounting the drag link on top of the steering knuckle which is higher up, once again, better angle on your drag link. and 3: your drag link isnt bolted to your tie rod causing a week spot.
#14
05-30-2011, 11:29 PM
the adjustment is on the lowers only. its very possible to have different caster from side to side if the lower link arm is short on one side, it just makes the axle sit under the truck in a twisted up manner... or at least thats what id imagine, i just rely doubt that that alignment rack is wrong.
That's what I meant by the wheel base being shorter from one side to the other. Good news is caster is only a stability angle. No tire wear will come of it and it doesn't pull unless it's WAY out. As long as you still have your steering wheel return and your SAI is in check you're ok, shouldn't have a steering problem one out of it.
#15
08-27-2011, 03:28 AM
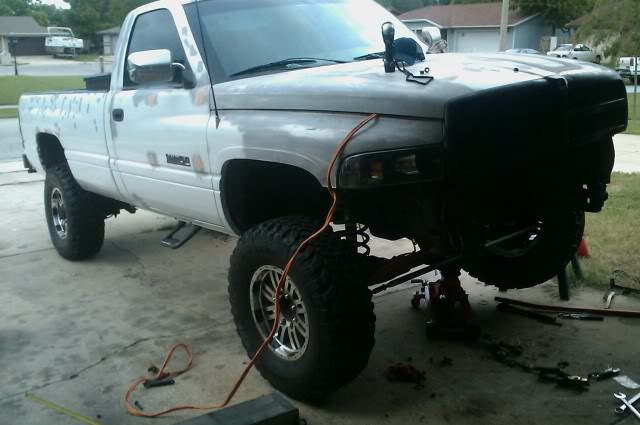
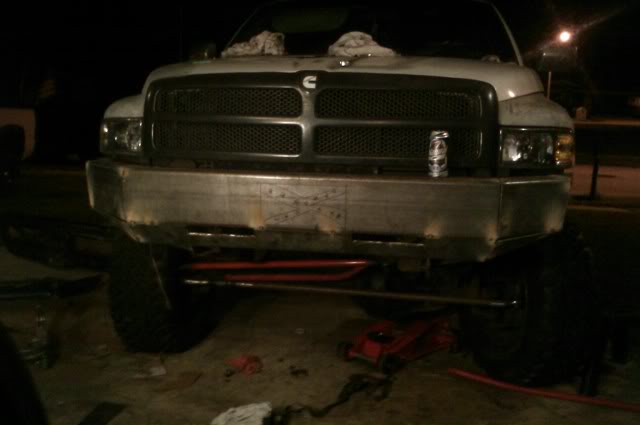
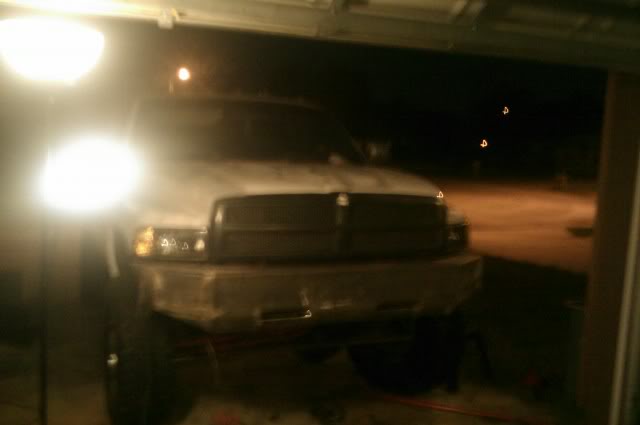
well my brake line popped while i was offroading and i plowed down 3 trees so i wrecked my bumper and bend and dropped the tie rod so i built the steering over again and built a custom front bumper. Check it all out...
idk if you can see or not but the cross support between the frame rails is actually ripped out and hanging past the bumper from being pulled out.

Can barely see how mangled the bumper and tie rod really are... they're in really bad shape
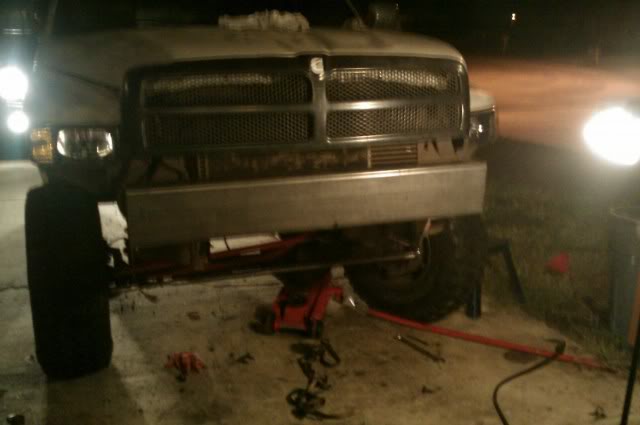
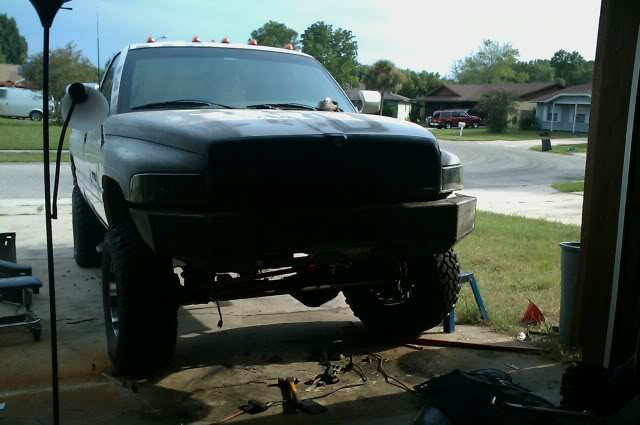
All spot primered and bondoed up Ready for a coat of urethane Hot Rod Black
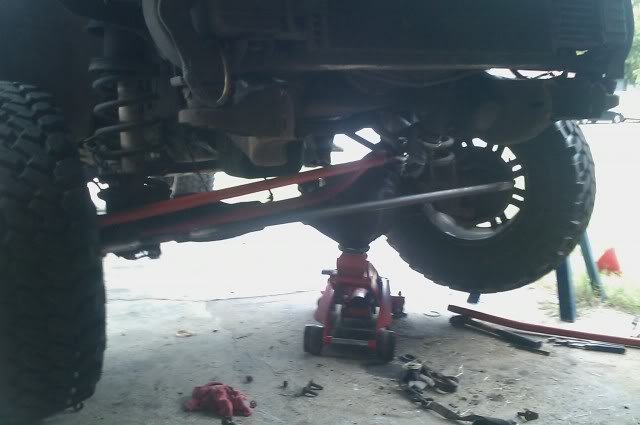
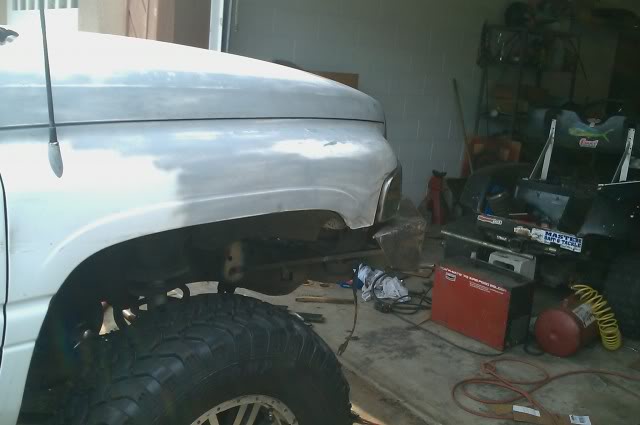
New tie rod replacing the old bent one.
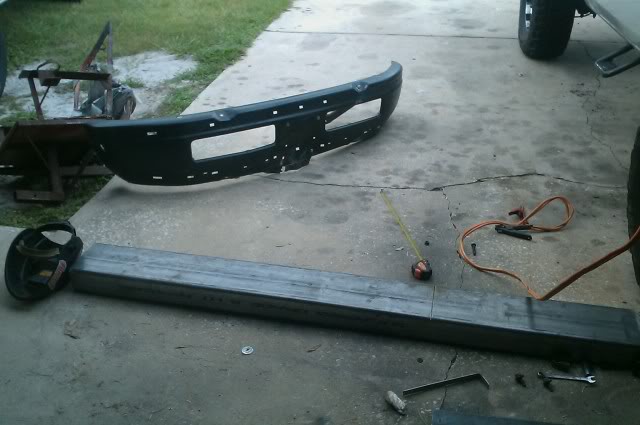
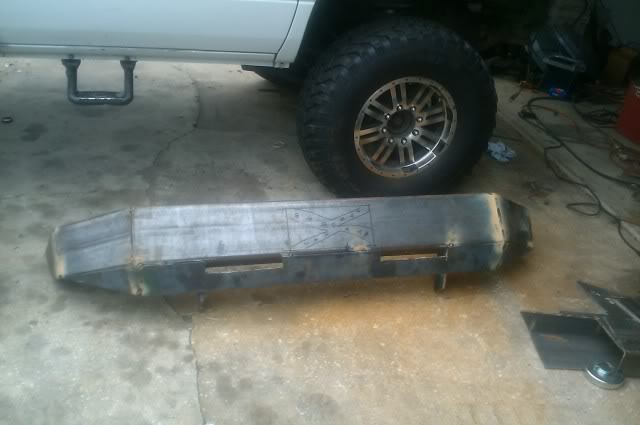
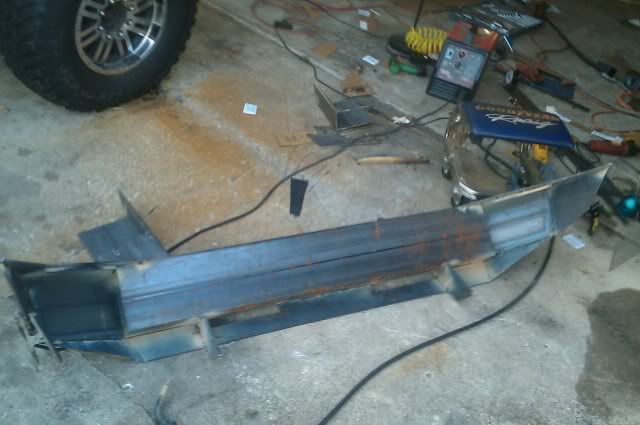
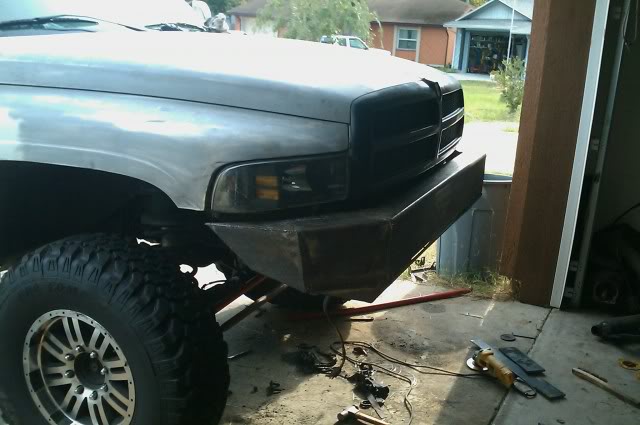
Out with the old bumper, in with 200lbs of new steel!
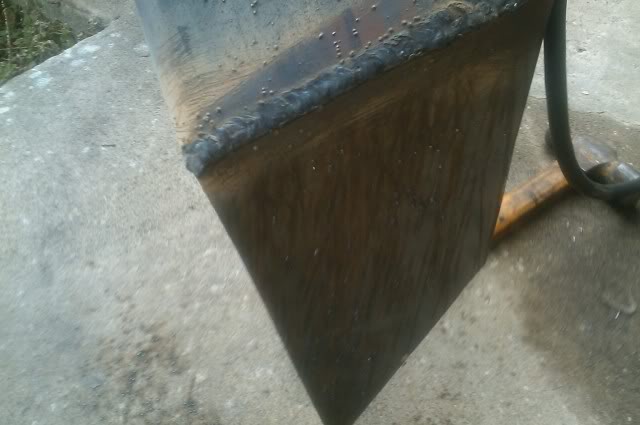
Getting started on the new bumper
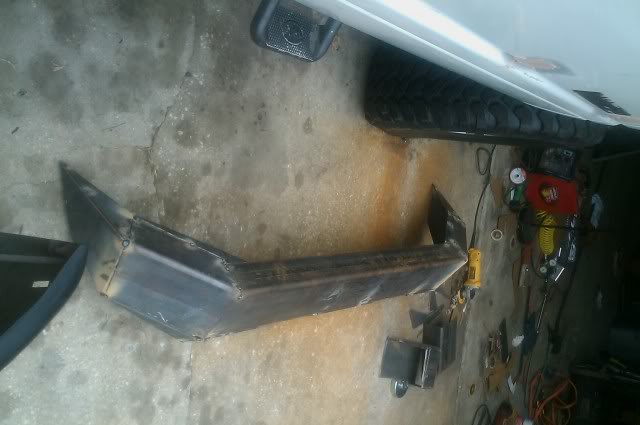
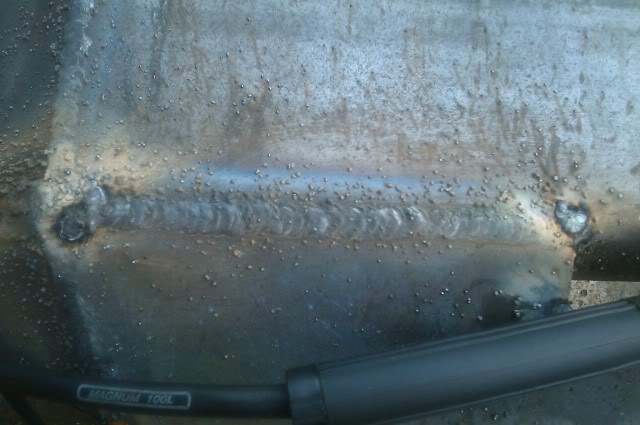
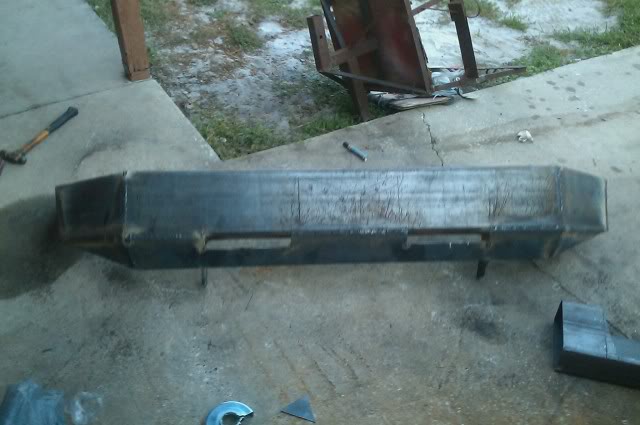
All tacked up on the new bumper
[IMG]http://i79.photobucket.com/albums/j139/kawasaki400racer/IMAG_0165.jpg[/IMG

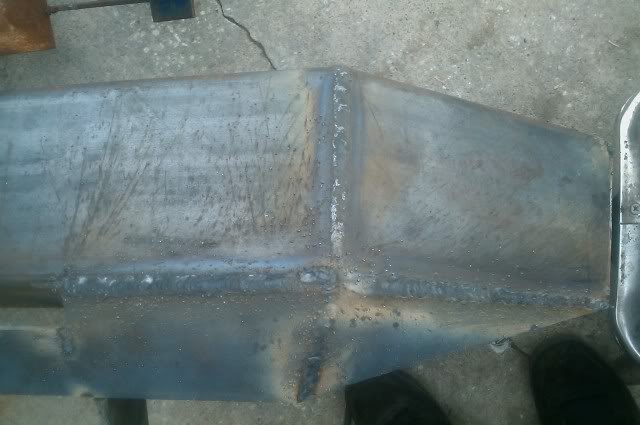
I cut vent holes in the bumper and am going to put a piece of flat stock that connects to the core support thus ramming air through the radiator and inter cooler and such but I'm still afraid its going to cause overheating issues vs. the stock bumper which was pretty much a free air setup.
idk if you can see or not but the cross support between the frame rails is actually ripped out and hanging past the bumper from being pulled out.
Can barely see how mangled the bumper and tie rod really are... they're in really bad shape
All spot primered and bondoed up Ready for a coat of urethane Hot Rod Black
New tie rod replacing the old bent one.
Out with the old bumper, in with 200lbs of new steel!
Getting started on the new bumper
All tacked up on the new bumper
[IMG]http://i79.photobucket.com/albums/j139/kawasaki400racer/IMAG_0165.jpg[/IMG
I cut vent holes in the bumper and am going to put a piece of flat stock that connects to the core support thus ramming air through the radiator and inter cooler and such but I'm still afraid its going to cause overheating issues vs. the stock bumper which was pretty much a free air setup.
Last edited by Chevy355mark; 08-27-2011 at 03:44 AM.


#17
08-30-2011, 06:29 PM

The trucks also getting ready for a coat of semi gloss hot rod black, thus the primer and bondo. also put a new set of pro comp mud terrains on. trucks kind of in the process of a major overhaul.

moved the condenser up about an inch so it not covered by the bumper so much.
Now i just need to put a brake line on, get the motor running(hopefully it doesn't need an injection pump), paint it and im deciding on doing a hood stack or a bed stack or just go back to the 6" chrome turn down dumped under the truck like i had before the welds broke and it fell off
 .
.
Last edited by Chevy355mark; 08-30-2011 at 06:35 PM.
#18
09-07-2011, 04:23 PM
Diesel Wrench
my first bumper i built was more air tight than yours and i never had a problem with it over heating in az while towing 10,000+lbs trailers around
---AutoMerged DoublePost---
oh and your bumper looks good, i need to get on finishing mine
---AutoMerged DoublePost---
oh and your bumper looks good, i need to get on finishing mine
Last edited by cumminspwr11; 09-07-2011 at 04:23 PM. Reason: Automerged Doublepost

Thread
Thread Starter
Forum
Replies
Last Post
Boostaddiction
1st Generation Dodge Cummins 89-93
0
05-04-2015 06:28 AM


