When you click on links to various merchants on this site and make a purchase, this can result in this site earning a commission. Affiliate programs and affiliations include, but are not limited to, the eBay Partner Network.
It's been a long winter. I've been at various times sick, drunk, lazy, and depressed. Sometimes all of the above. And I really don't like cleaning stuff. I like building stuff... but cleaning is not fun. This engine was a ball of grease, dirt, and rust- so I engaged my professional-grade procrastination abilities for a while.
But it's clean now. I took some time with a wire wheel, wire brush, sanding pad, hammer and chisel (no ****, this rust was thick), gasoline and a solvent brush, leftover paint thinner and an air nozzle. It's finally clean. Also replaced the leaking valve cover gasket. It looks good in primer, but ultimately it'll be red. That's what people expect of a compact tractor engine, and I wouldn't want to disappoint:
Last edited by Mechanimal; Mar 6, 2019 at 10:08 PM.
An engine/transmission combination that was never meant to exist. Never before, and likely never again will you see a Yanmar engine bolted to a Viper T56:
This is just a mock-up to set up motor mounts, transmission crossmember, shifter hole, oil pan clearance, etc. I've driven some of these 4TNE Yanmar engines in John Deere skidsteers and utility tractors, and in Case excavators. I don't remember them being particularly shaky... but this is a 4 cylinder diesel with no balance shafts. So I wanted some nice squishy motor mounts to absorb vibration... mounts that will fit where I want, allow adjustment, and allow the engine to be mounted as low as possible for driveline angle purposes. With some googling, I came up with motor mounts for an early 2000's Nissan Altima. I just had to drill one additional hole in the engine crossmember on each side, and they fit like they were made for this application:
I think I'll put a 1/2" spacer under each motor mount to bring the engine up approx. 3/8". That should make about 3/4" clearance for the oil pan, or a little more.
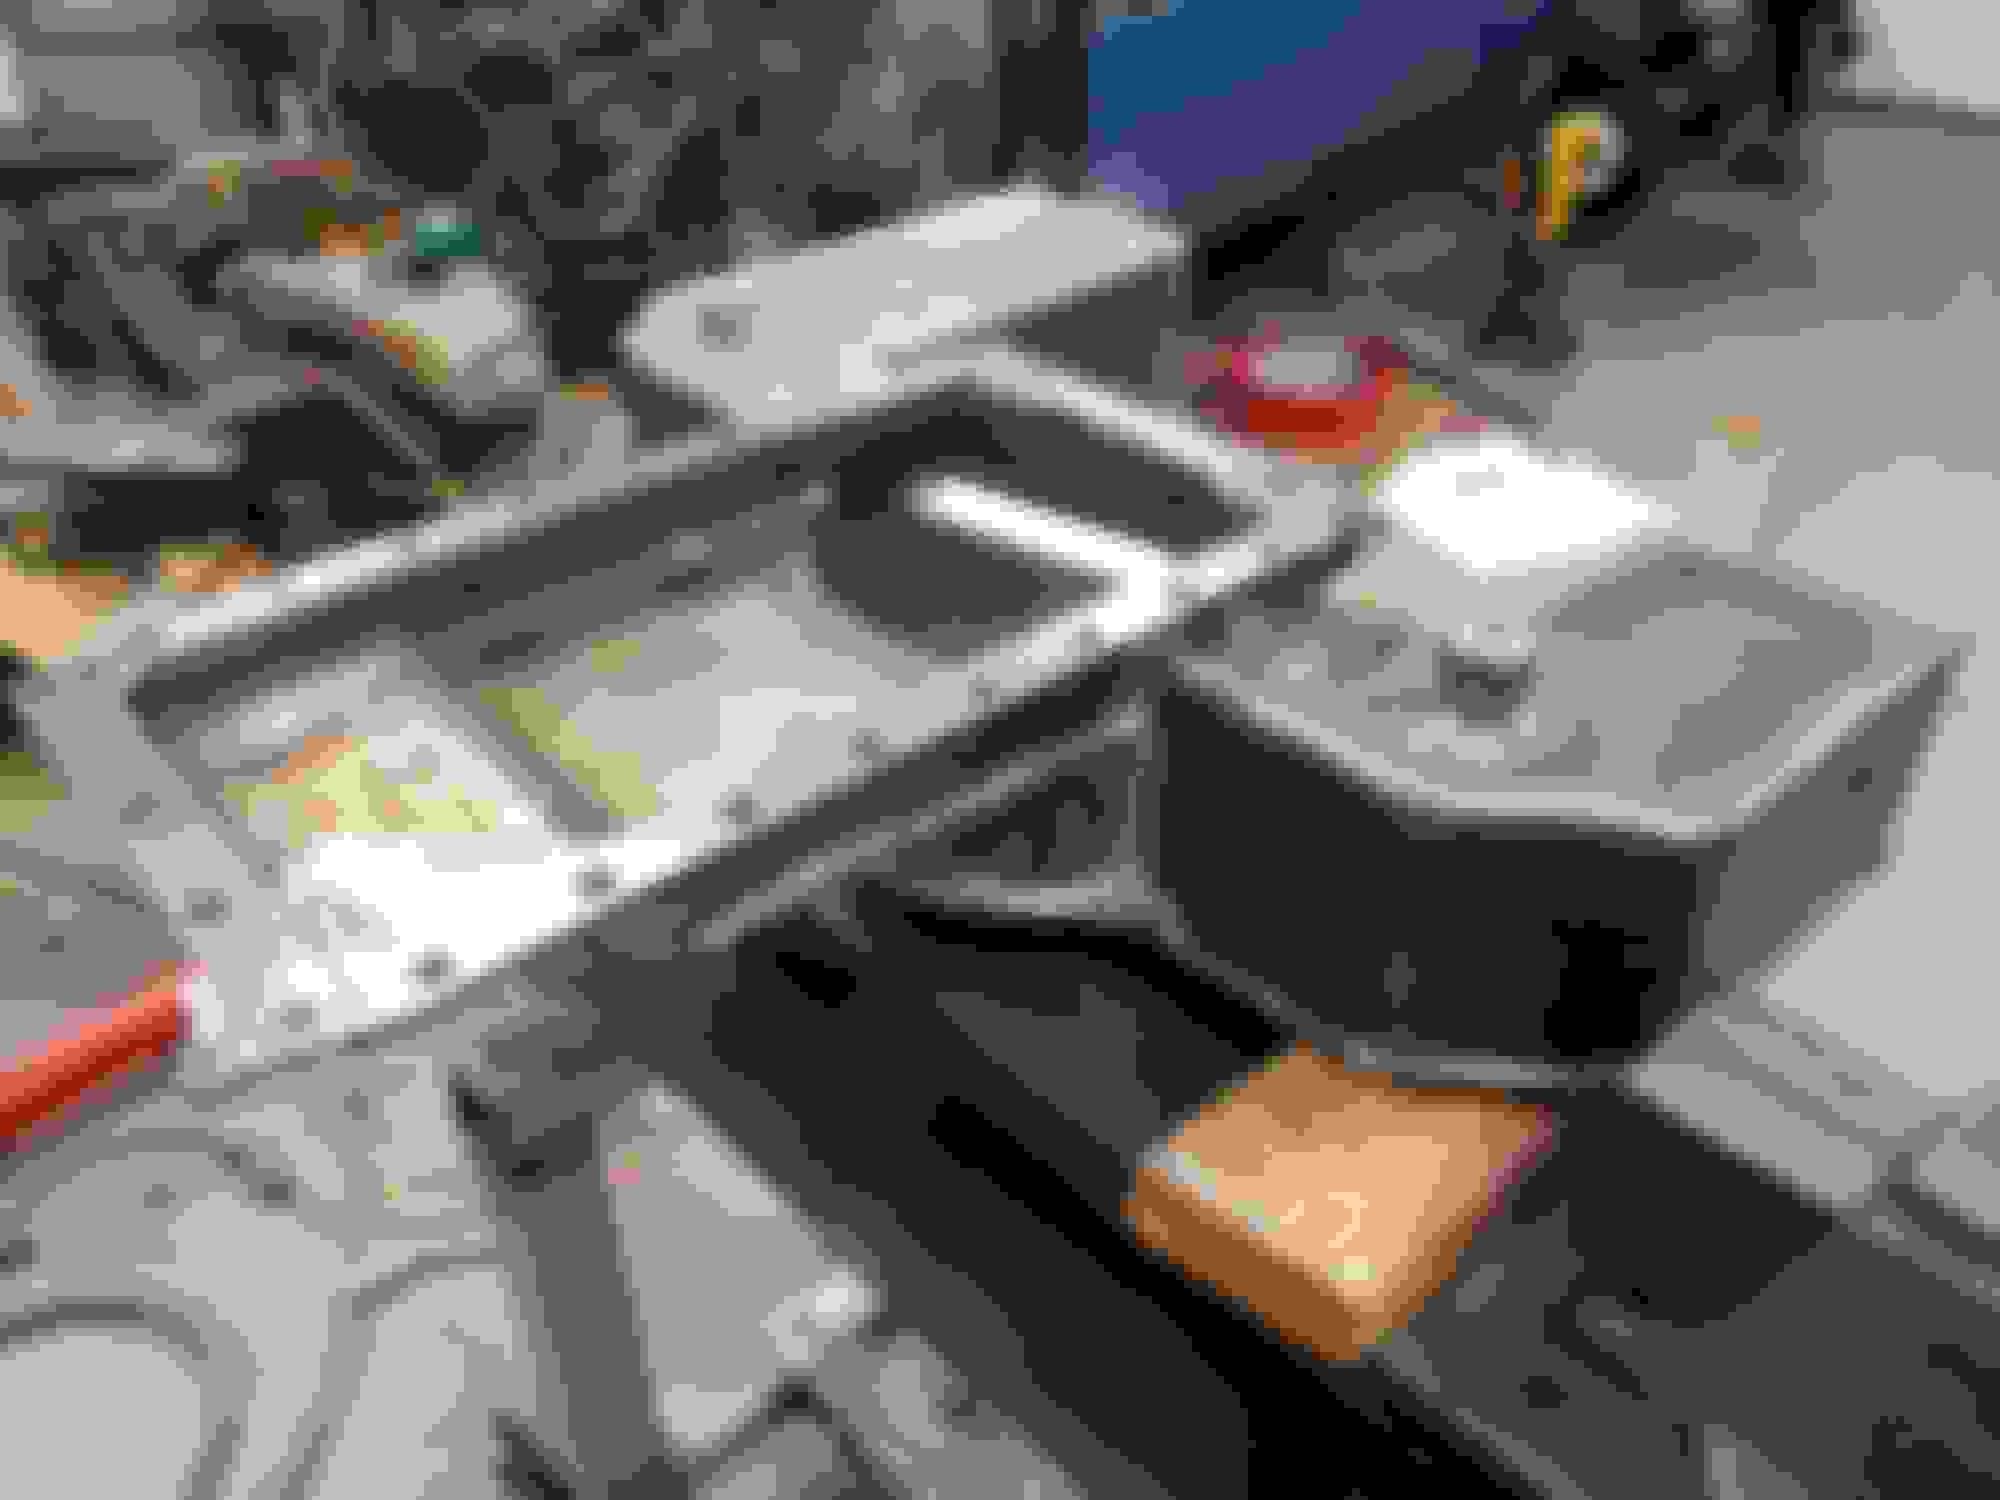
Also I welded up a transmission crossmember. Not what I'd call an elegant design, nor light. But this was the steel I had laying around the garage, so it cost pretty much nothing. And plenty of clearance for the exhaust to go through. You can't really see the transmission mount, but it's a mount for a GM P30 step van chassis. It was cheap and the size I needed. Also notice that the mount is at a funny angle. Viper transmissions were mounted at an angle, so the transmission mount surface is at an angle. I mounted the transmission to the engine vertically, so the mount is crooked:
Cut a hole in the floor for the shifter. By mounting engine as low as possible, and the transmission a little further forward than stock location (or 'typical location' might be a better description), there's no need to cut up the transmission tunnel except for the shifter hole. Plus it'll be far enough forward to use the bench seat. I may have to beat on it a little with a hammer for clearance in a couple spots, and I'll have to modify how the reverse lockout solenoid is mounted... but all relatively minor stuff compared to the transmission tunnel surgery you see with a lot of Nova engine swaps. But I'm using a different version of the transmission than most (shifter further forward), and of course this odd little engine that allows the transmission to be mounted further forward than typical. The transmission hangs down a little over an inch lower than the frame rails. I'm ok with that since I don't intend to lower this car.
So at this point, I'm going to take some measurements for oil pan clearance. Then remove the engine. Paint lots of parts, find and mark TDC on the engine, install injectors, injector lines, intake, flywheel, clutch... and weld up an oil pan.
I have a plasma cutter on the way- been meaning to get one for a while. It's chinese junk of course... but for $220 I'm ok with that
Last edited by Mechanimal; Mar 31, 2019 at 07:28 PM.
Good evening. I'm checking in to let all two or so people who read this thread know that I still exist... and progress continues. I just haven't updated the thread in a while. And who can blame me? Nobody reads this as far as I can tell.
First of all, I would like to thank China for building an awesome plasma cutter at an awesome price. I regret only that I didn't buy it sooner:
That's the one I bought, and I have nothing but praise for it. Yeah sure it's cheap Chinese junk. But it works as well as any Miller or Lincoln I've used, and it cost $230. It cuts anything up to 3/8" like it's nothing. With some practice there's hardly any grinding needed. It's a little more messy with 5/8" flat bar, but it works.
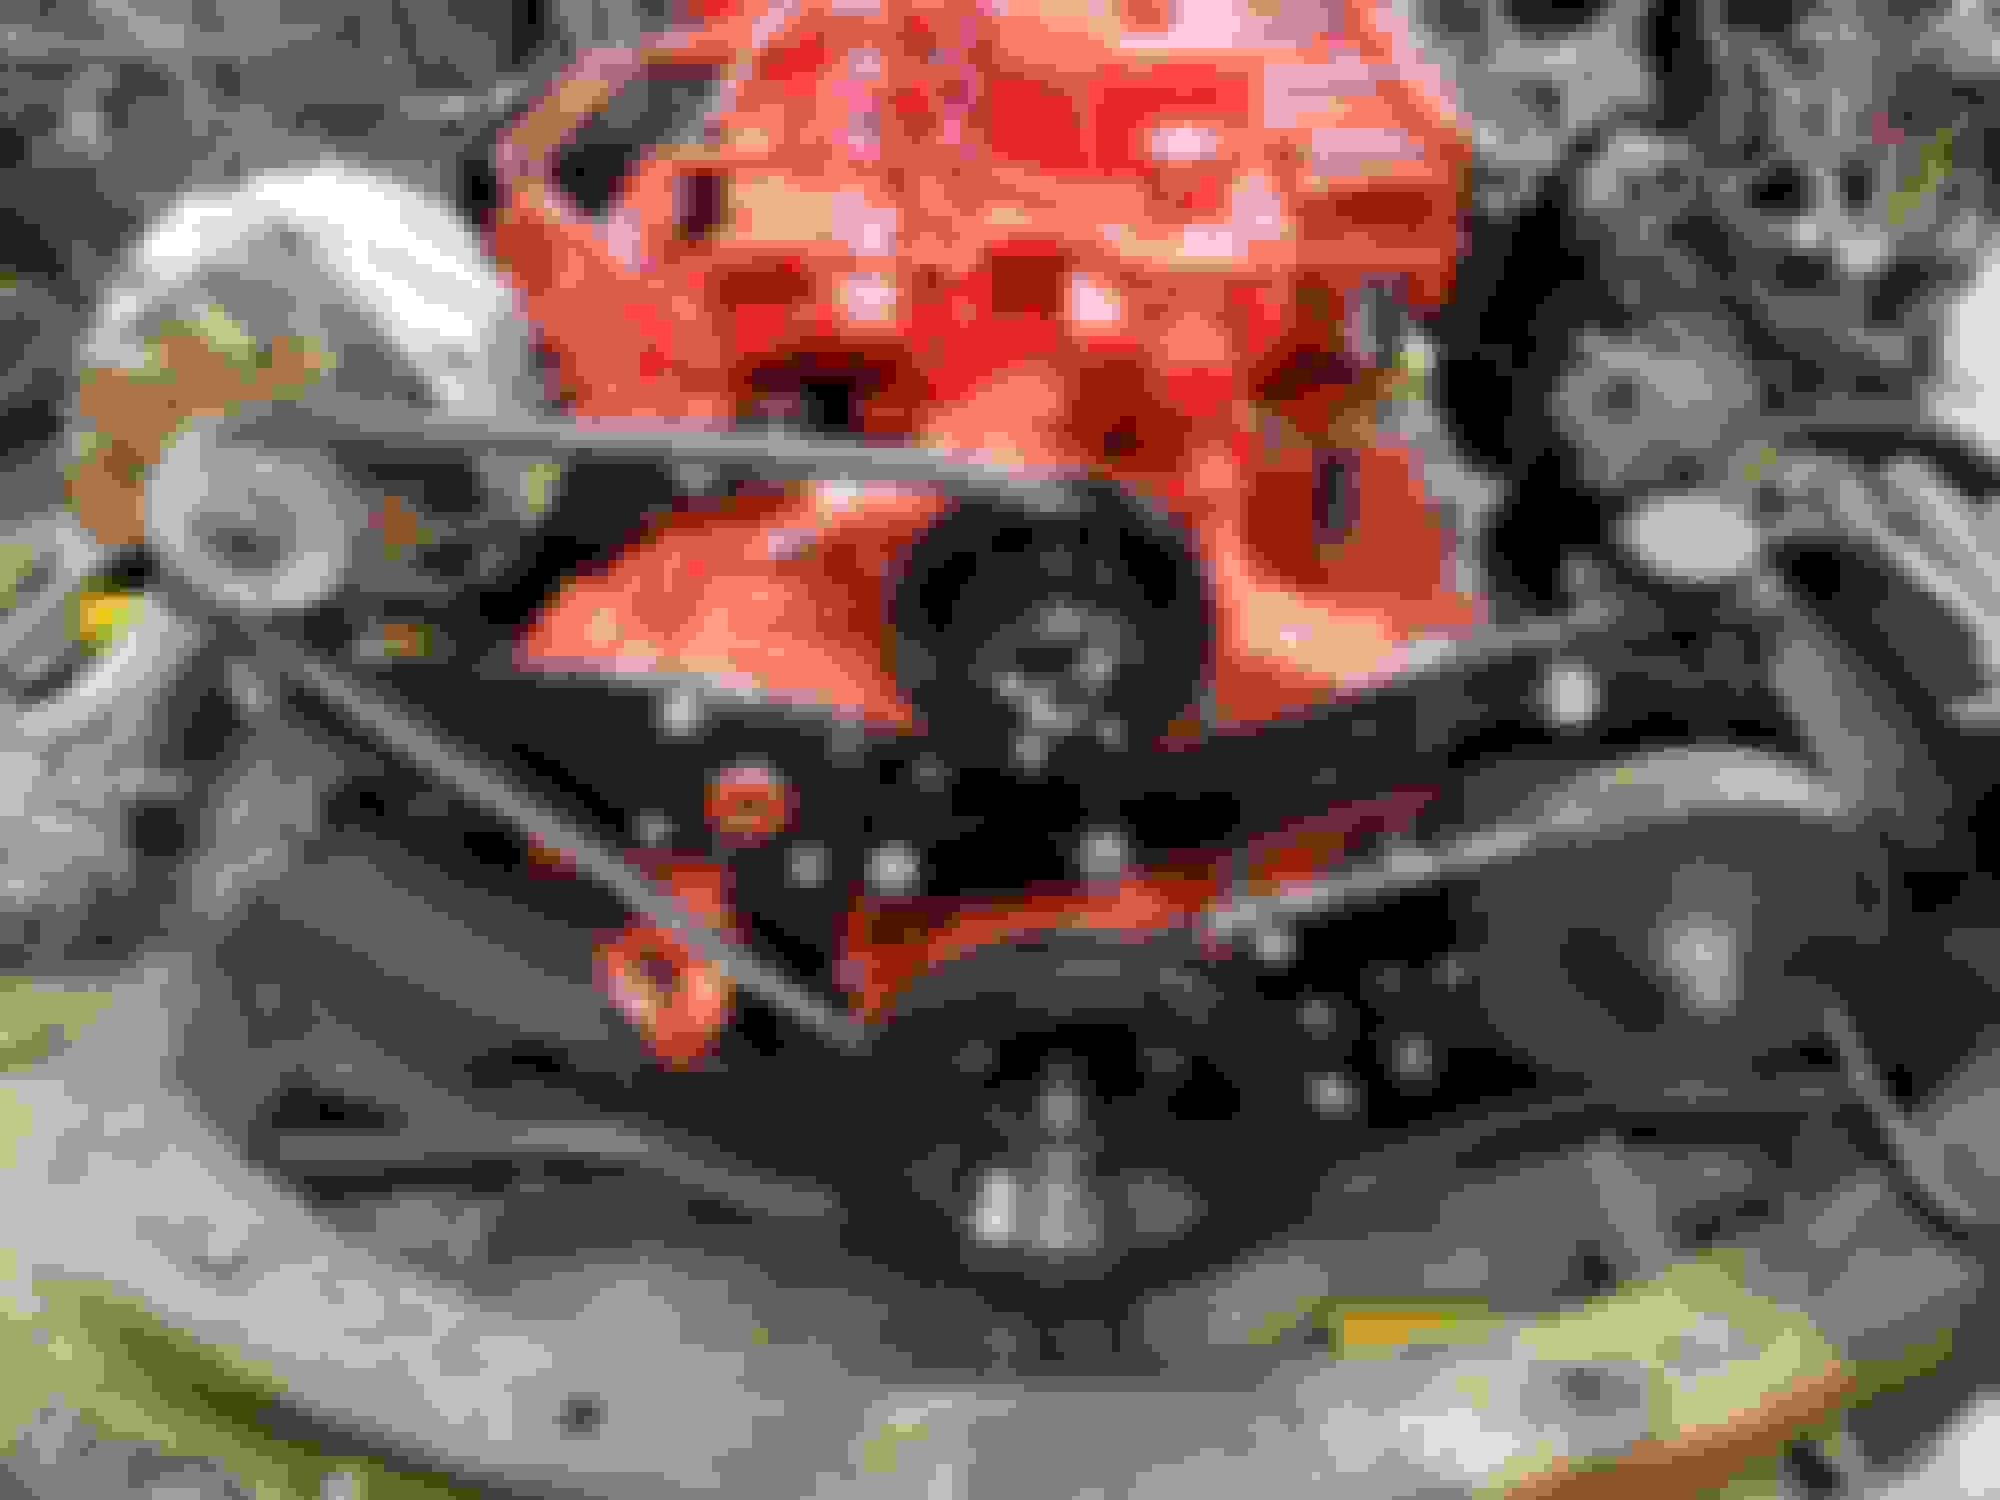
As of my last post, I had reinstalled the engine to mock up the mounts and such. Also took measurements for an oil pan. There exists no oil pan that will make a Yanmar fit in a Nova... or at least that was true until I built one. Now one exists. One. In the entire wold.
Don't look yet... you need to be prepared for this. This isn't just any oil pan. Have you seen the Cadillac CTS-V "bat-wing" oil pan? The idea is that there are extensions out to each side... to increase oil pan capacity without making the pan deeper (and hence less ground clearance). Well if you're not familiar with that, then I'd recommend that you google it... to prepare yourself for what you're about to see. That was the inspiration, so blame Cadillac, not me. The point of all this is that I want to maintain the original oil capacity of at least 2 gallons. I'll be pushing this engine harder than it was ever intended to be pushed, so a reduction in oil capacity just wouldn't be a good idea IMO.
And this is what I built. Steel yourselves:
Tacking pieces in place:
Testing for leaks:
Installed:
Yes, I took detailed measurements when I first mocked up the engine installation. It fits well:
I"m pretty happy with how it turned out. The low mark on the dipstick will be 2 gallons, high mark will be 3 gallons.
And I almost forgot... you'll need to see what I did with the oil pickup before installing my custom oil pan (sealed with RTV): I chewed on several different ideas on how to do this. Finally I decided that due to clearance issues, the only real way to set up the oil pickup was to tap the block for pipe threads. I tapped the hole to a 3/8" NPT thread. Was very careful to clean out any metal shavings... you don't want that in the oil pump of course. Also I used steel pipe fittings because this engine is going to be shaking around... can't have a brittle cast fitting crack on the oil suction pipe. That wouldn't be acceptable. So here's what I built before installing that kickass oil pan:
The pipe is cheap steel water pipe from Home Depot. Installed with locktite to seal the threads. It's steel and bends without cracking... and that was the extent of my requirements. The supports are just some scrap metal I had laying around. Didn't care much about the welds... nobody is going to see them except for this thread. And I welded the original pickup screen to a piece of water pipe, placed it about 7/16" above the bottom of the oil pan.
Last edited by Mechanimal; Jun 4, 2019 at 11:50 PM.
Next up: I need an exhaust manifold. I've kept an eye out on Ebay for an exhaust manifold for some time. Needs to fit a 4TNE series engine or similar and be able to mount a turbo. Seems like that shouldn't be too difficult to find... but it is. I've only found two exhaust manifolds that *might* do what I need. One of them cost $325, and mounted the turbo lower than I'd prefer. Hard no. The other one had broken at some point and the turbo flange welded back into place... also mounting the turbo lower than I'd like. Again, hard no.
So like the oil pan, I'm building my own.
The steel I have laying around the garage isn't quite ideal, but it's close enough. An intelligent but not exactly wise man once said "you go to war with the army you have"... and it's a valid point like certain quotes of his that are ridiculed as easy targets, but astute none the less (I'm looking at you, "known unknowns" and "unknown unknowns"). Doesn't matter what you want to build, the steel you have sitting around is never quite ideal. You can waste a lot of time getting the exact right steel... only to find out half way through the job that it's not quite ideal. So you build the parts with the steel you have. In this case, I'm building this exhaust manifold out of 3.5" x 5/8" flat bar, and 2" x 1/4" flat bar.
It's almost done... but here are the starting pieces:
The exhaust ports were a huge pain in the *** to make. The rest was simple... just drill, tap, hole saw, etc.
For the exhaust ports, I tried several different methods. Tried drilling adjoining holes, tried a sawzall, tried the plasma cutter, tried plunge-cutting with an end mill. All said and done, I found no better method than the tried and true farmer-technique for cutting a slotted hole: Drill a series of close or adjoining holes. Bust it out with cut-off wheel and/or chisel. File it smooth.
Not easy and certainly not quick. But effective. Would've been a lot easier if I had used 3/8" thick flat bar.
Last edited by Mechanimal; Jun 5, 2019 at 12:06 AM.
Its really coming along nicely, dont not post just because we arent commenting. Ive been following this from day one. That oil pan reminds me of the batwing corvette pan, great fab work and great idea here. Keep up the solid wotk!
Thanks. Don't worry about my idle complaining... just a comment that there isn't much traffic around here. I'll keep documenting though because it's handy to be able to send people a single link for all the details.
I've installed the exhaust manifold and turbo.
I went by the junkyard and got some Hyundai transmission cooler lines for the water lines on this turbo. I think it was probably an Elantra... didn't really pay attention. Also I set up the oil drain line and fittings for the supply line. I'll have to decide where to mount the oil filter and then run a 5/16" steel line from there. Probably bigger than necessary... but you wouldn't want to go too small. I did some research- this is a journal bearing version of the RHB5, so no oil restrictor needed.
Been working on accessory brackets. The power steering bracket is one of those parts that makes no sense until you see it installed:
I've started on the alternator bracket. Belt should be here tomorrow. This engine's RPM shouldn't be THAT much slower than the original 307, especially when my grandma was driving it. Idle RPM should be about the same, and I'm going to turn the governor up to around 3600. But the problem here is that the crank pulley is really small... at least the one that turns the water pump is quite small. I don't want to add an idler for that belt... I want to use the alternator. So I got a smaller pulley to speed it up. This pulley was actually made for this sort of thing- people use them to put a relatively modern Delco alternator onto old tractors... Ford 8N's and the like. Original pulley was 3" OD. This one is 2.25" OD:
Also I've re-drilled and installed the Nova's crank pulleys onto this engine:
The a/c compressor will be up high, above the intake manifold. I may not get the a/c working right away... but if I'm going to spend any significant amount of time driving this car, it WILL have working a/c. That's non-negotiable.
Life without air conditioning is not a life worth living.
Thanks, glad to hear that I'm not just talking to myself.
So... about brackets. They're pretty simple things, or at least you'd think so. But it's time-consuming to fab them up from scratch- lots of measuring, cutting, welding, drilling, test fitting, modifying, screwing up, fixing those screwups, re-fitting, cleaning, painting. The power steering bracket was pretty simple if a little unconventional. But this alternator bracket has turned into kindof a monstrosity.
This engine doesn't have a whole lot of accessory bolt holes/bosses designed into it, so I've had to be creative. In this case the alternator bracket will replace the cover in front of the fuel pump gear. You'd think that all an alternator bracket would have to do is hold up an alternator. But that's not the case here. After looking this over, I need a part that will do the following:
1. Hold up the alternator.
2. Provide an attachment for the p/s belt tensioner arm.
3. Seal oil like the old cover plate did.
4. Possibly provide attachments for the a/c compressor bracket.
5. Attach to two more gear housing bolts because those four little 8mm bolts might not be enough for all this.
6. Support the rear alternator bracket.
7. Needs a pipe thread hole for an alternate oil fill, because the alternator is in the way of the original oil fill.
Getting a bit crowded up front, but I think it'll work well. And it's only going to get more crowded. Next I'll make the a/c compressor bracket, and figure out where I want to mount the fuel filter and the remote mount oil filter. I guess I could mount them on the inner fender. I'd like to be able to get to the injection pump without removing parts.
How's this project going? There was a magazine article with a Nova vs a VW for a mpg competition back in the day. The 153 cid nova got 33 mpg if memory serves. Can't wait to hear what yours gets.