
How-To: Fuel Plate Mod

Thread Starter
|
Diesel Enthusiast
Joined: Jan 2009
Posts: 121
Likes: 19
From: Texas
Figured I'd start a tech thread showing folks how I cut a fuel plate. Having a dedicated title might help newbies during their search for answers.
This is how I cut a #100 profile on my old '97 Cummins 12-Valve. Sorry for the crappy photos, I was doing this myself, and had dirty hands and a crapy camera at the time.
I do this the easy way, in & out in half an hour, no BS...
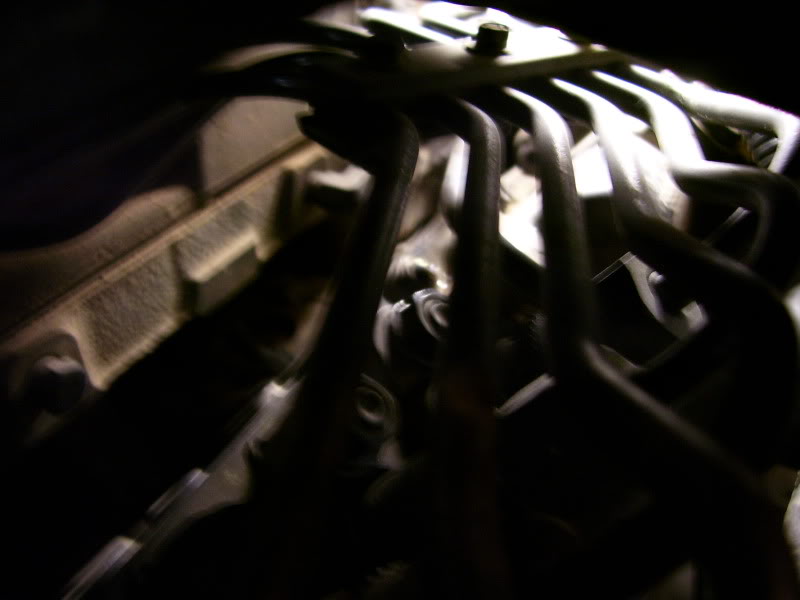
If your AFC housing has never been off, there is a tamper-proof bolt holding it down. Some say you can hammer the right size torx bit into the head of it and get it out, I use a long chisel/punch with a sharp edge.
No need to remove fuel lines or intakes. Just loosen the clamp holding the fuel lines together, slide that long chisel/punch down through the fuel lines until it's on the head of the tamper proof bolt, and give it a few whacks with a hammer. The head is surprisingly soft and you should be able to put a decent groove into the head of the bolt. A flatblade screwdriver should help it come out easily. Remove the other 3 bolts on the AFC housing with a socket/extension, these are 8mm by the way.

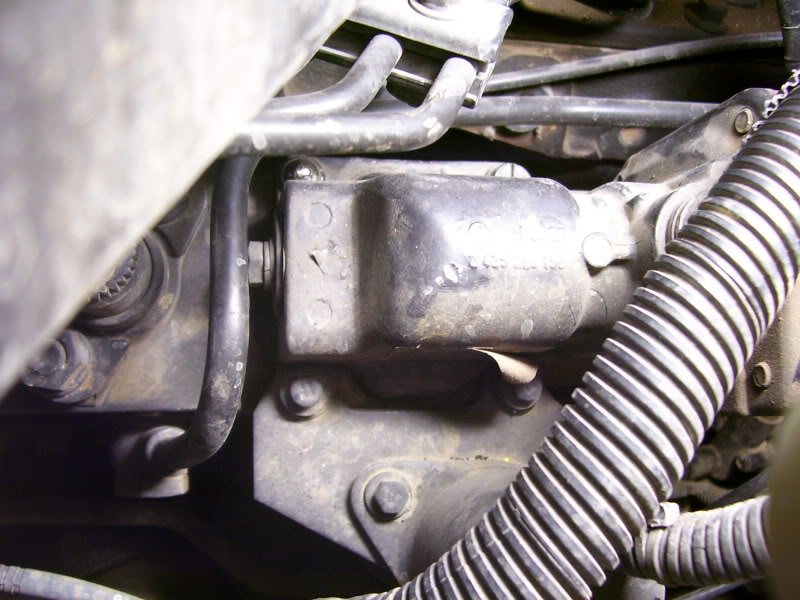
Pull the solenoid bracket slightly down and away, but just enough to be able to get the AFC housing out.
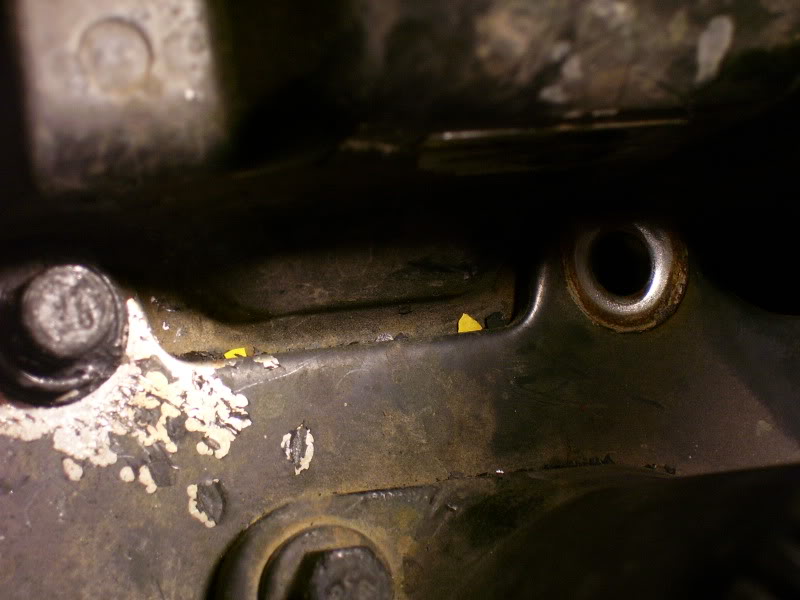
Lift the AFC housing off and lay it down out of the way.
Now you see the top of the fuel plate, with two screw holding it down. I like to mark the location of the fuel plate in it's stock location. You can scribe a mark around it, measure the distance from the body and write it down, whatever suits you. Basically it's a reference point to know how far you moved your plate, and if you ever wanted to put it back to stock.
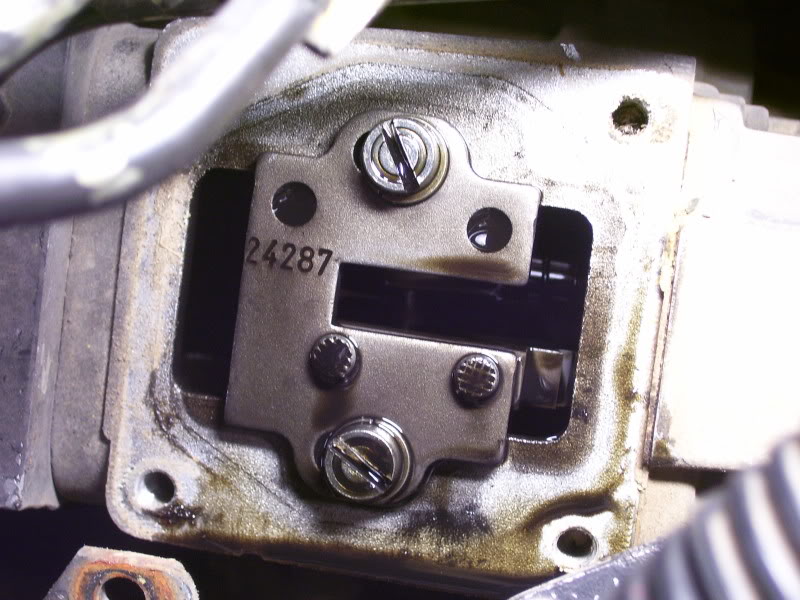
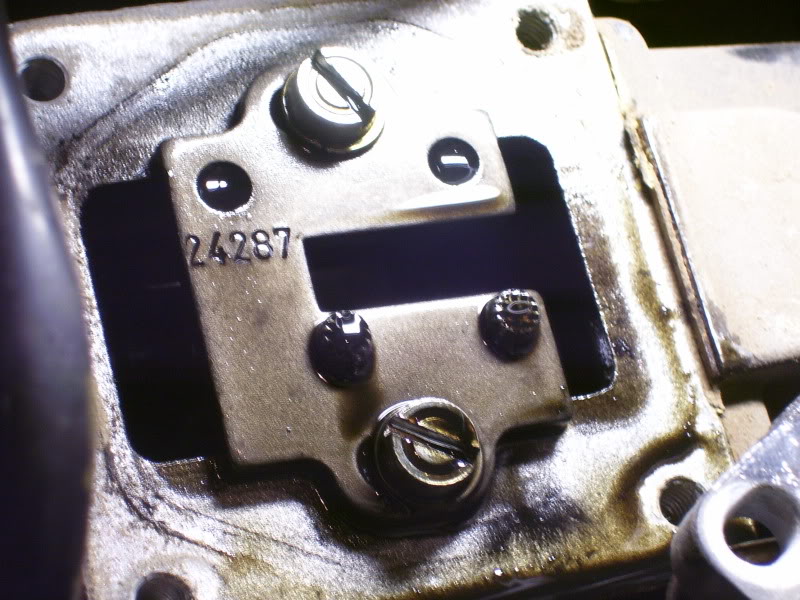
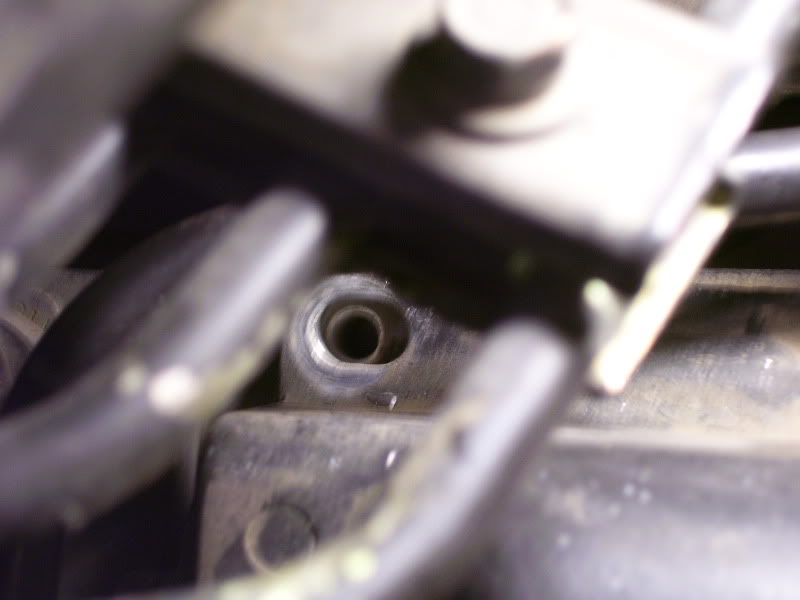
If you just want to move your plate forward, just loosen the two screws holding the fuel plate in, slide the plate forward (towards the front of the truck) and tighten the screws and put everything back in the way you took them out.
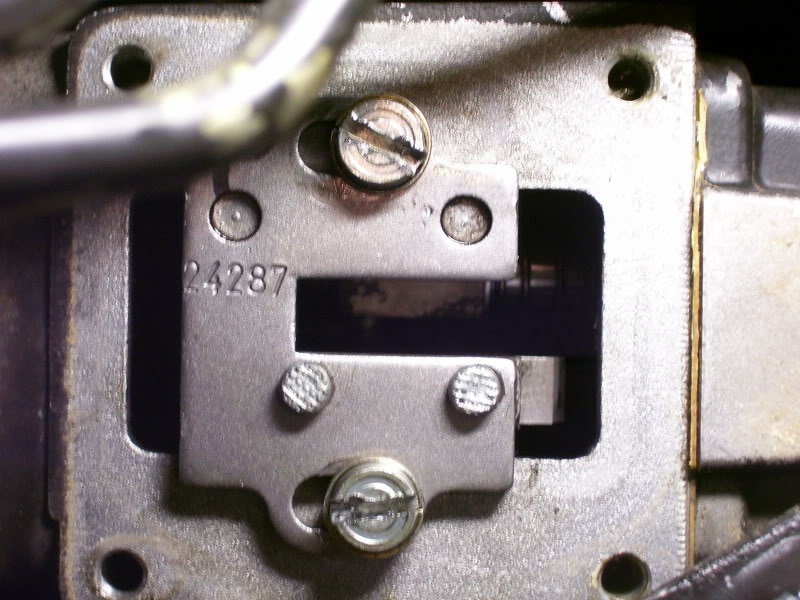
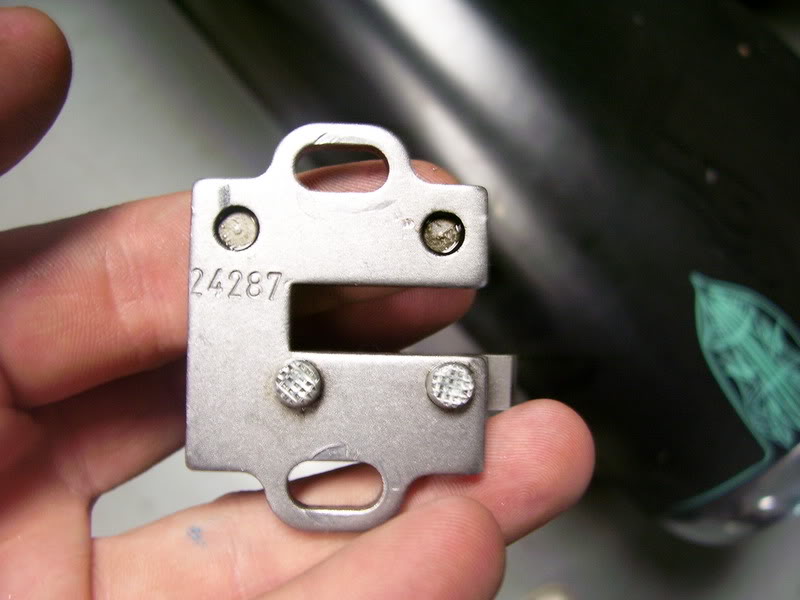
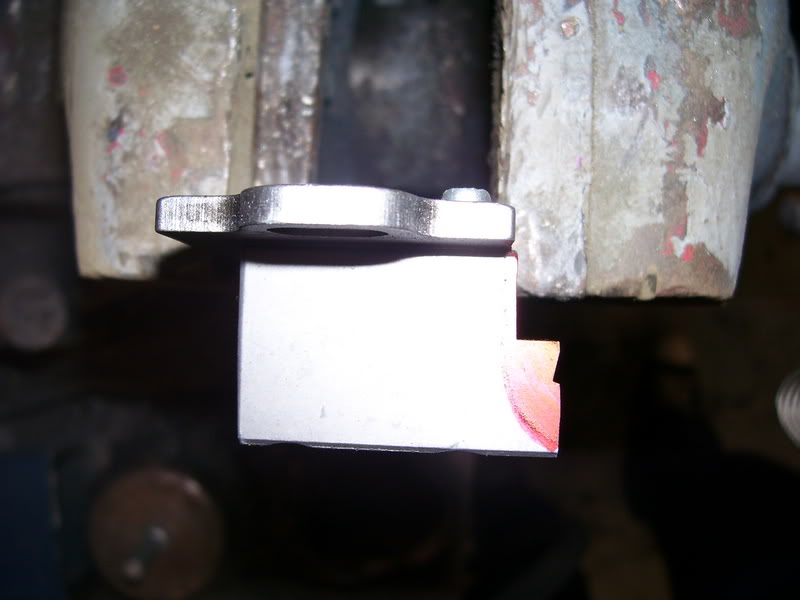
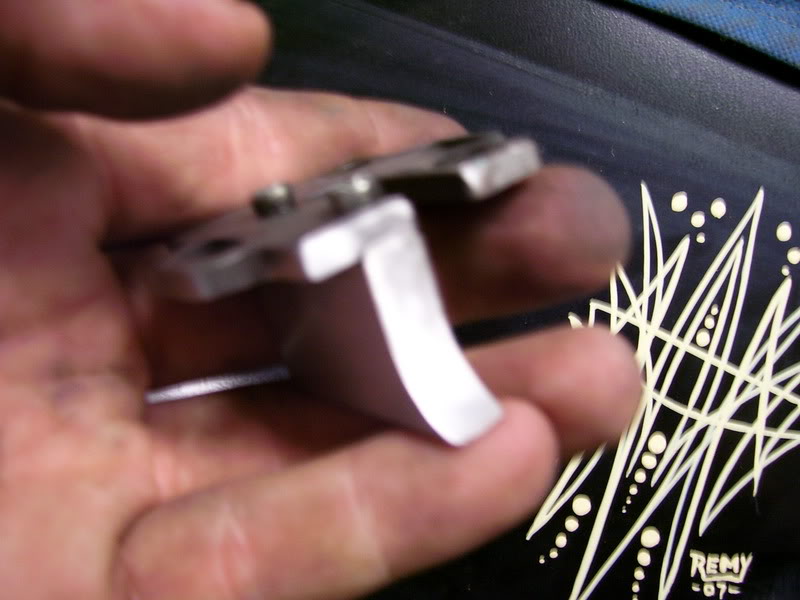
If you're replacing your fuel plate with a new one, or you're going to cut a new profile into the fuel plate, remove the two screws holding the fuel plate down and lift the fuel plate out. This is what you've got in your hands...
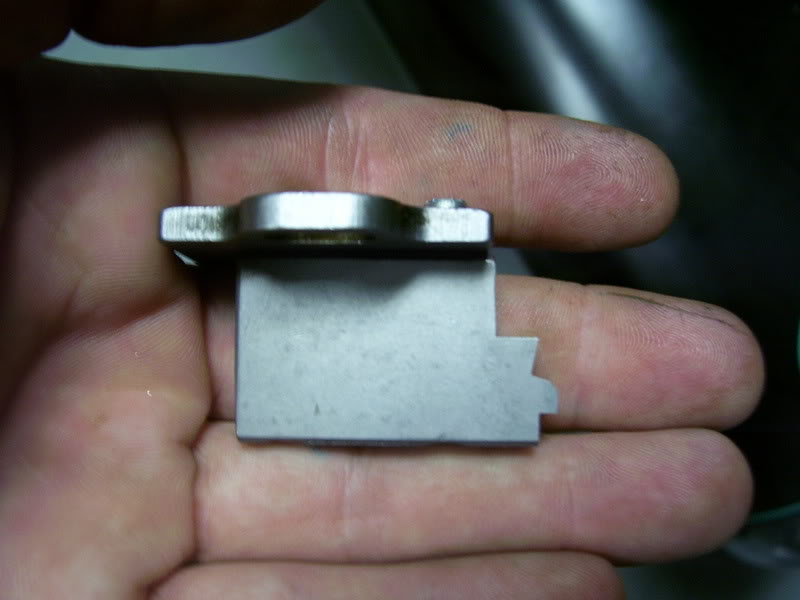
If you're installing an aftermarket fuel plate, put it in now, and put everything back together in reverse order.
If you're cutting a new profile, here's how I did mine. I wanted a #100 profile.
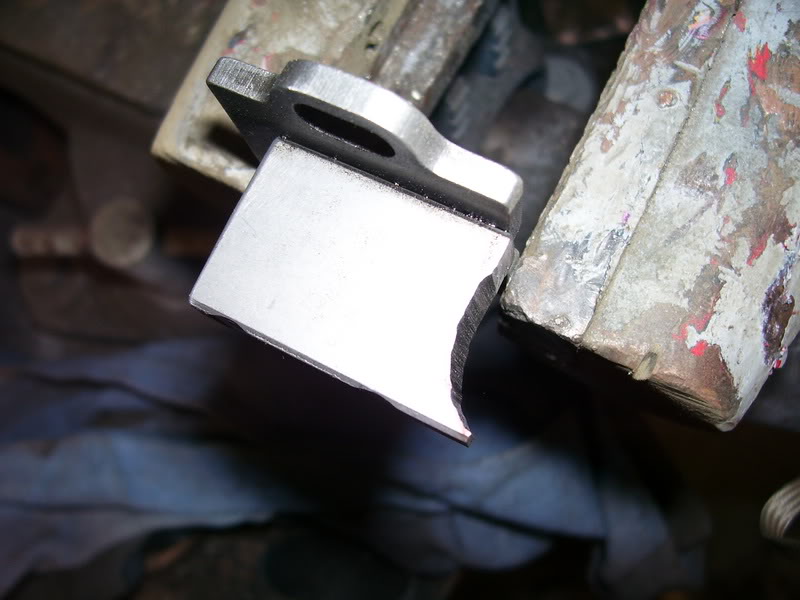
I marked the #100 profile on the fuel plate with a red Sharpie marker.
I clamped the fuel plate in the vise and gave it a rough cut to get most of the material off with an electric angle grinder & flap wheel.
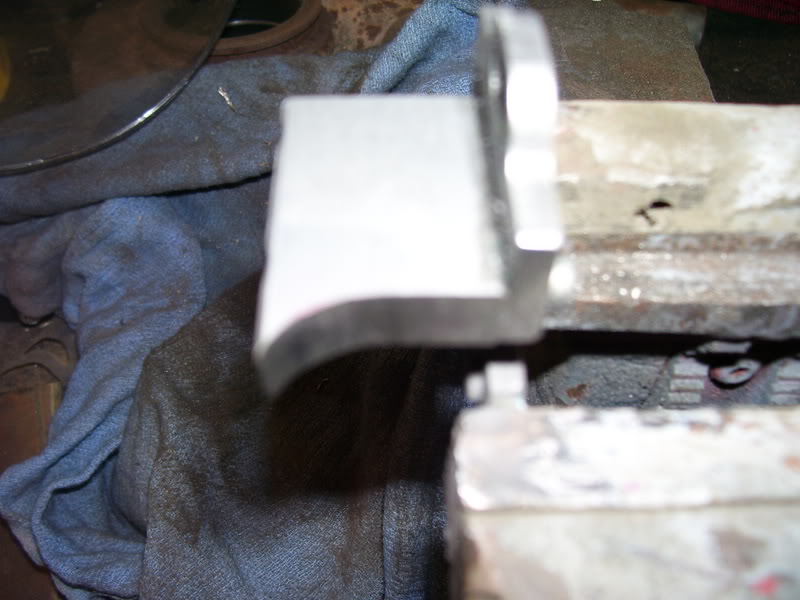
Then I put a 36-grit 2" 3M Roloc disc on my mini air angle grinder.

continued on next page...
This is how I cut a #100 profile on my old '97 Cummins 12-Valve. Sorry for the crappy photos, I was doing this myself, and had dirty hands and a crapy camera at the time.
I do this the easy way, in & out in half an hour, no BS...
If your AFC housing has never been off, there is a tamper-proof bolt holding it down. Some say you can hammer the right size torx bit into the head of it and get it out, I use a long chisel/punch with a sharp edge.
No need to remove fuel lines or intakes. Just loosen the clamp holding the fuel lines together, slide that long chisel/punch down through the fuel lines until it's on the head of the tamper proof bolt, and give it a few whacks with a hammer. The head is surprisingly soft and you should be able to put a decent groove into the head of the bolt. A flatblade screwdriver should help it come out easily. Remove the other 3 bolts on the AFC housing with a socket/extension, these are 8mm by the way.
Pull the solenoid bracket slightly down and away, but just enough to be able to get the AFC housing out.
Lift the AFC housing off and lay it down out of the way.
Now you see the top of the fuel plate, with two screw holding it down. I like to mark the location of the fuel plate in it's stock location. You can scribe a mark around it, measure the distance from the body and write it down, whatever suits you. Basically it's a reference point to know how far you moved your plate, and if you ever wanted to put it back to stock.
If you just want to move your plate forward, just loosen the two screws holding the fuel plate in, slide the plate forward (towards the front of the truck) and tighten the screws and put everything back in the way you took them out.
If you're replacing your fuel plate with a new one, or you're going to cut a new profile into the fuel plate, remove the two screws holding the fuel plate down and lift the fuel plate out. This is what you've got in your hands...
If you're installing an aftermarket fuel plate, put it in now, and put everything back together in reverse order.
If you're cutting a new profile, here's how I did mine. I wanted a #100 profile.
I marked the #100 profile on the fuel plate with a red Sharpie marker.
I clamped the fuel plate in the vise and gave it a rough cut to get most of the material off with an electric angle grinder & flap wheel.
Then I put a 36-grit 2" 3M Roloc disc on my mini air angle grinder.
continued on next page...
Thread Starter
|
Diesel Enthusiast
Joined: Jan 2009
Posts: 121
Likes: 19
From: Texas
contd...
I smoothed out the profile on the fuel plate.
Then I put a brown 3m Roloc Surface Conditioner disc on the mini andgle grinder.
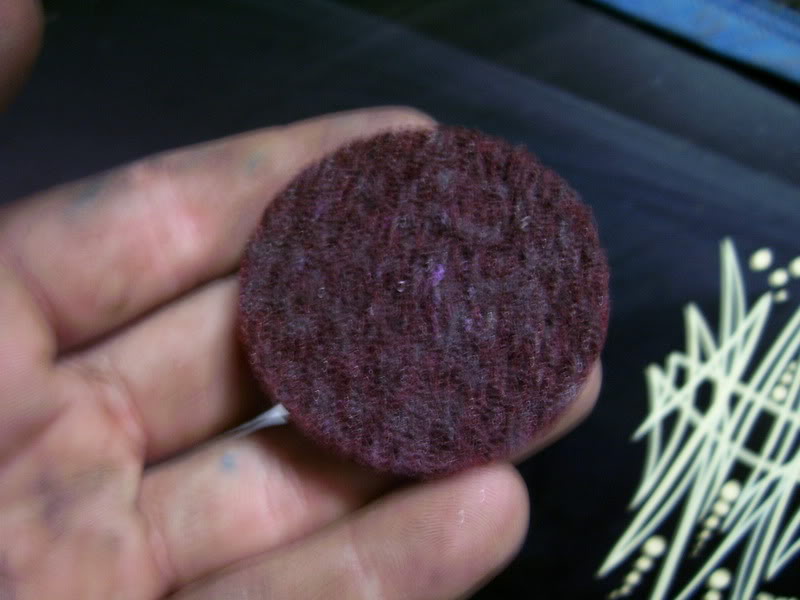
This takes the smoothing down to a near polish and the fuel plate is done.

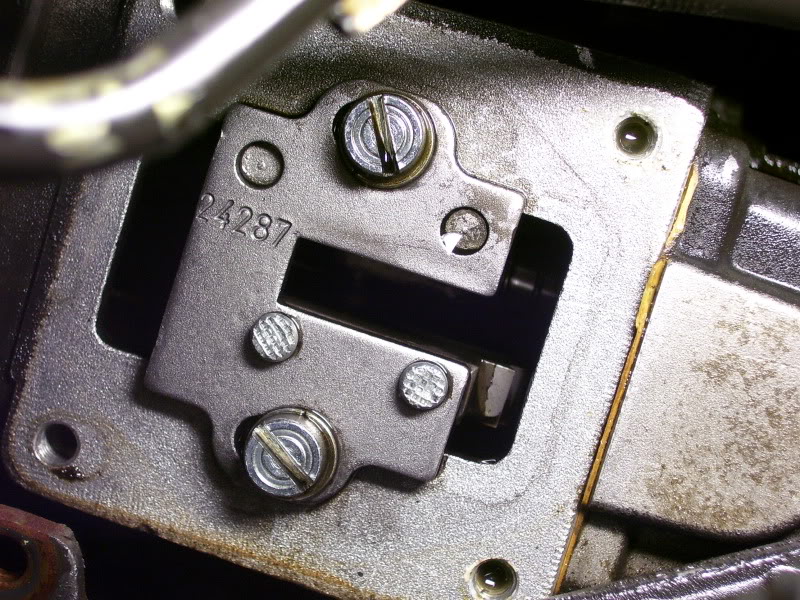
I spray down the fuel plate with brake cleaner, give the perimeter of the pump body a blast of the brake cleaner and dry it off with the air nozzle. Reinstall the fuel plate. Remember you can mount this thing all the way forward, or put it back into the stock location using your reference marks.
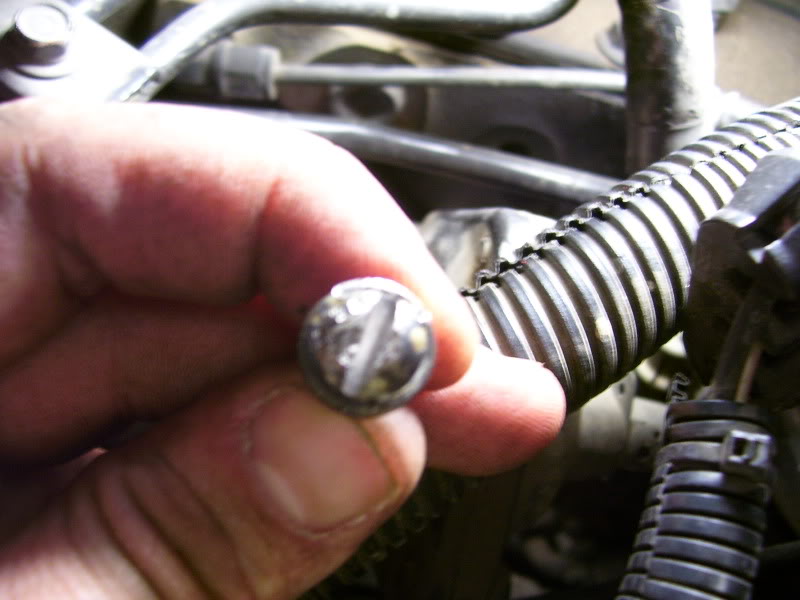
Also I install 3 of the AFC housing bolts, and use a cut off-wheel to grind a deep slot into the tamper proof bolt with the chisel marks. I also put it in an easier location to reach, like on the bottom of the housing. I ran one of my trucks for almost a year with only 3 AFC housing bolts because I lost the tamper proof bolt, it never leaked a drop. You can also run down to the hardware store and pick up a new hex head bolt to replace the tamper proof one.
I smoothed out the profile on the fuel plate.
Then I put a brown 3m Roloc Surface Conditioner disc on the mini andgle grinder.
This takes the smoothing down to a near polish and the fuel plate is done.
I spray down the fuel plate with brake cleaner, give the perimeter of the pump body a blast of the brake cleaner and dry it off with the air nozzle. Reinstall the fuel plate. Remember you can mount this thing all the way forward, or put it back into the stock location using your reference marks.
Also I install 3 of the AFC housing bolts, and use a cut off-wheel to grind a deep slot into the tamper proof bolt with the chisel marks. I also put it in an easier location to reach, like on the bottom of the housing. I ran one of my trucks for almost a year with only 3 AFC housing bolts because I lost the tamper proof bolt, it never leaked a drop. You can also run down to the hardware store and pick up a new hex head bolt to replace the tamper proof one.

Thread
Thread Starter
Forum
Replies
Last Post
Jet A Fuel
Tech Article Submission
0
Jun 5, 2015 03:28 PM
SMatyac
12 Valve 2nd Gen Dodge Cummins 94-98
2
Nov 15, 2014 07:35 PM


