
Did some work on the 96

Thread Starter
|
Diesel Enthusiast
Joined: Oct 2009
Posts: 375
Likes: 30
From: North Carolina
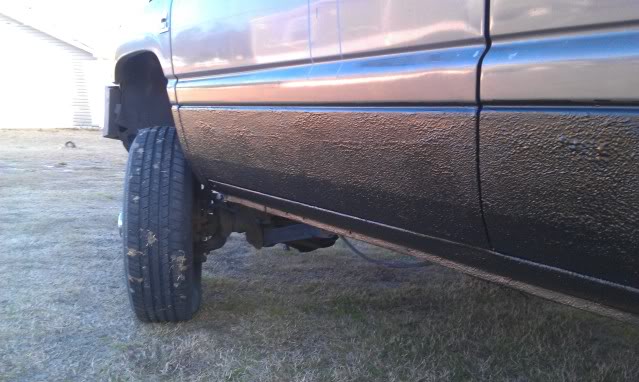
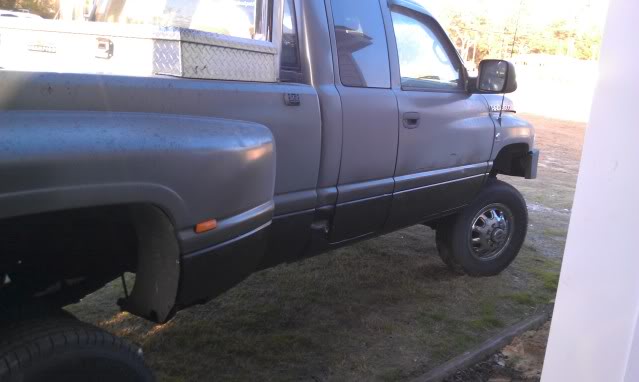
Well, I finally went ahead, quit bit#$%ng about wanting to get my rocker panels rhino lined, bought the kit, and did it myself. There were a couple of rust spots that were getting out of hand, one that actually broke through, when I was sanding :doh: and a couple of other dents that were starting to get bad.
I started by sanding down the rockers to the bare metal, on the cab, on both sides.
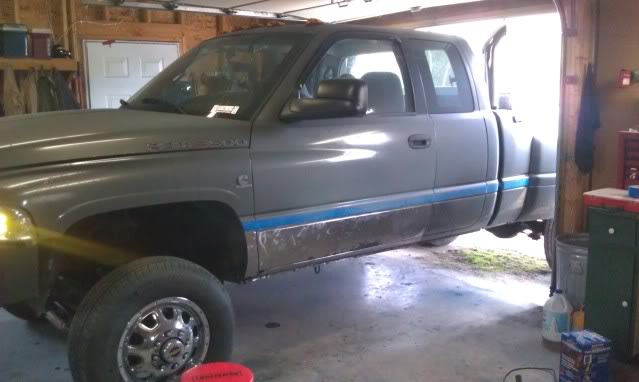
I should have just sanded down the entire rocker panel, but my genius self decided I was going to do it in sections...I did it right on the passenger side though.
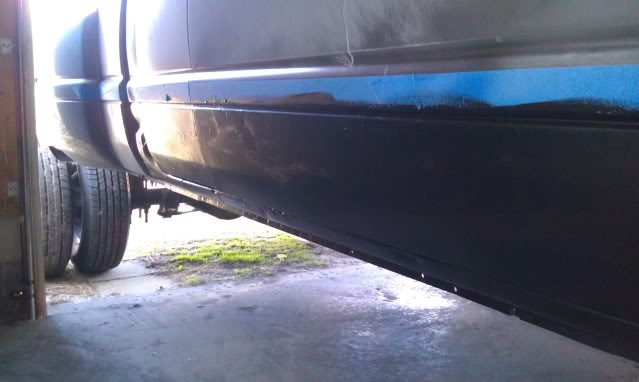
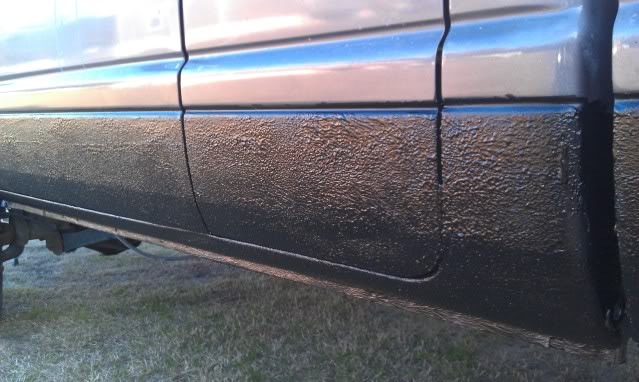
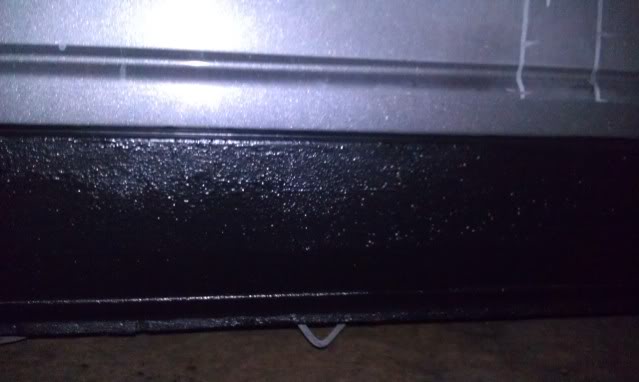
Applied first coat to drivers side

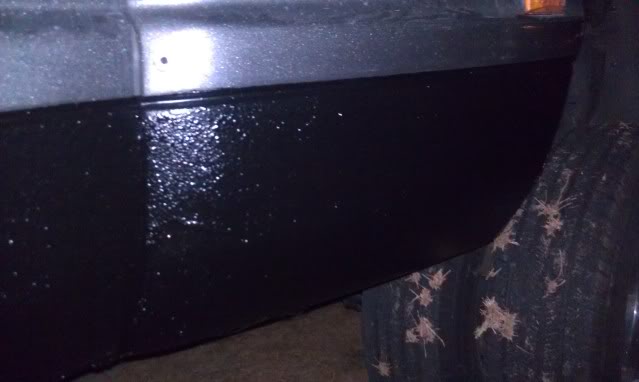
Passenger side
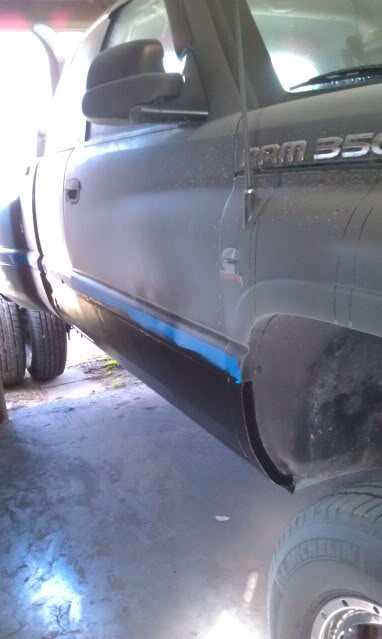
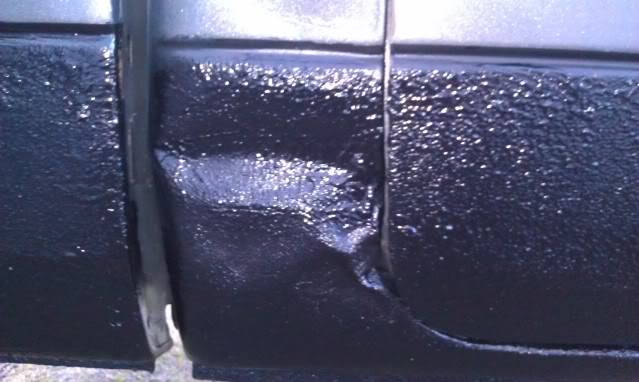
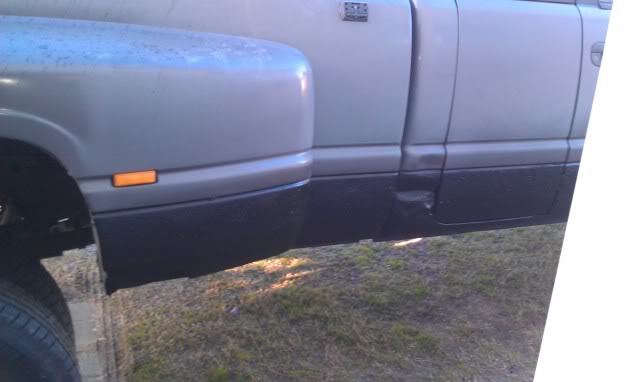
This was the dent on the passenger side, in the back of the cab that was starting to rust pretty bad. I sanded it down to bare metal, and linex'd it.
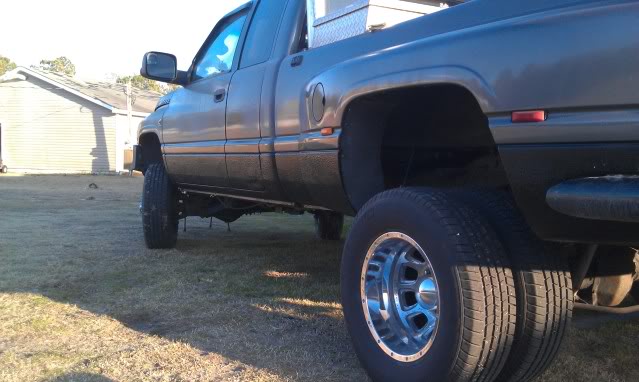
Finished. Took me all day. I started around 8am, and didn't get done until around 6 or so, working straight through.
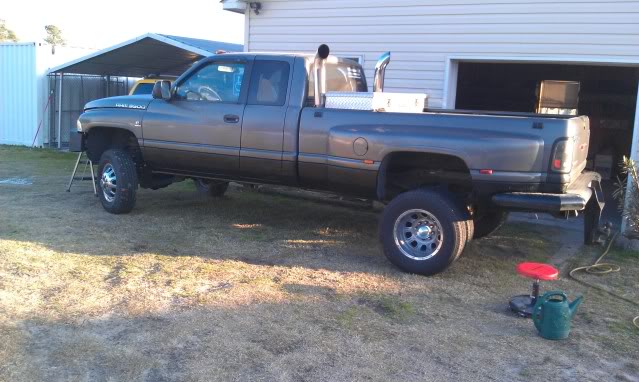
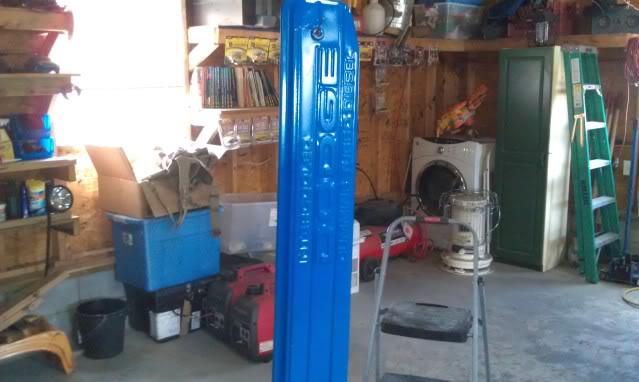
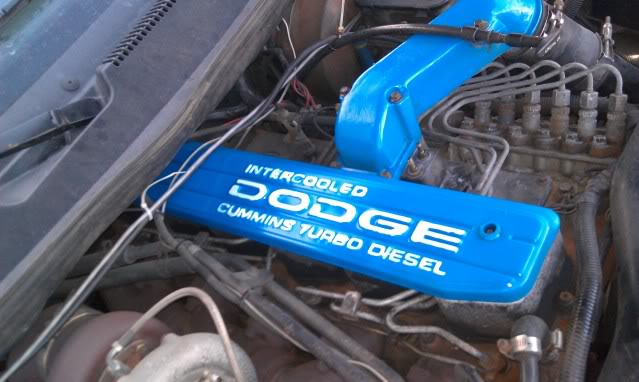
Also, while I was in between coats, I decided to run another side project. I ripped out all the guts from my grid heater, since it hasn't been connected anyway. I figured I'd try and increase airflow a bit, and did some painting under the hood too.
I started by sanding down the rockers to the bare metal, on the cab, on both sides.
I should have just sanded down the entire rocker panel, but my genius self decided I was going to do it in sections...I did it right on the passenger side though.
Applied first coat to drivers side
Passenger side
This was the dent on the passenger side, in the back of the cab that was starting to rust pretty bad. I sanded it down to bare metal, and linex'd it.
Finished. Took me all day. I started around 8am, and didn't get done until around 6 or so, working straight through.
Also, while I was in between coats, I decided to run another side project. I ripped out all the guts from my grid heater, since it hasn't been connected anyway. I figured I'd try and increase airflow a bit, and did some painting under the hood too.
 is the linex the roll on or spray? Im thinking about doing mine

Thread Starter
|
Diesel Enthusiast
Joined: Oct 2009
Posts: 375
Likes: 30
From: North Carolina
Yeah, I'm not too worried...I've got another cab corner in the garage, I just need to find someone to install it...I'm not that good at welding.


Thread Starter
|
Diesel Enthusiast
Joined: Oct 2009
Posts: 375
Likes: 30
From: North Carolina
The instructions stated to prep the surface, and apply to a clean surface. No primer needed, it could be applied to bare metal, so where I could, I sanded down to the metal. On the fiberglass dually fenders, I danced one down to the fiberglass, but on the other one, I just scuffed the paint and took off any chunks. You don't have to go to bare metal, but I figured if I could, it would seat better. Plus, since this truck had a crappy repaint job, I wanted to sand down through the two coats of paint and primer as much as possible. One thing I found out, was my kit came with a brush and a roller. I tried using the roller at first, but its so porous, that I had a hard time trying to get it to roll at first. I discovered if i used a brush to put the first light coat on, wait about an hour before I recoated it, the line x was tacky enough for the roller to bite and actually work correctly, to put all my subsequent coats on.


