
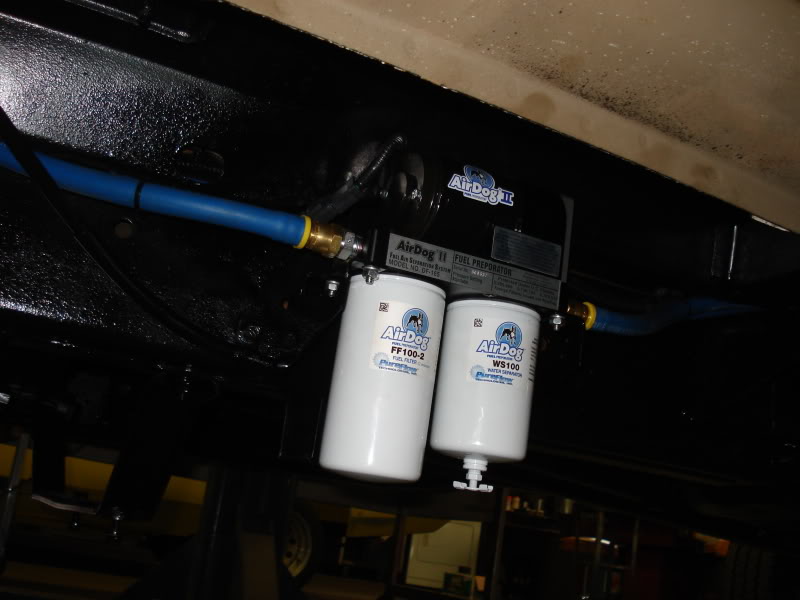
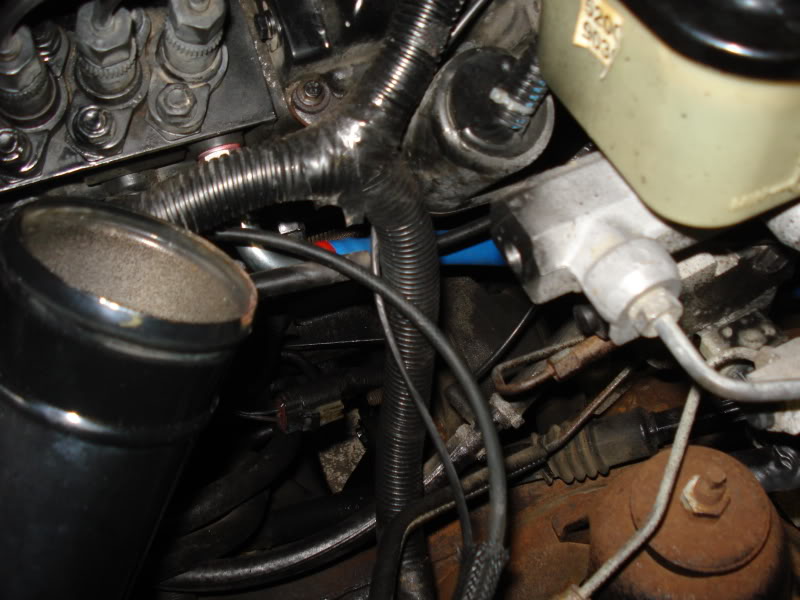
Project Resurection P-Pump


 Fired up after 30 secs of crankin, GAME ON!
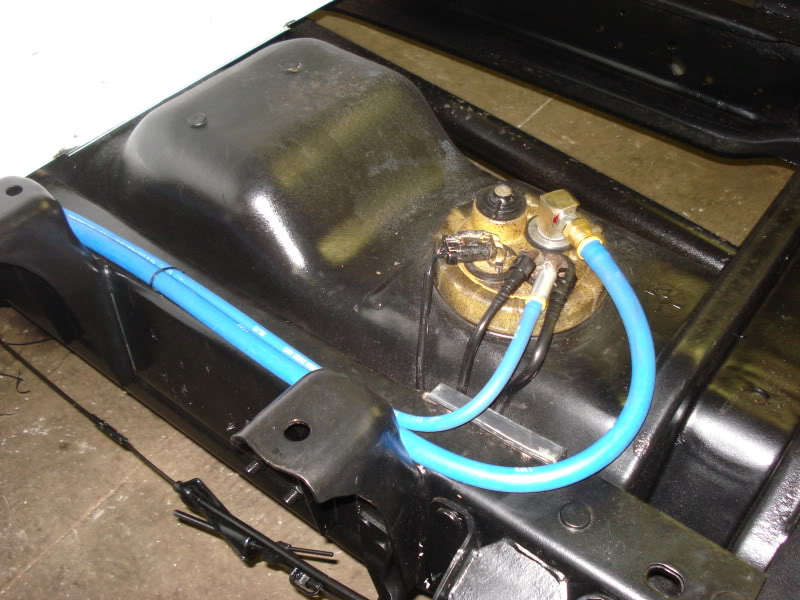


MORE.....
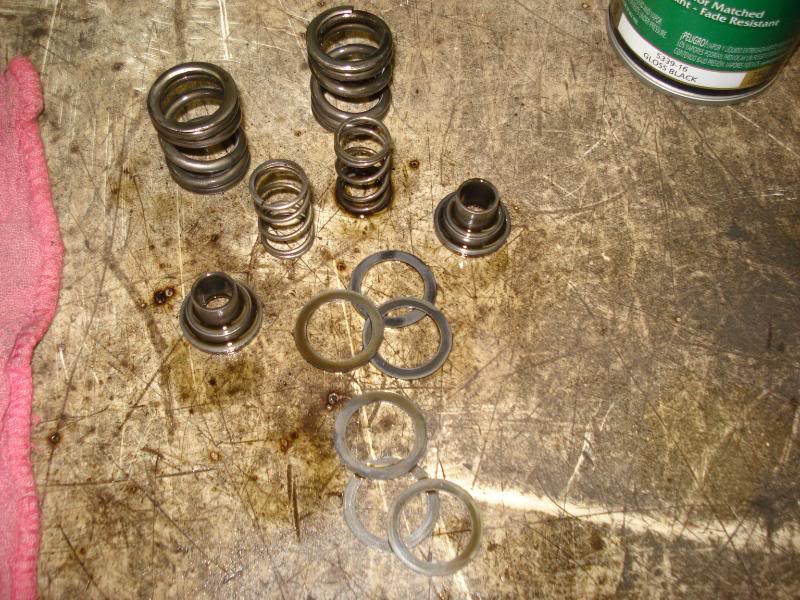
Ol stock springs with shims. The install went without a hitch, do it yourself!
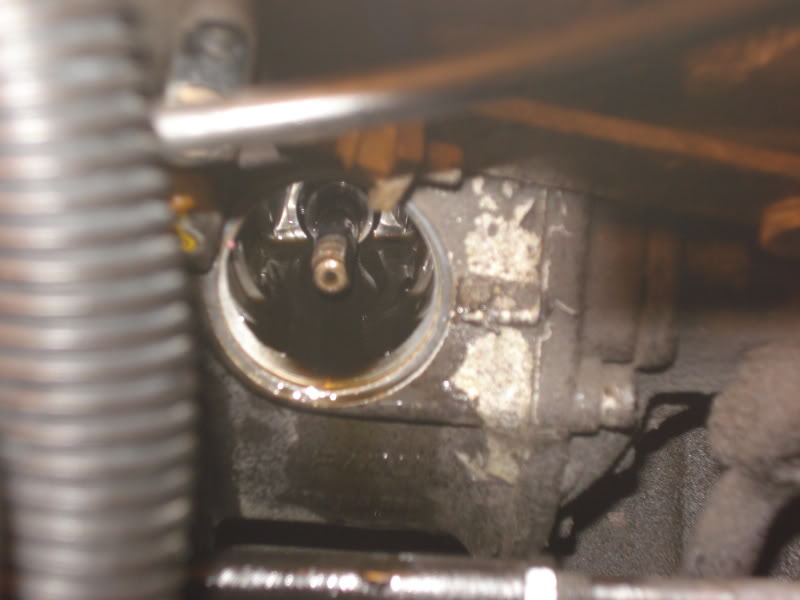
Stock 175 fuel plate, running plateless!
Inside the pump itself
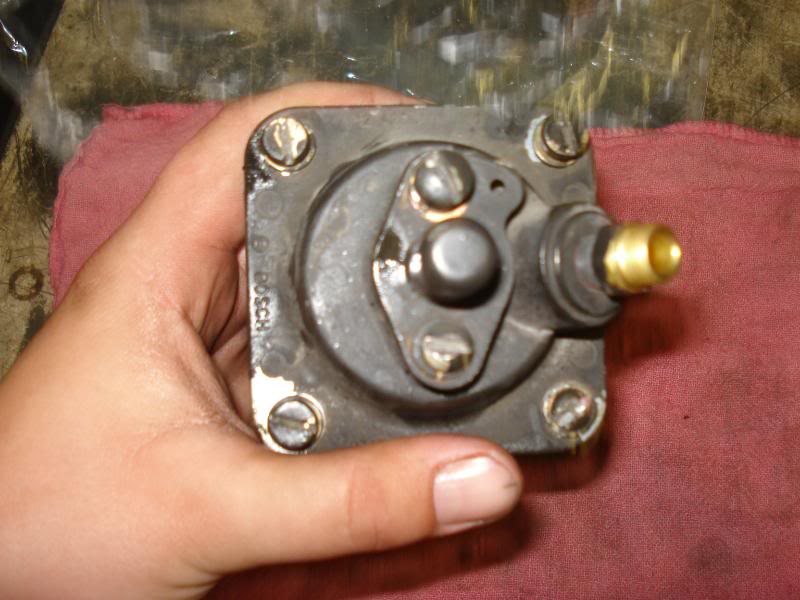
AFC Mods, I'll try to explain my best if you have q's let me know.
First remove the housing and cut two slots into the tamper screws (one for the housing itself and the other is the smoke screw cap) I then used a vise grip on the edges to break it loose
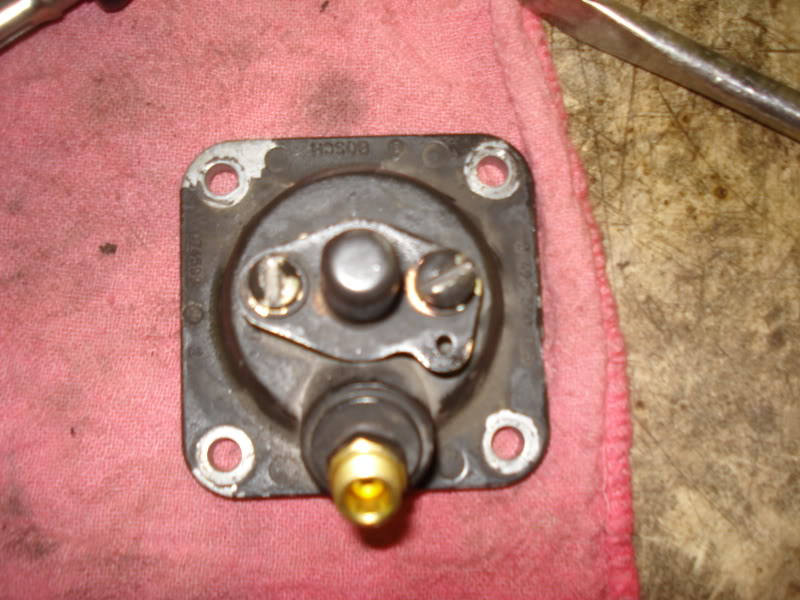
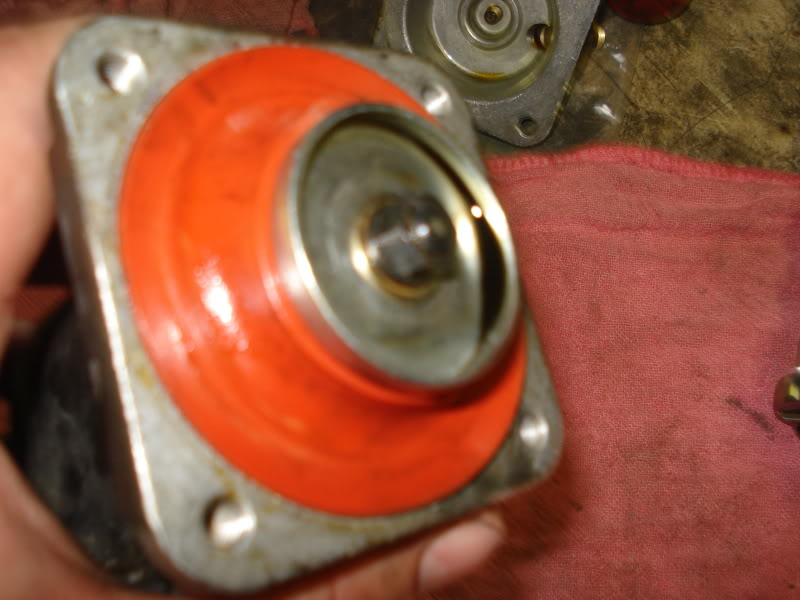
Cap off
Heres the smoke screw it you want to mess with it (I didnt) It has a heavy dose of loc-tight holding the nut that sets its depth. The allen to break it loose is a 3mm I believe.
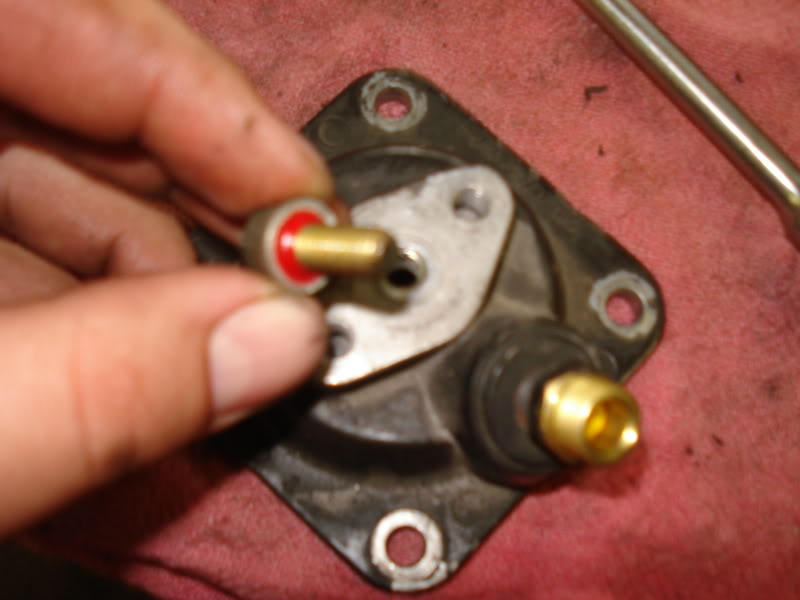
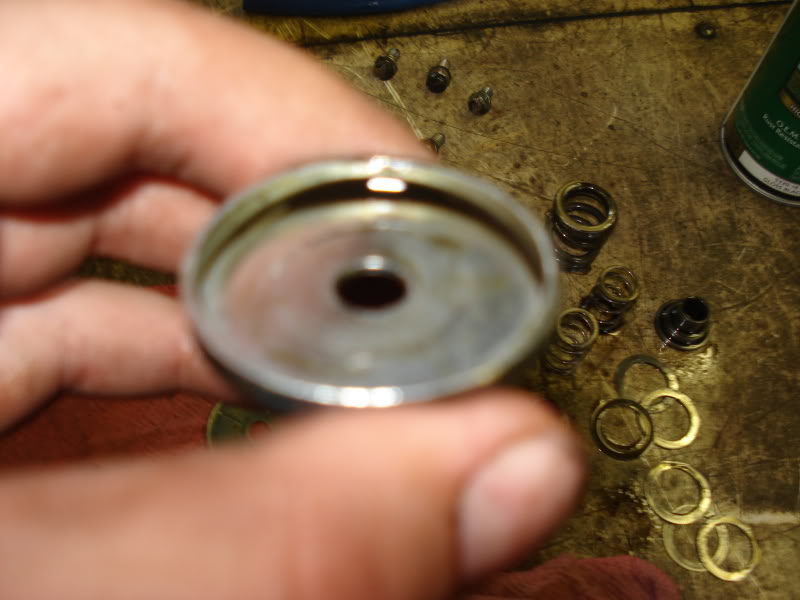
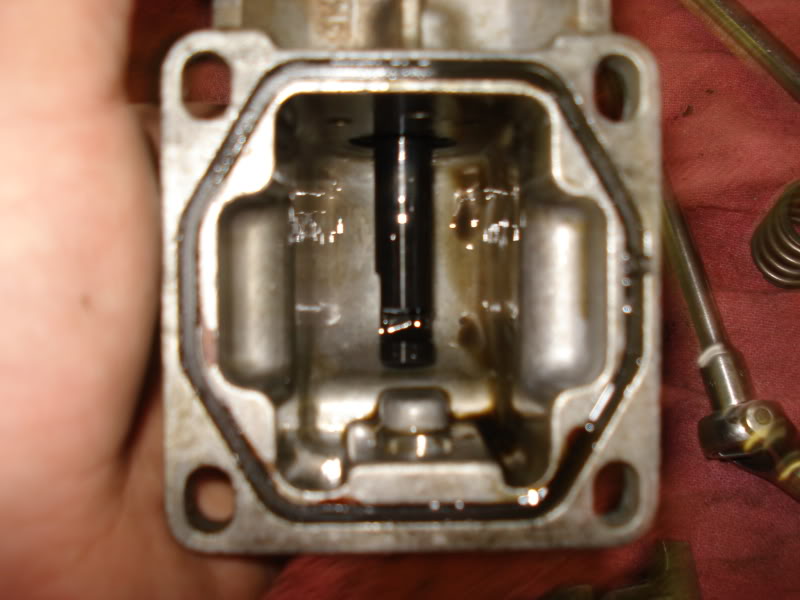
Alright cap off heres what youll see. The washer with a small lip and the diaphram and a 8mm nut. Gently break the rubber loose then remove the nut and seperate it from the housing
Heres what you'll see.

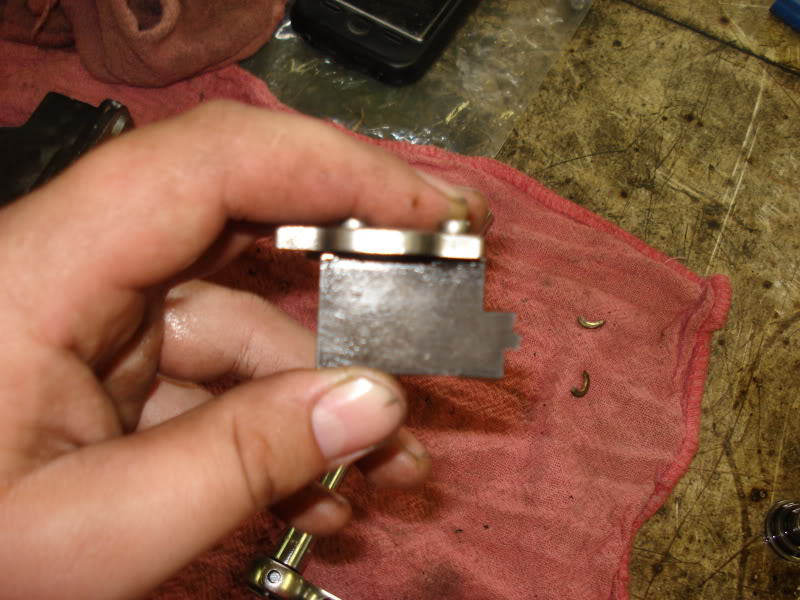
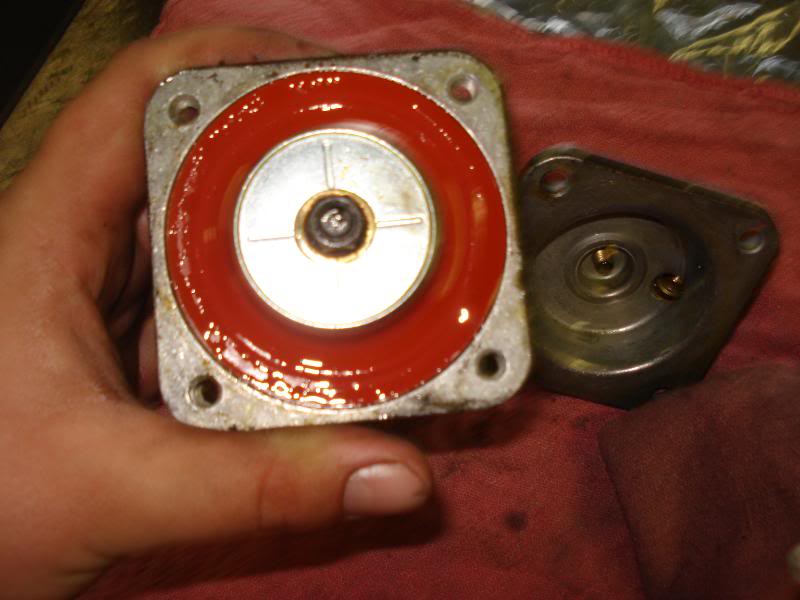
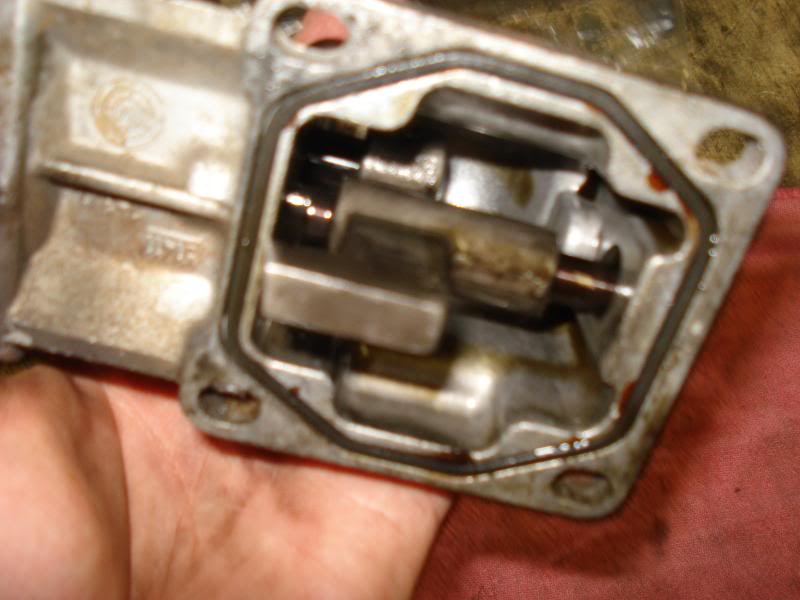
Heres the back washer with the deep lip, you will flip the two around and inturn gain more foot movement
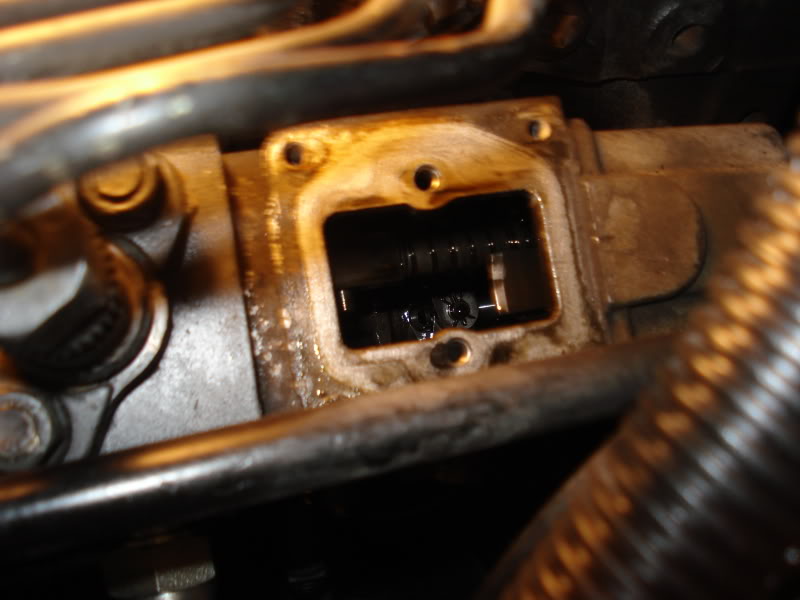
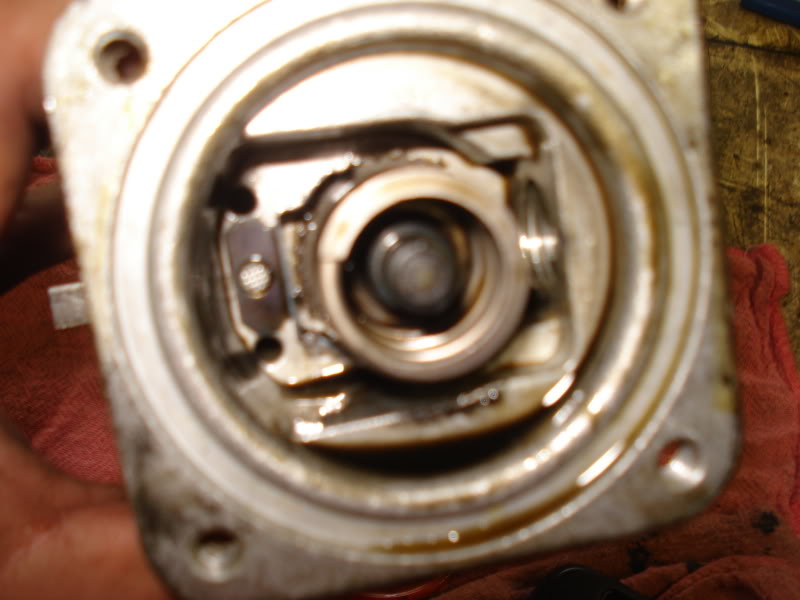
Inside shot and you can see the star wheel
Ol stock springs with shims. The install went without a hitch, do it yourself!
Stock 175 fuel plate, running plateless!
Inside the pump itself
AFC Mods, I'll try to explain my best if you have q's let me know.
First remove the housing and cut two slots into the tamper screws (one for the housing itself and the other is the smoke screw cap) I then used a vise grip on the edges to break it loose
Cap off
Heres the smoke screw it you want to mess with it (I didnt) It has a heavy dose of loc-tight holding the nut that sets its depth. The allen to break it loose is a 3mm I believe.
Alright cap off heres what youll see. The washer with a small lip and the diaphram and a 8mm nut. Gently break the rubber loose then remove the nut and seperate it from the housing
Heres what you'll see.
Heres the back washer with the deep lip, you will flip the two around and inturn gain more foot movement
Inside shot and you can see the star wheel
Last edited by Red_Rattler; Jun 10, 2010 at 07:33 PM.
Alright, before you put it all back together, you have to mod the foot to use the new found travel.
Disassembly follws as removing the 8mm nut on the front of the housing to remove the alignment rod on the foot
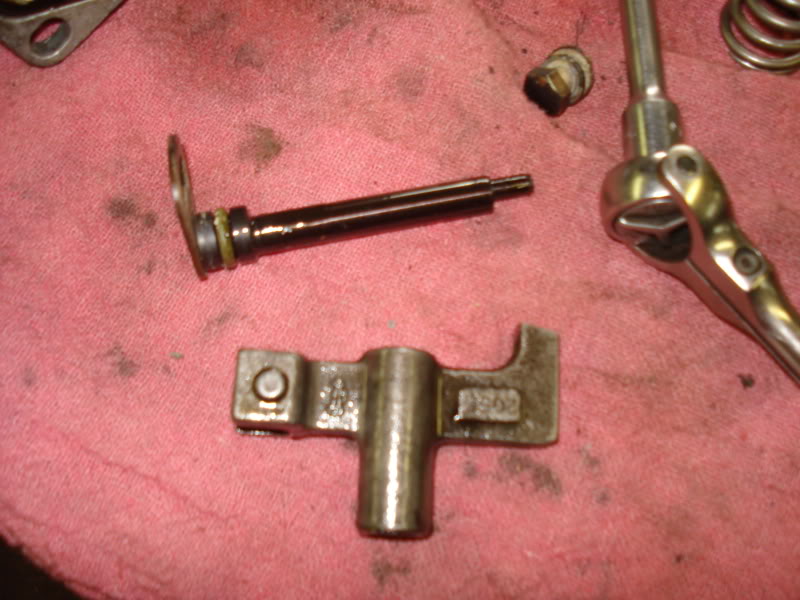
Foot will fall out leaving it "gutted" Some do this as well but I want low boost smoke control
Dont have a pic of this but you grind on the longer shaft of the foot until you get full movement without hitting the housing. It took me two test fits to get it right. Roughly 5/16's
Time to get it back together and heres what u end up with
Put the cap back on and crank the screws tight and your done!
Disassembly follws as removing the 8mm nut on the front of the housing to remove the alignment rod on the foot
Foot will fall out leaving it "gutted" Some do this as well but I want low boost smoke control
Dont have a pic of this but you grind on the longer shaft of the foot until you get full movement without hitting the housing. It took me two test fits to get it right. Roughly 5/16's
Time to get it back together and heres what u end up with
Put the cap back on and crank the screws tight and your done!
Last edited by Red_Rattler; Jun 10, 2010 at 07:30 PM.
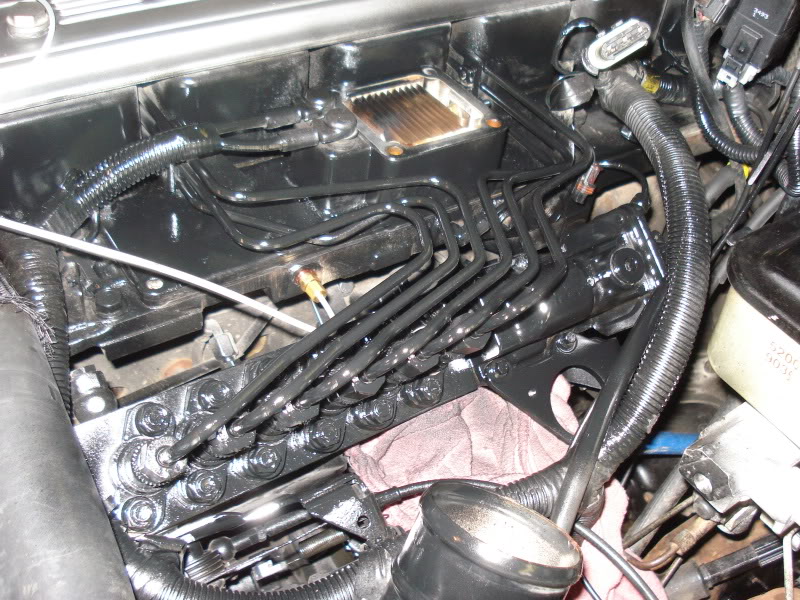
Cleaned up more around the pump and degreased some more while I had access to the side yet
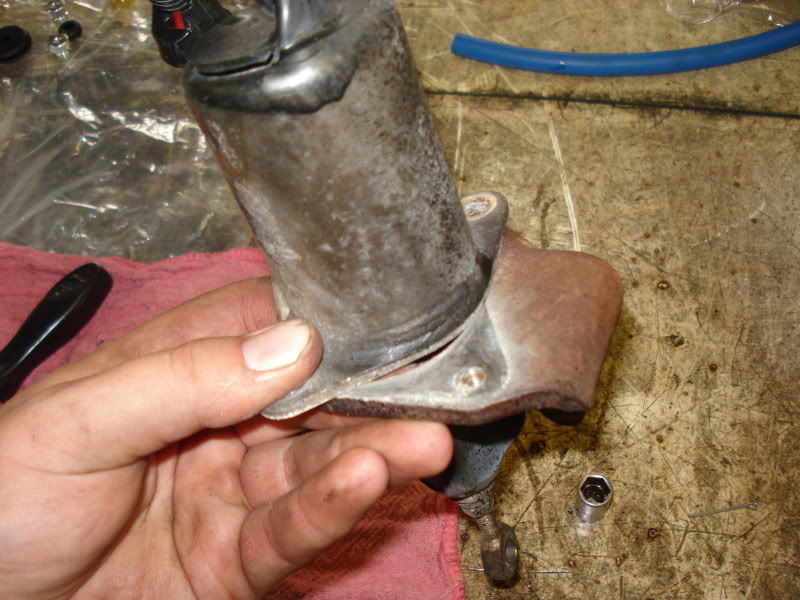
With the shut off solenoid off I sand blasted the crusty bracket and wire wheeled the shut off body etch primed both and painted
Gauges tomorrow....
With the shut off solenoid off I sand blasted the crusty bracket and wire wheeled the shut off body etch primed both and painted
Gauges tomorrow....


