6" Kelderman install
#1
 08-02-2009, 09:58 PM


Kelderman 6" Install
So, we are installing a Kelderman 6" kit with the Accuride system on an 08 3500. Though I would show you guys and gals some pics.
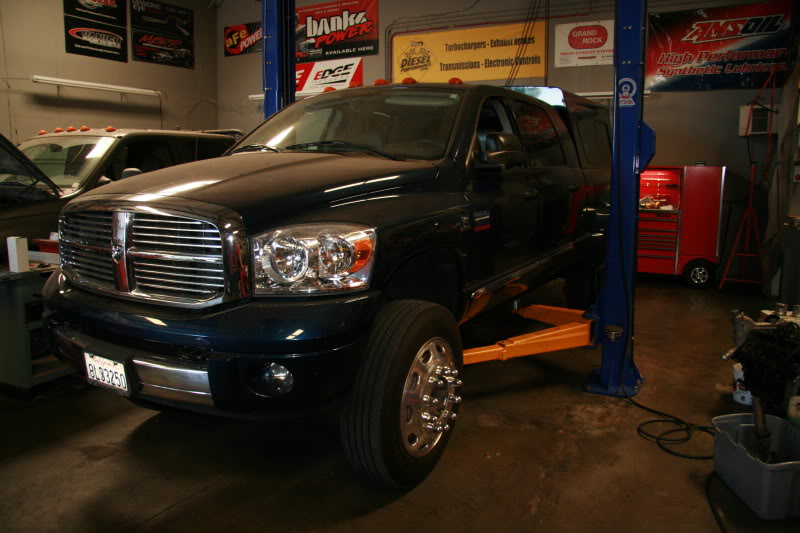
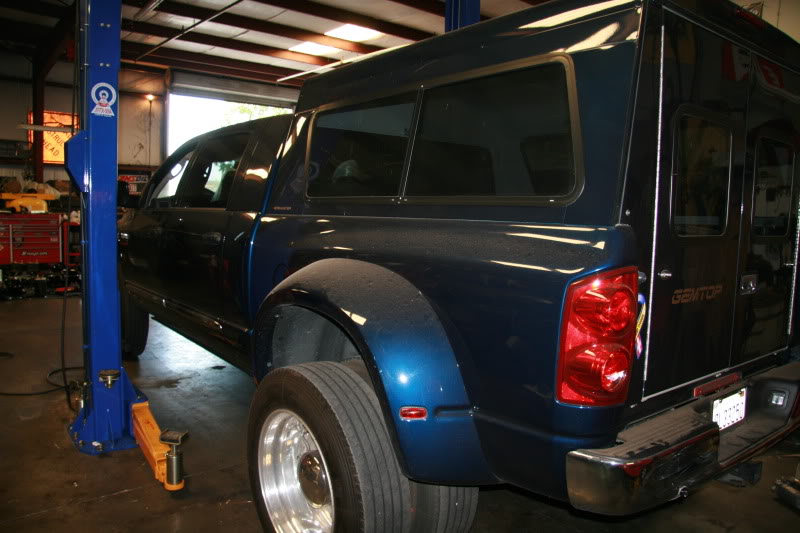
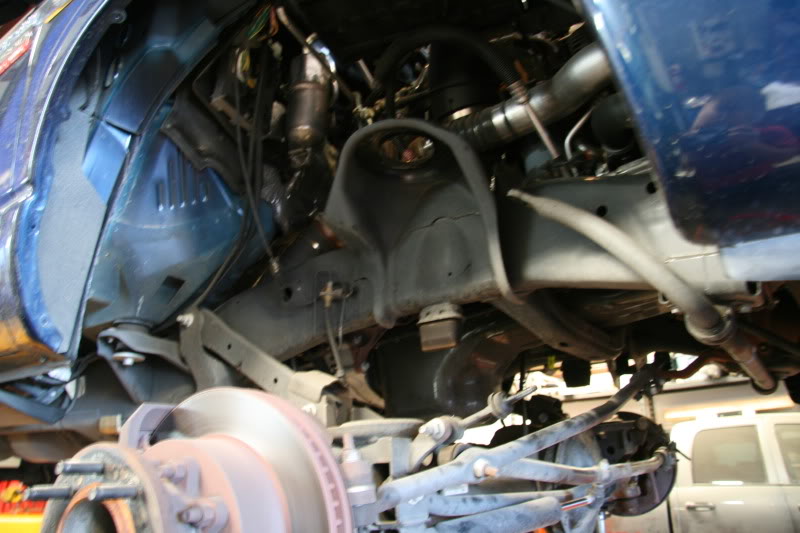
Stock (ish) -
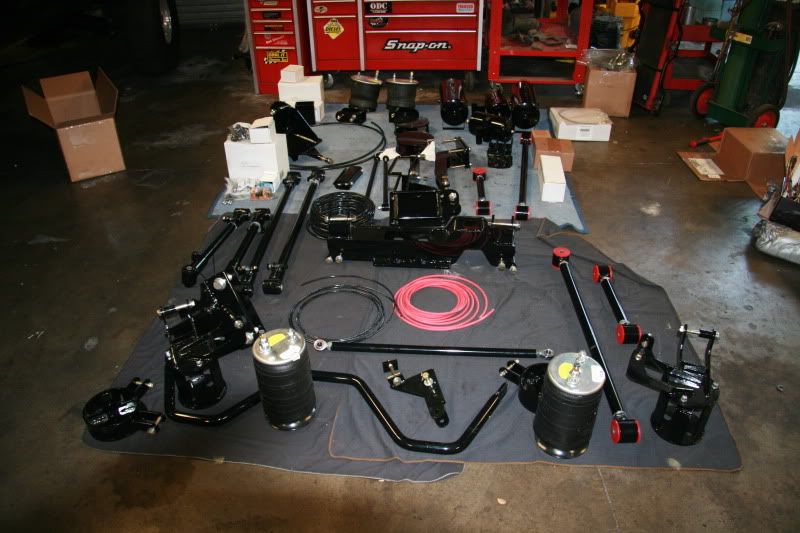
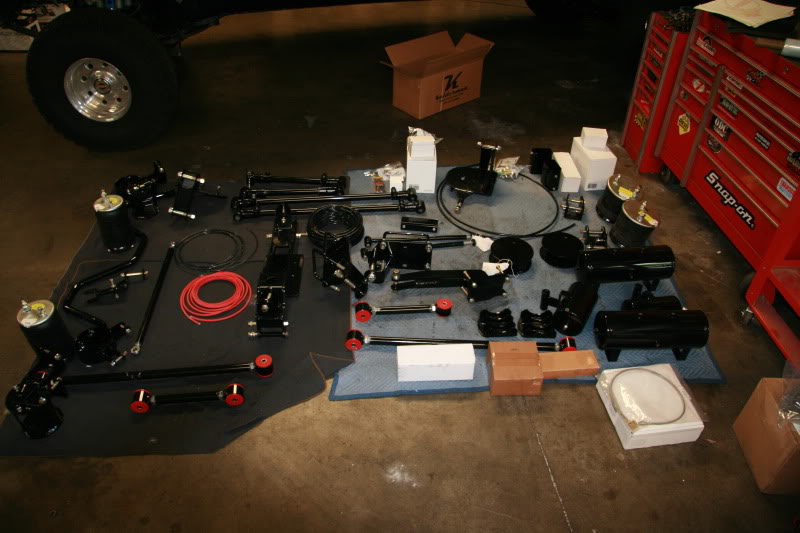
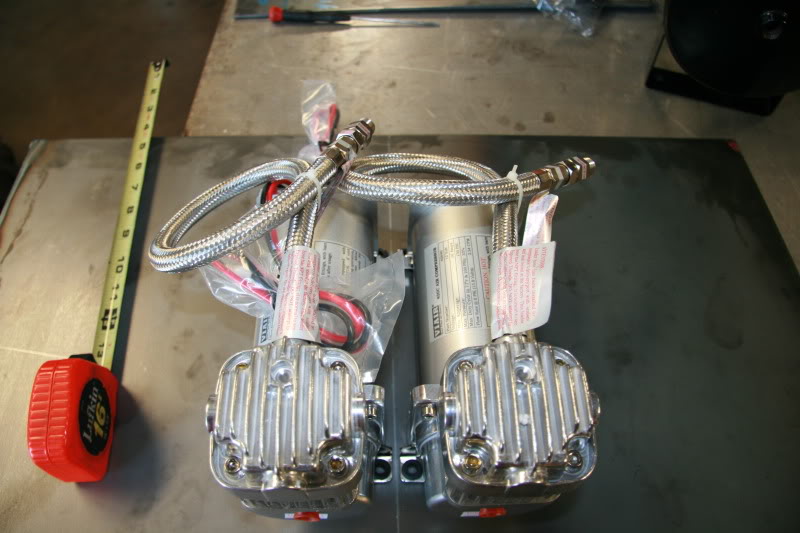
The toys -
So, today Kenny was working on pulling the suspension parts and changing them out while I worked on laying out the compressor box I had to fabricate.
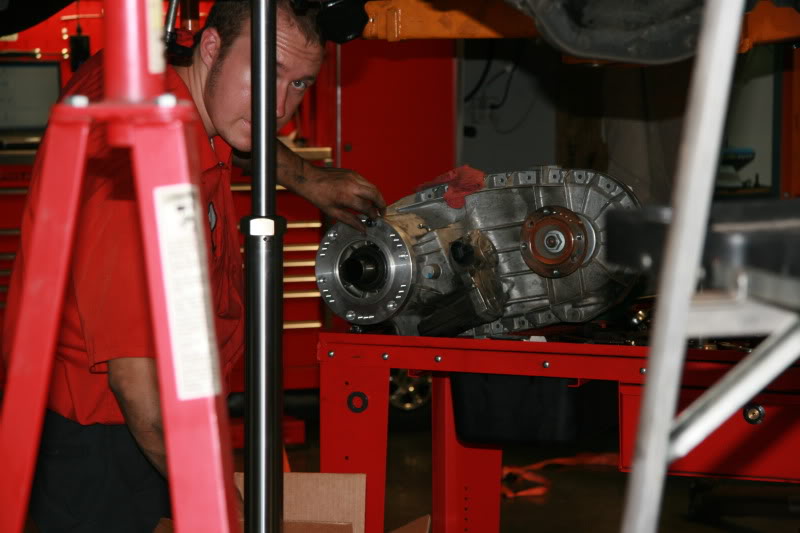
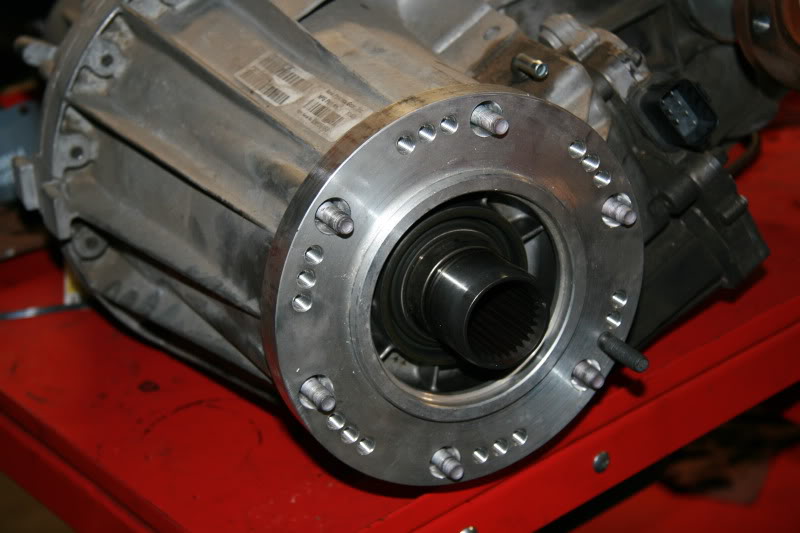
Kenny playing with the indexing ring -
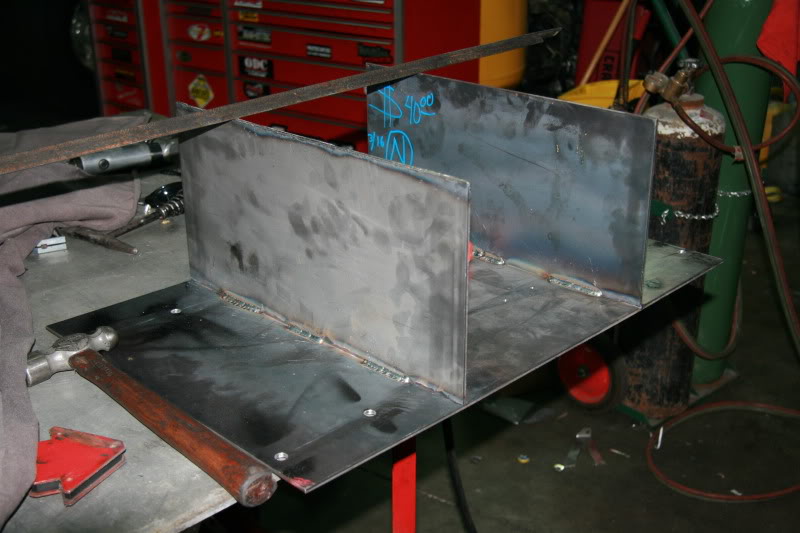
My compressor box -
So, we are installing a Kelderman 6" kit with the Accuride system on an 08 3500. Though I would show you guys and gals some pics.
Stock (ish) -
The toys -
So, today Kenny was working on pulling the suspension parts and changing them out while I worked on laying out the compressor box I had to fabricate.
Kenny playing with the indexing ring -
My compressor box -
#2
08-02-2009, 10:08 PM
Today was not as productive as hoped. Normally we don't work on Sundays but we are so buried we needed to use the extra days to try and get caught up.
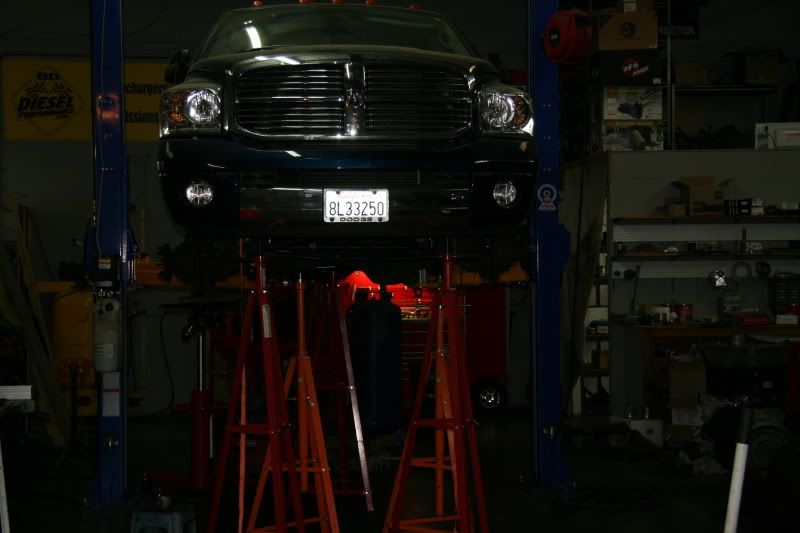
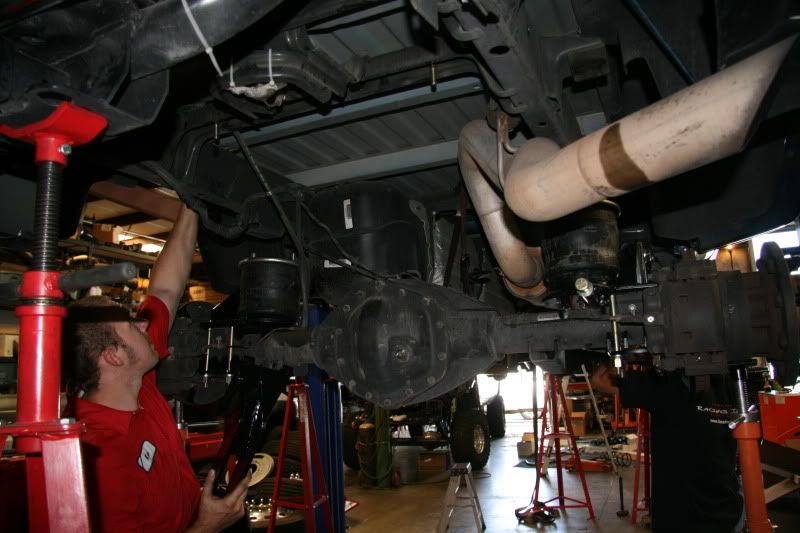
Got the front suspension out -
Yes, all of those jack stands are holding something up! I don't think there is much weight left on the lift!
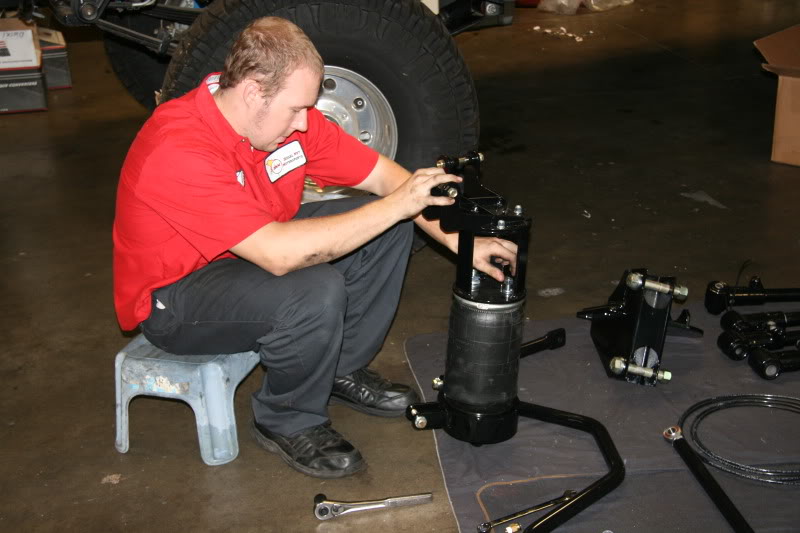
Kenny started working on building the front bags -
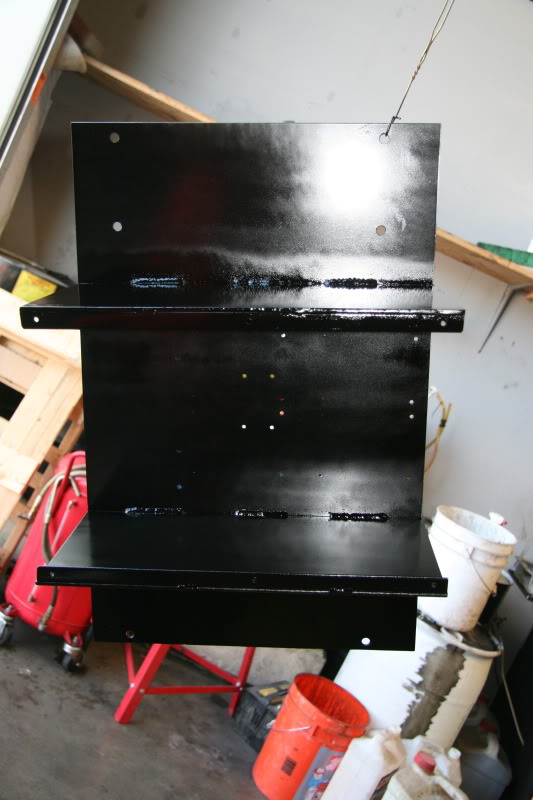
And I got the compressor box painted after drilling and tapping the holes to mount the diamond plate cover -
A little trick for anyone who tries this kit on a 6.7L - when reading the instructions, make sure you combine the step to remove and install the upper links with installing the new crossmember. The downpipe can't move enough to get the passenger side upper bolt out, and we had to take the transmission crossmember back out to do it. Also, we had to do that with out impacts because our compressor was down!
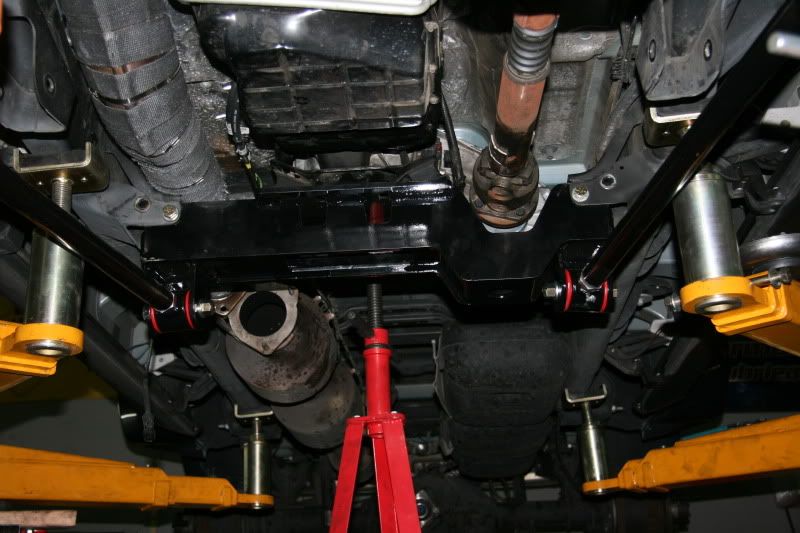
BTW - Thats one Bad @SS crossmember -
Got the front suspension out -
Yes, all of those jack stands are holding something up! I don't think there is much weight left on the lift!
Kenny started working on building the front bags -
And I got the compressor box painted after drilling and tapping the holes to mount the diamond plate cover -
A little trick for anyone who tries this kit on a 6.7L - when reading the instructions, make sure you combine the step to remove and install the upper links with installing the new crossmember. The downpipe can't move enough to get the passenger side upper bolt out, and we had to take the transmission crossmember back out to do it. Also, we had to do that with out impacts because our compressor was down!
BTW - Thats one Bad @SS crossmember -
#4
08-03-2009, 05:55 PM

Banned
#6
08-03-2009, 11:17 PM
There is alot of work here, no doubt. As far as turning, I don't really see where a problem could pop up as long as the alignment shop is spot on.
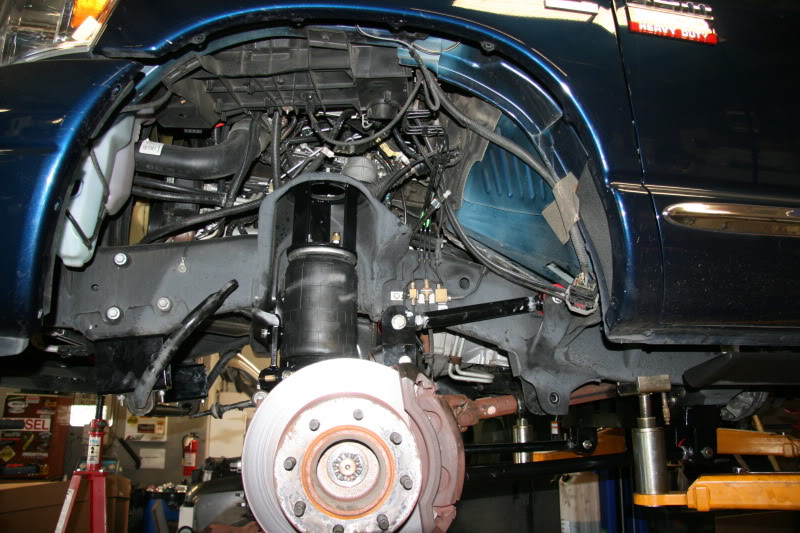
Today, got he front end mostly done -
Meanwhile, I got the compressor box mostly done. . . .
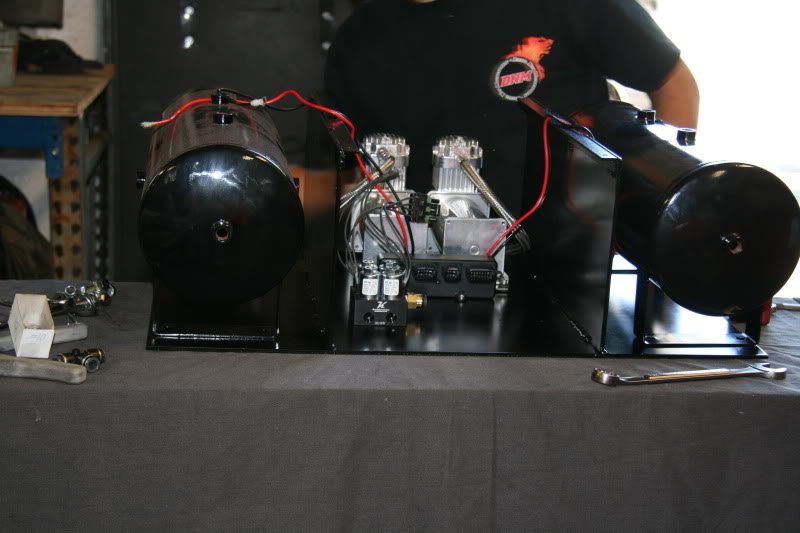
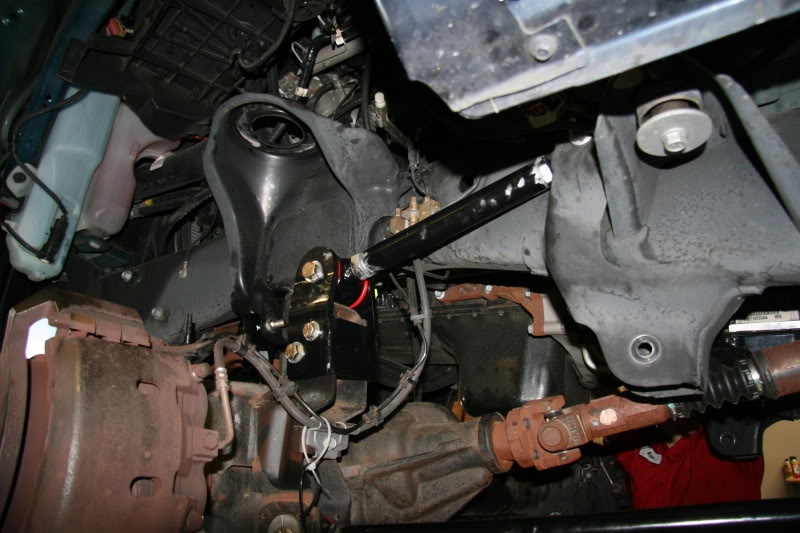
Tomorrow, looks like we will add a BD steering box stabilizer and finish the front end, then on to the rear. Also, the compressor box should be done and installed, and we might even be done with the aluminum diamond plate cover we are building!
Today, got he front end mostly done -
Meanwhile, I got the compressor box mostly done. . . .
Tomorrow, looks like we will add a BD steering box stabilizer and finish the front end, then on to the rear. Also, the compressor box should be done and installed, and we might even be done with the aluminum diamond plate cover we are building!
#7
08-06-2009, 09:21 PM
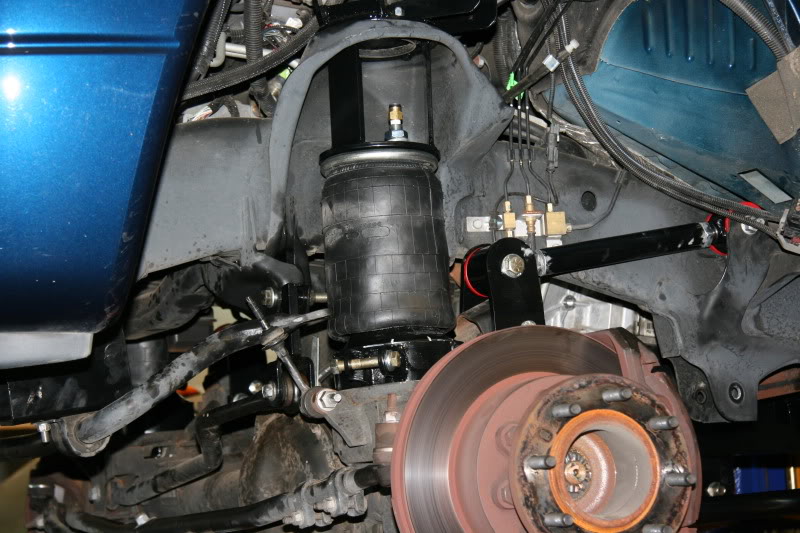
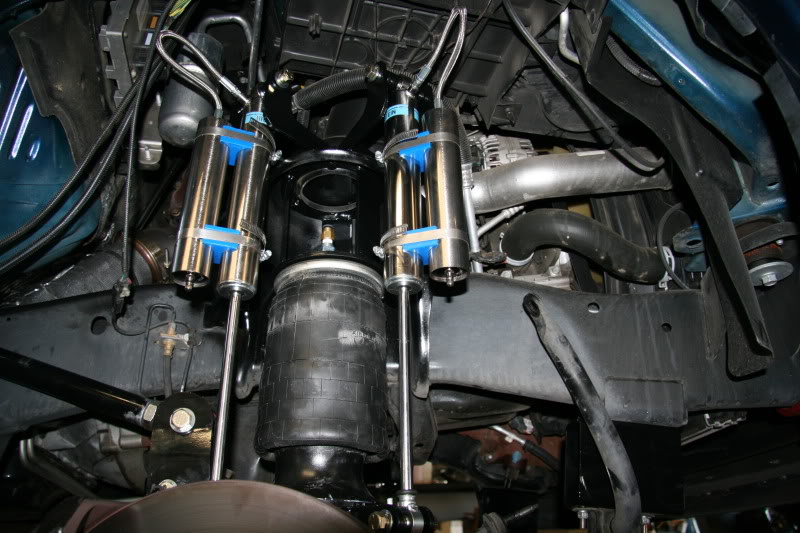
So, yesterday started off all bad. The shock spacers left WAY too much slop, like 3/8". Kelderman's solution - shim it with 1/2" washers. I don't think so! So, I grabbed some 1" aluminum rod and starting machining new spacers for both upper and lower mounts. Got about 10 hrs into it, but its worth it!
More Bad. Kelderman installed the wrong fittings in the rear bags. Said if we wanted them faster than ground it was on us. Like hell! We got them local and they said they would reimburse us.
Next, no mention in the instructs of where the sway bar links mount to. A little looking online and there are some brackets they didn't ship us. Then they say, no, on 3500 trucks you remove the overload snubber, drill out the hole and mount the sway bar links there. Not my first call, but ok.
Bilstien didn't send us mounting provisions for one of the 7100 resoivors. Talk about awesome!! Called em up, told them whas was going on, "They are on their way red label" was the answer I got towards the end of a 3-4 minute call. OUTSTANDING!!
Playin on the lathe

While I working on that, Kenny and my little brother (Jamie) worked on the rest of the mechanical stuff -
Jamie eyeballing the lower link
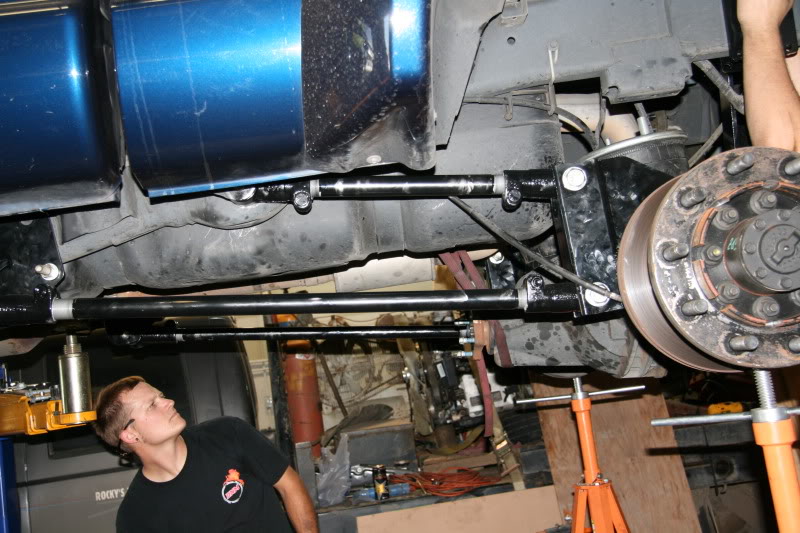
Kenny working on something constructive I am sure Its the rear track bar.
Today, we got the spacers installed and got the rest of the parts hung. Also added a BD steering box stabalizer kit. All we have left is some wiring and a trip to the alignment shop!
More Bad. Kelderman installed the wrong fittings in the rear bags. Said if we wanted them faster than ground it was on us. Like hell! We got them local and they said they would reimburse us.
Next, no mention in the instructs of where the sway bar links mount to. A little looking online and there are some brackets they didn't ship us. Then they say, no, on 3500 trucks you remove the overload snubber, drill out the hole and mount the sway bar links there. Not my first call, but ok.
Bilstien didn't send us mounting provisions for one of the 7100 resoivors. Talk about awesome!! Called em up, told them whas was going on, "They are on their way red label" was the answer I got towards the end of a 3-4 minute call. OUTSTANDING!!
Playin on the lathe
While I working on that, Kenny and my little brother (Jamie) worked on the rest of the mechanical stuff -
Jamie eyeballing the lower link
Kenny working on something constructive I am sure
Its the rear track bar. Today, we got the spacers installed and got the rest of the parts hung. Also added a BD steering box stabalizer kit. All we have left is some wiring and a trip to the alignment shop!


#9
10-28-2009, 01:47 AM
I know this has been some time coming for an update, but, hell, we been busy!
Customer has the truck and is LOVING it! I drove it for 2 days and my god! Make a 1 ton ride like a 1/2 ton! Its incredible! Only issue we have had is the sway bar kelderman sent us is so freakin stiff that the Accuair kit has a hard time compensating and sometimes it doesn't know what to do!
Other than that, top notch kit, aside from the massive amount of fab we had to do in house, it really changes the ride on the truck!


