
2002 Cummins Front Brake Installation Video By: DieselMinded


Was messing around today , it was nice out ... brakes started grinding the other day so i decided i would take a few minutes and change them out , thought what the hell and grabbed the camera and had some fun. Hope you enjoy...

Here is an old install guide i made
 Parts Required:
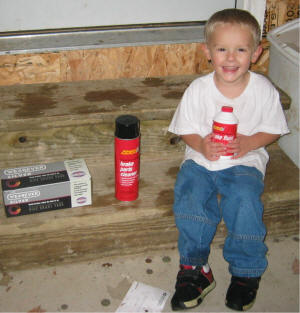
Brake Shoes, Brake Cleaner, Brake Fluid, Little Helper
Tools Required:
1/2 Inch Drive Ratchet, Cheater Pipe, 2 Extensions, 15/16 6 pt Socket, 7/32 Allen Wrench, 16 MM 12 pt Socket, Big Strait Screw Driver, Floor Jack, Penetrating Oil, 3/8 inch wrench
 Product Information:
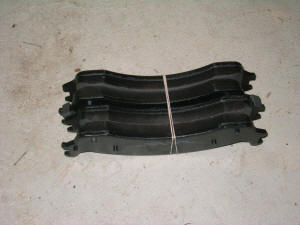
Here are the brake Shoes
I got them at Advanced Auto Nothing Fancy just the Life Time warrantee ones
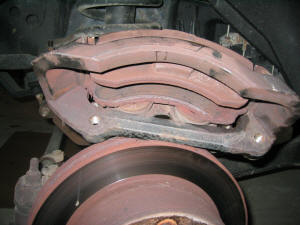
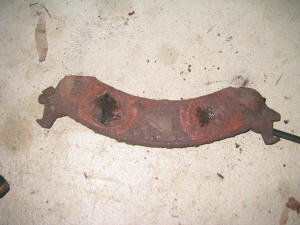 The Ys: There are screachers on the brake pads but Once you notice them squealing its almost too late. My rivets were already starting to bore in to my rotors and I only drove about 50 miles squeaking around until I had the chance to change them... BAD IDEA !
How ever I'm not doing a Rotor Change at this time thier not real bad yet, but would of been trashed with about another 100 miles with the brake shoes in there current state
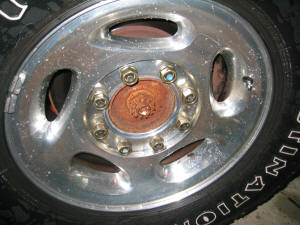
 The Carnage: 48,000 Miles
 The Install:
Set the E-Brake
 Pry off the Hub Cap with a big strait Screw Driver
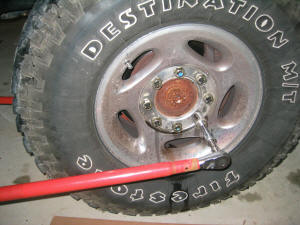 Brake each of the lug nuts loose (15/16) but DO NOT REMOVE
Most garages probly have a 4 way or the stock equipment Tire Iron, But I had to use a 1/2 drive 15/16 and a cheater pipe
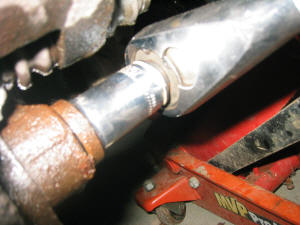
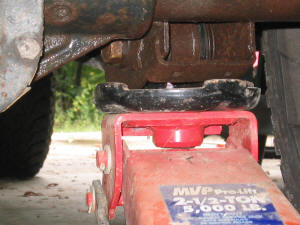 Jack up the Drivers side. Here's a good jack point
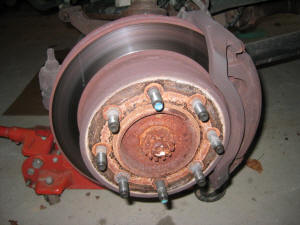 Finish removing all the lug nuts, and Pull the tire off
Parts Required: Brake Shoes, Brake Cleaner, Brake Fluid, Little Helper
Tools Required:
1/2 Inch Drive Ratchet, Cheater Pipe, 2 Extensions, 15/16 6 pt Socket, 7/32 Allen Wrench, 16 MM 12 pt Socket, Big Strait Screw Driver, Floor Jack, Penetrating Oil, 3/8 inch wrench
Product Information:Here are the brake Shoes
I got them at Advanced Auto Nothing Fancy just the Life Time warrantee ones
The Ys: There are screachers on the brake pads but Once you notice them squealing its almost too late. My rivets were already starting to bore in to my rotors and I only drove about 50 miles squeaking around until I had the chance to change them... BAD IDEA !How ever I'm not doing a Rotor Change at this time thier not real bad yet, but would of been trashed with about another 100 miles with the brake shoes in there current state
The Carnage: 48,000 Miles The Install: Set the E-Brake
Pry off the Hub Cap with a big strait Screw Driver Brake each of the lug nuts loose (15/16) but DO NOT REMOVEMost garages probly have a 4 way or the stock equipment Tire Iron, But I had to use a 1/2 drive 15/16 and a cheater pipe
Jack up the Drivers side. Here's a good jack point Finish removing all the lug nuts, and Pull the tire off
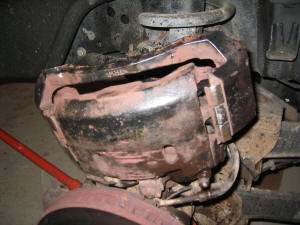
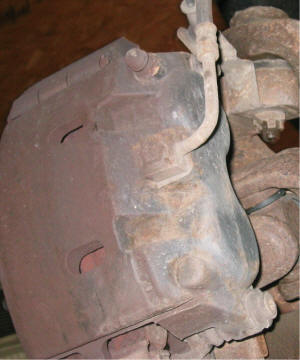 Here's the brake Caliper
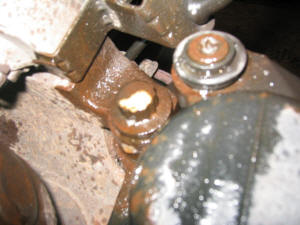 Note: These photos are from the Passenger side
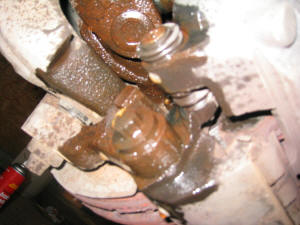
 Spray the Allens and the Caliper Bolts with some penetrating oil.
 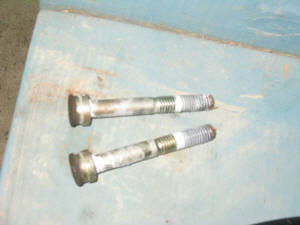 With the 7/32 Allen Wrench Remove the Allens
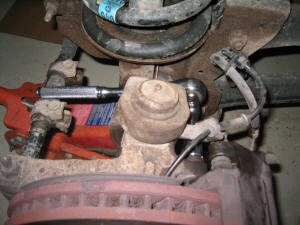
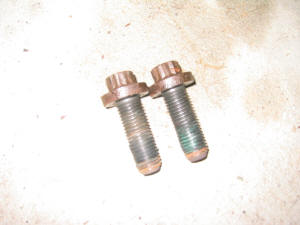 With the 16 MM 12 PT Remove the Caliper Bolts
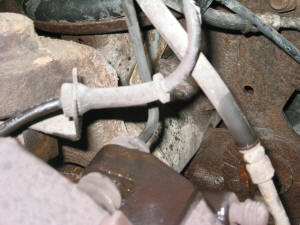
 A little tap with your palm and the caliper will come loose from the rotor.
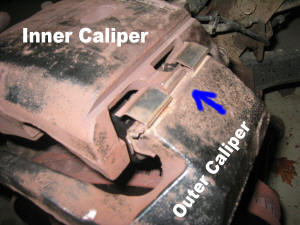 Don't let the caliper hang on the brake lines, just set it up on top of the rotor
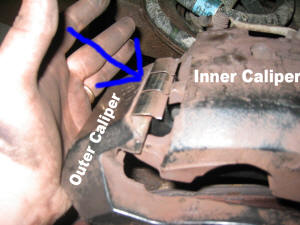 To remove the Outer Caliper locate the removal points (arrows) and just pull it up out of there
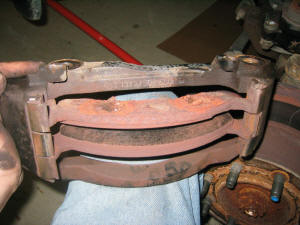 Here's the Outer Caliper This piece holds your brake pads.
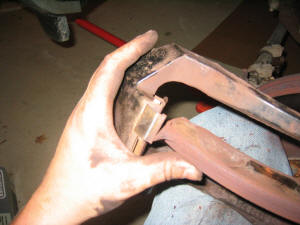 Push the pads out
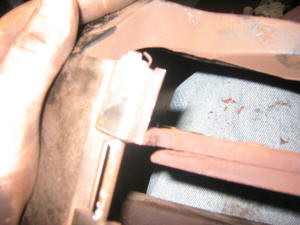
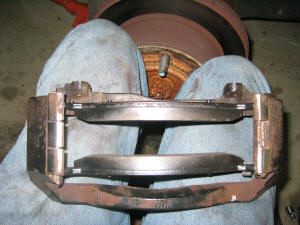 Put new pads in
 Set it aside
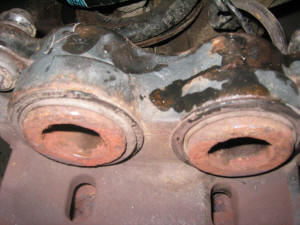 Locate the Brake bleeder and loosen it
 With channel locks or a C clamp compress the clynders then retighten the bleeder
Note: Use the brake cleaner during the whole reinstall process
Re-Position the outer Caliper to the inter Caliper
Place the caliper back on the rotor and replace the Allens and the Bolts
Now find your helper
Have your 3/8 inch wrench on the bleeder, Have your helper get in the truck and pump the brakes a few times then hold it to the floor, Then loosen the bleeder and brake fluid will squart out, Once its done squarting out tighten the bleeder, then tell your helper OK, Then they will remove there foot from the brake, Repeat till your sure there is no air in the system.
Note: When you loosen the bleeder and they are pushing on the brake, the peddle will go all the way to the floor Do NOT let them let off the brake while the bleeder is open or it will fill your brake system full of air.
 Replace your Tire
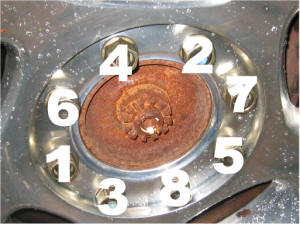 Snug the lug nuts you wont be able to fully tighten them right now because the tire will want to spin
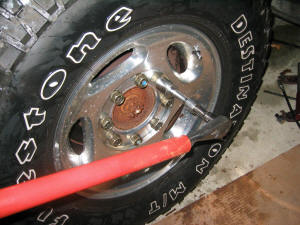 Let the jack down & Tighten down the lug nuts in a similar order
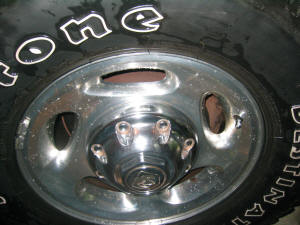 Replace the hub cap
Now Repeat the process on the other side
When the other sides done fill your brake reservoir back to full then test drive

 good job
 i have air tools its a 2003 Model named Chase
Thanks i was screwing off the first part then realized my 10 minutes was about up so had to rush threw it . i did bleed the breaks .....and put the tire back on
looking at the old install i still have the same jack and kobalt 1/2 drive
remember that i video tape my self so you see a lot being done with my left hand , People seem to enjoy the videos , its a bit of a pain to get the footage by your self and it took 2 hours of editing and 2 hours to upload , so that's basically my Saturday right there .
Maybe it will bring in some You Tubers

About the compressor thanks for the props , its heavy duty for sure


