
death wobble and repairs


Thread Starter
|
Diesel Fan
Joined: Apr 2012
Posts: 10
Likes: 0
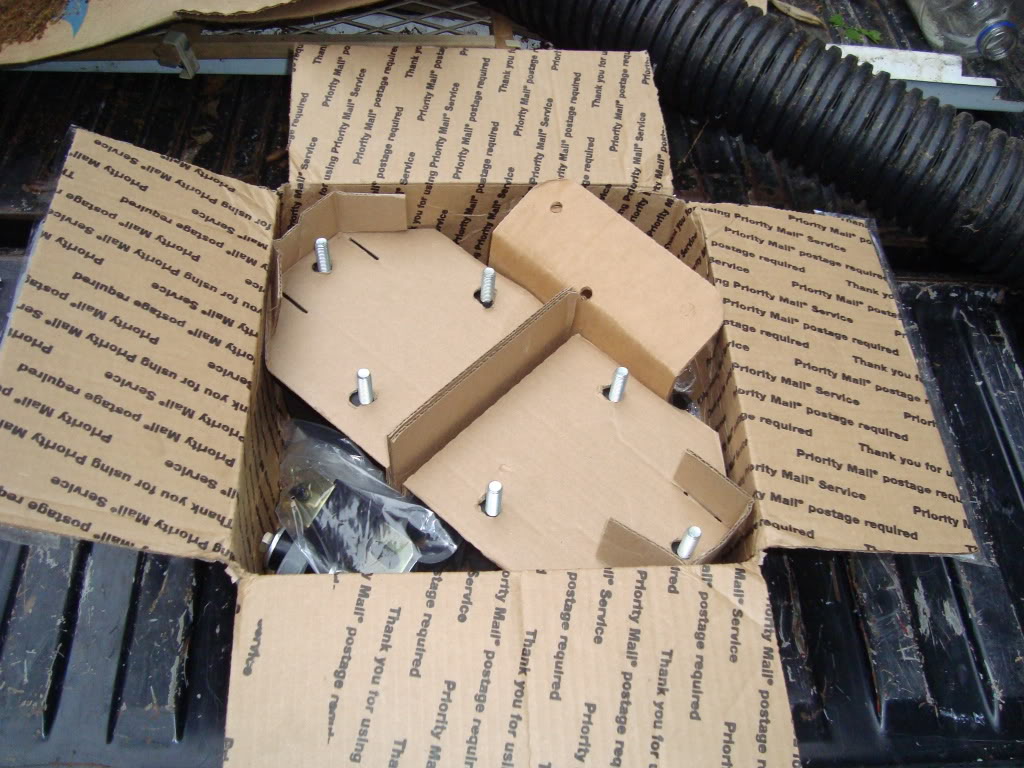
hell bent steel parts arrived today. amazing quality, fast shipping. I'll post pics of opening the box when I get home.
---AutoMerged DoublePost---
as promised, here are the pictures
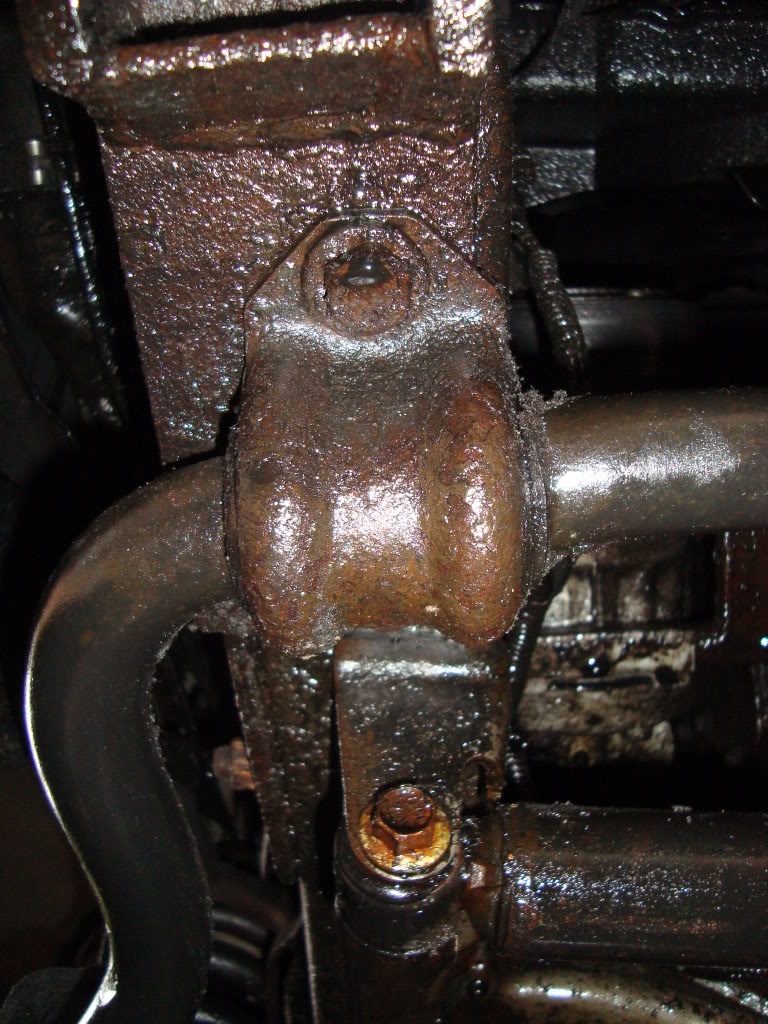
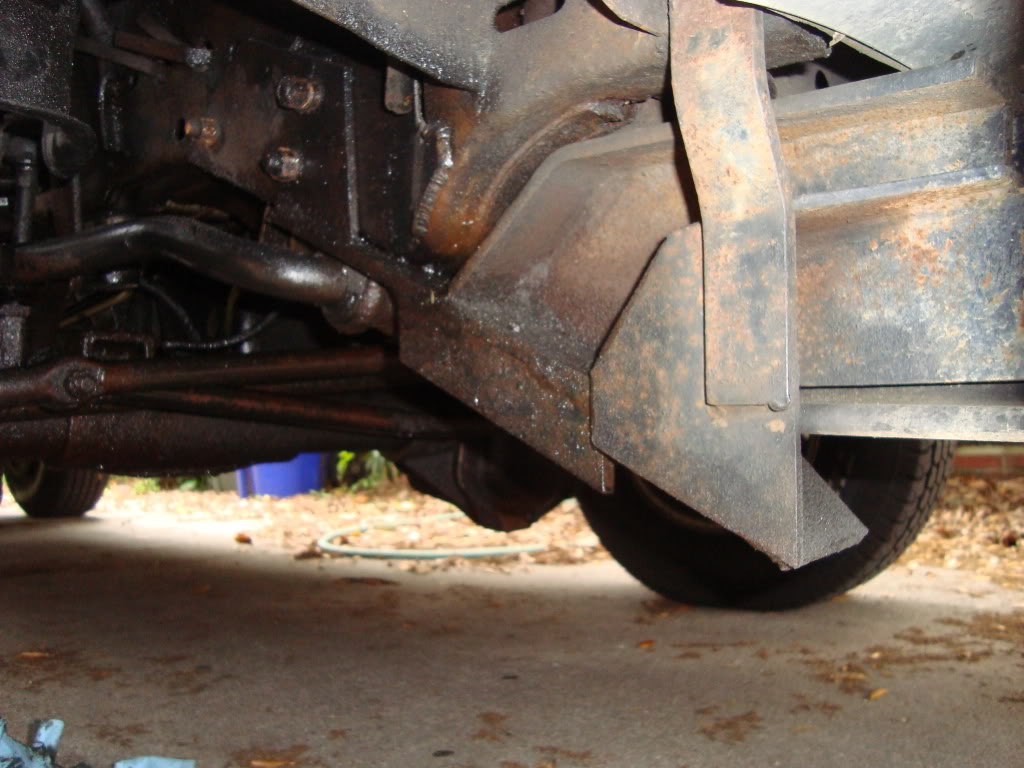
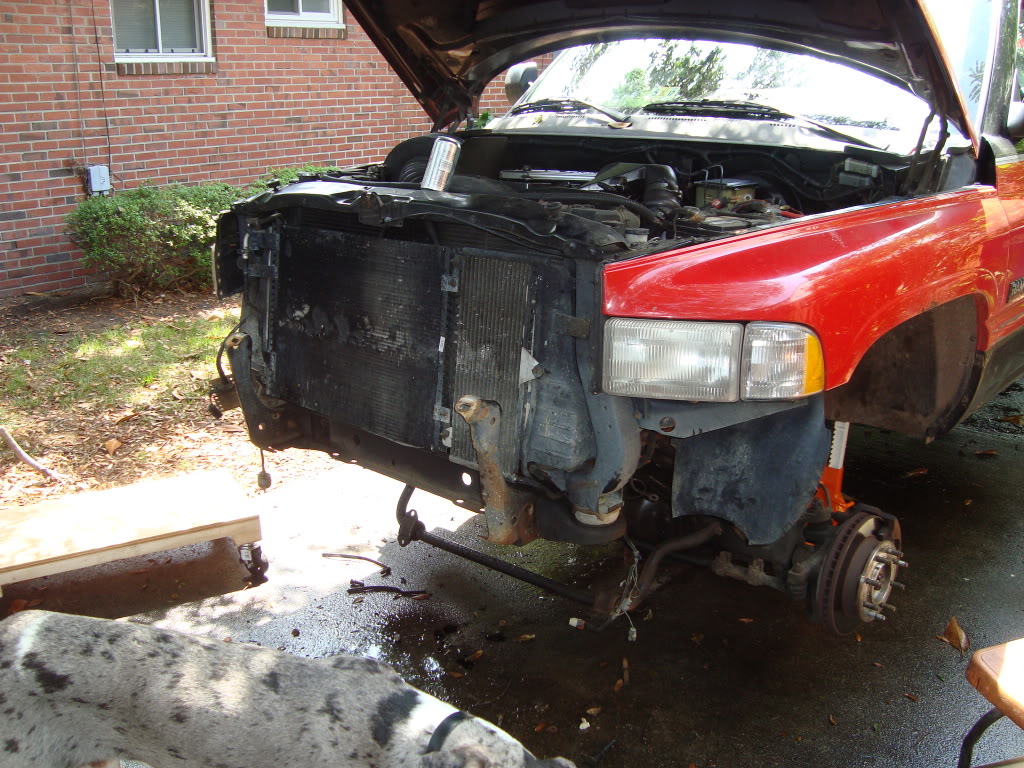
now here are the factory parts still installed. yes, I know its nasty under there.
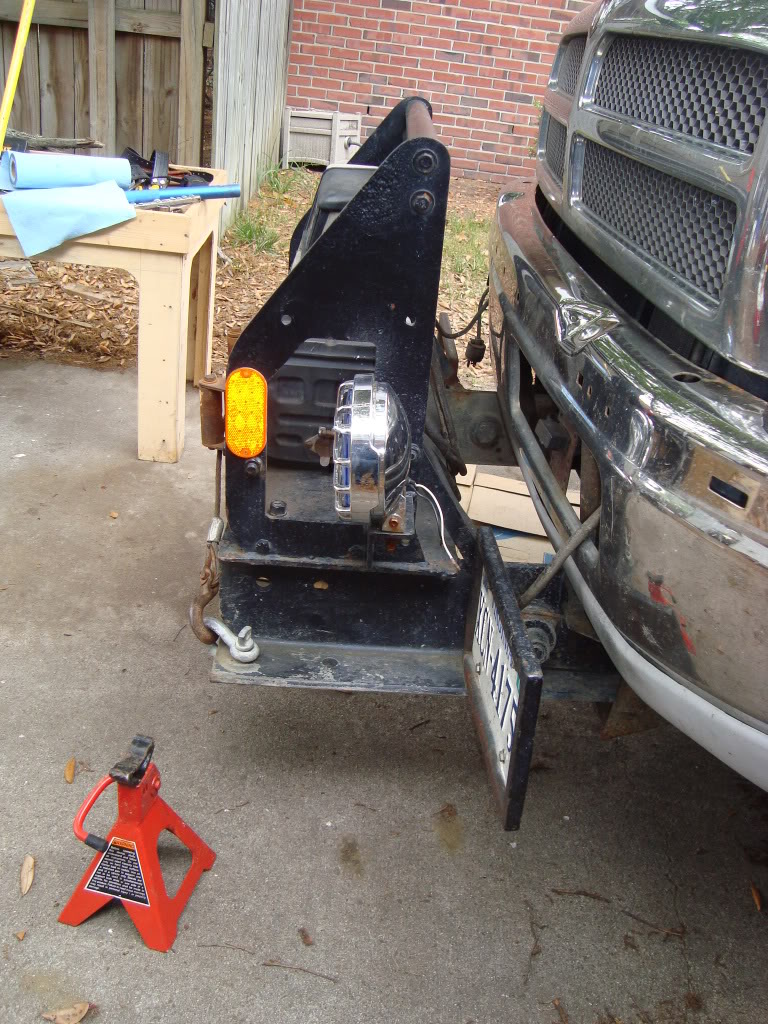
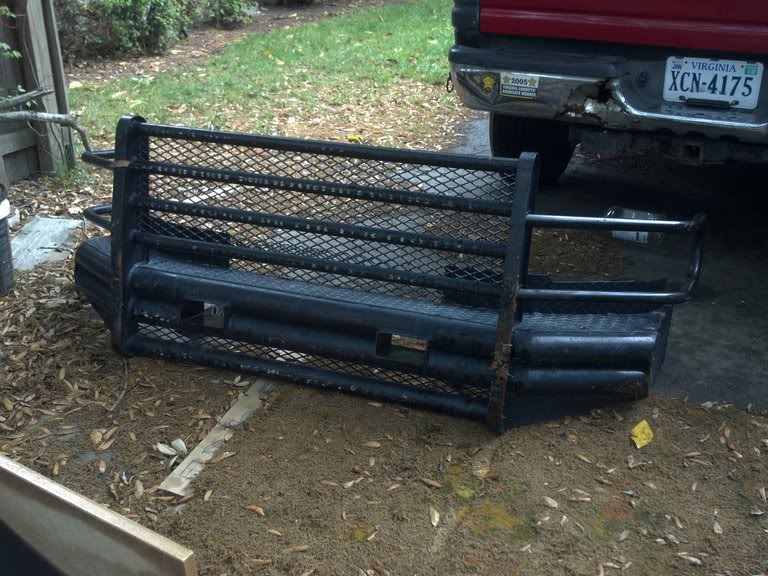
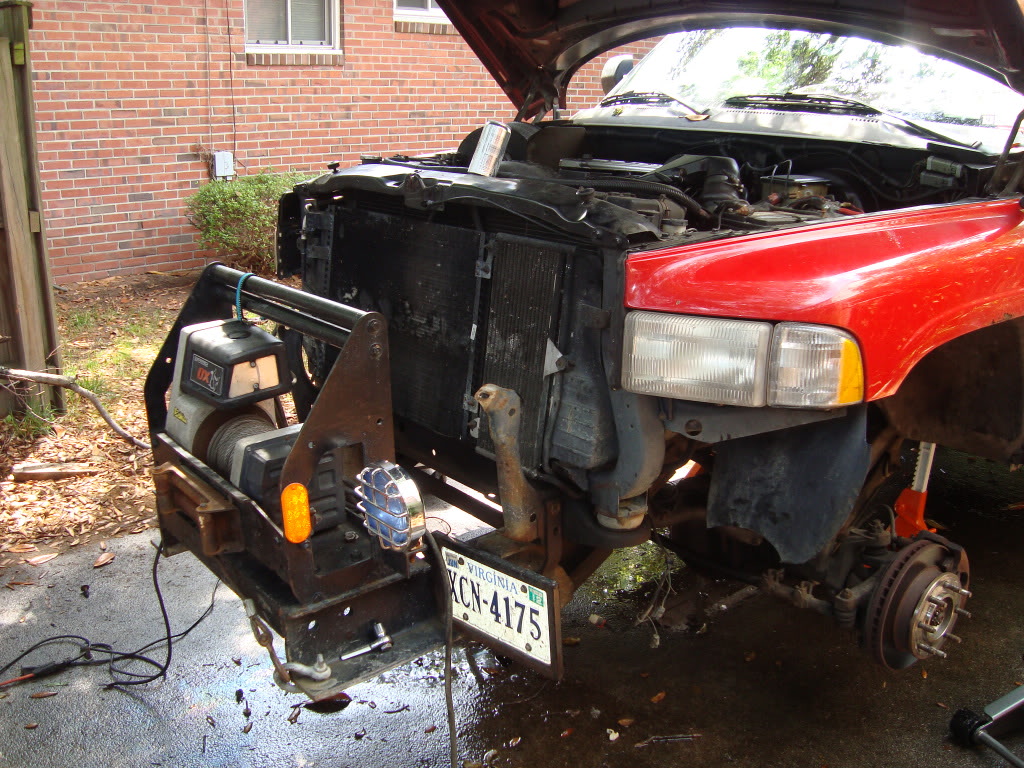
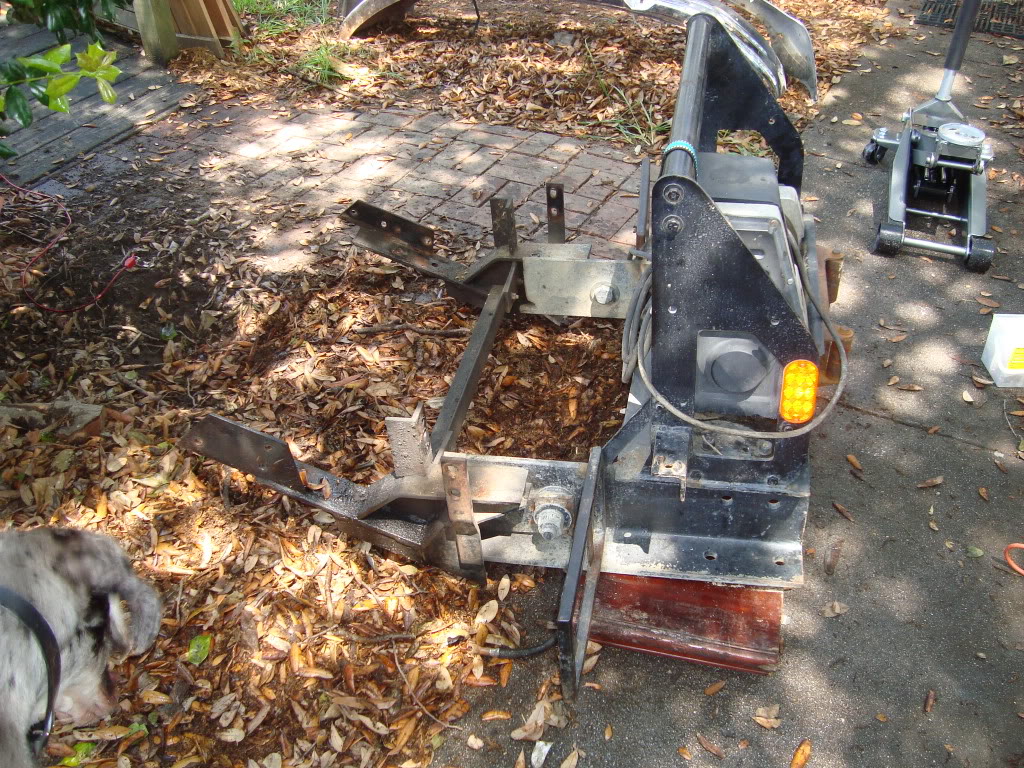
also, here is some of the winch that is coming off (will be retained for later install) and the new bumper to go on
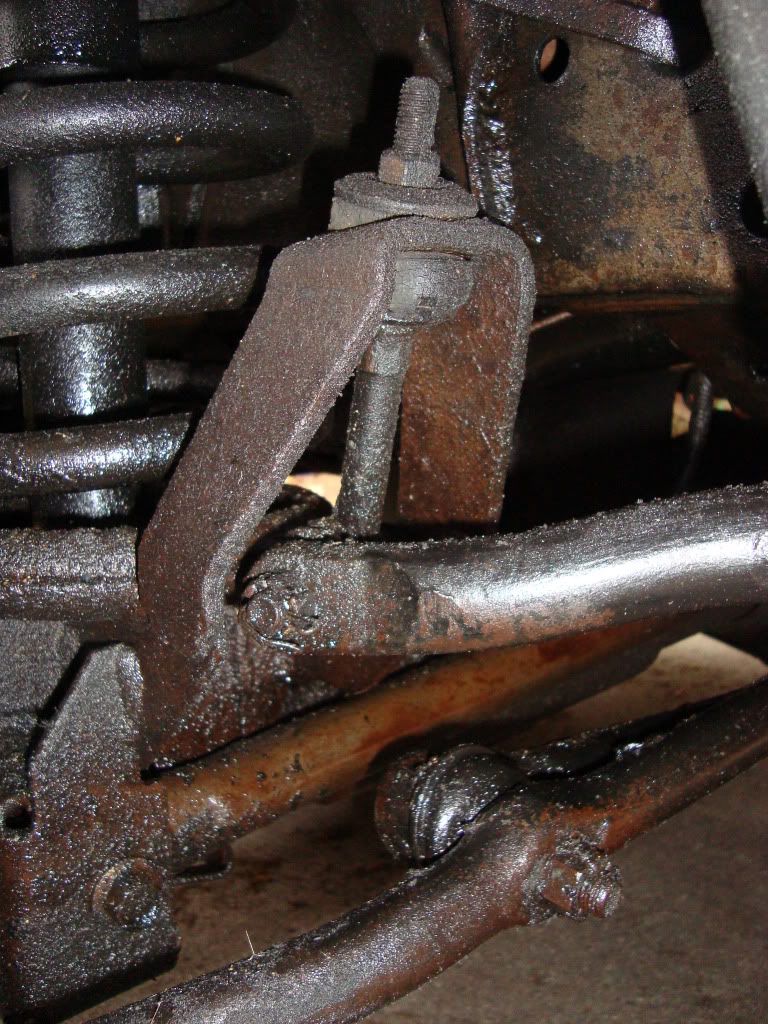
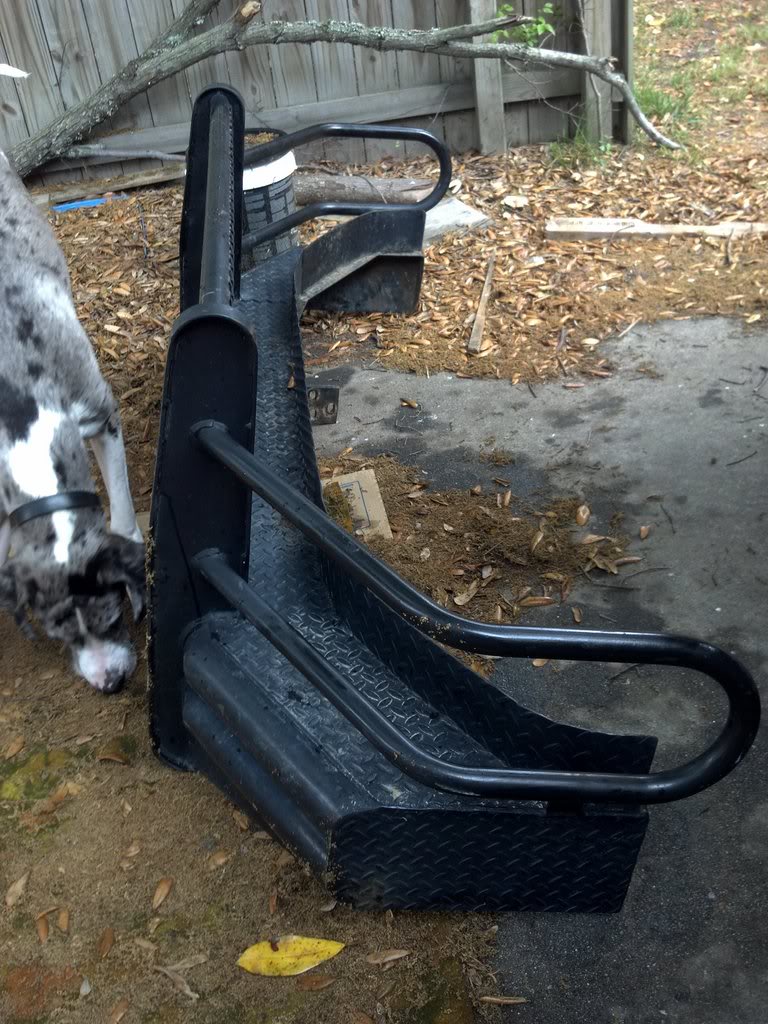
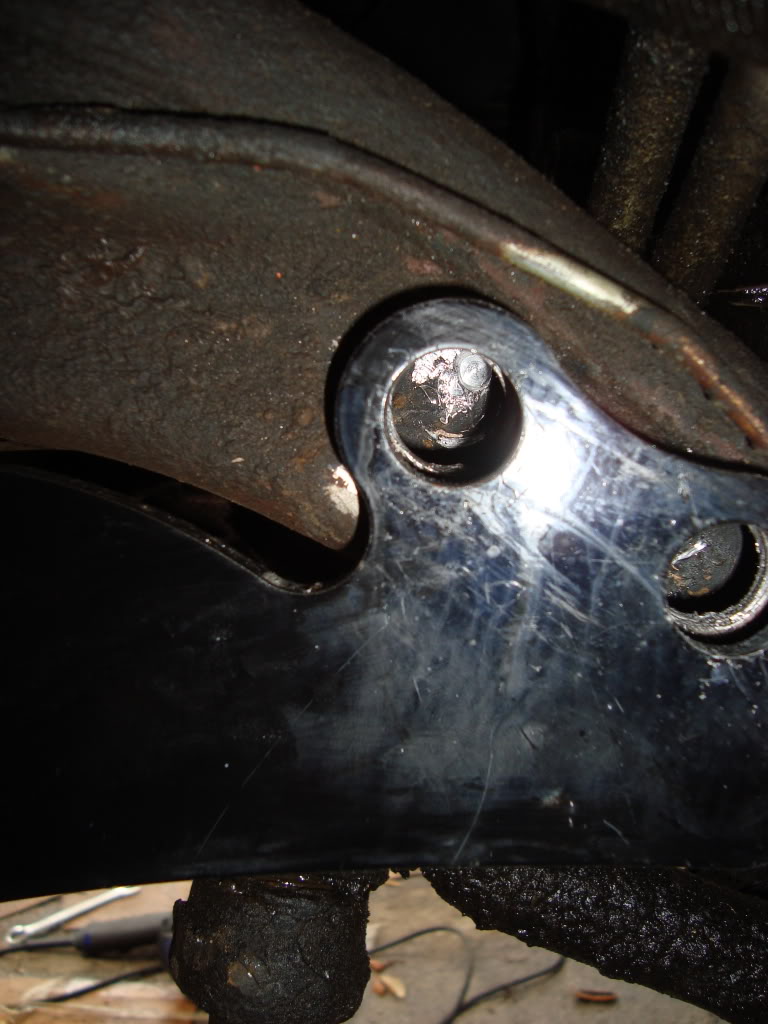
current winch mounting bracket. it was a snow plow mount at some point in time
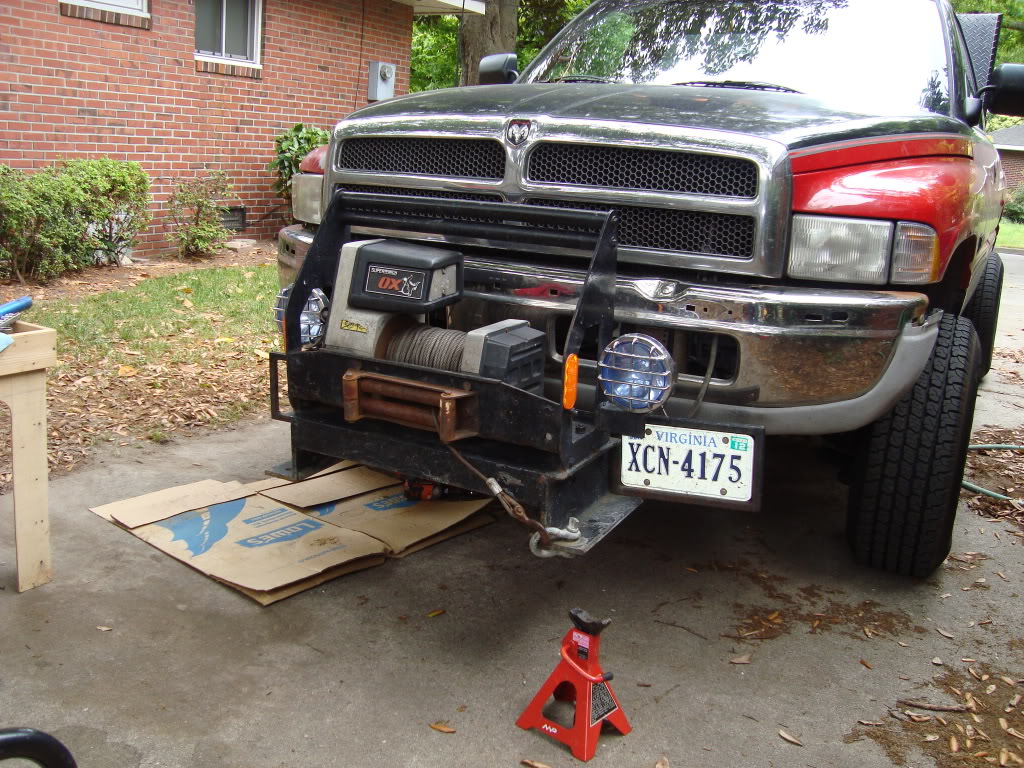
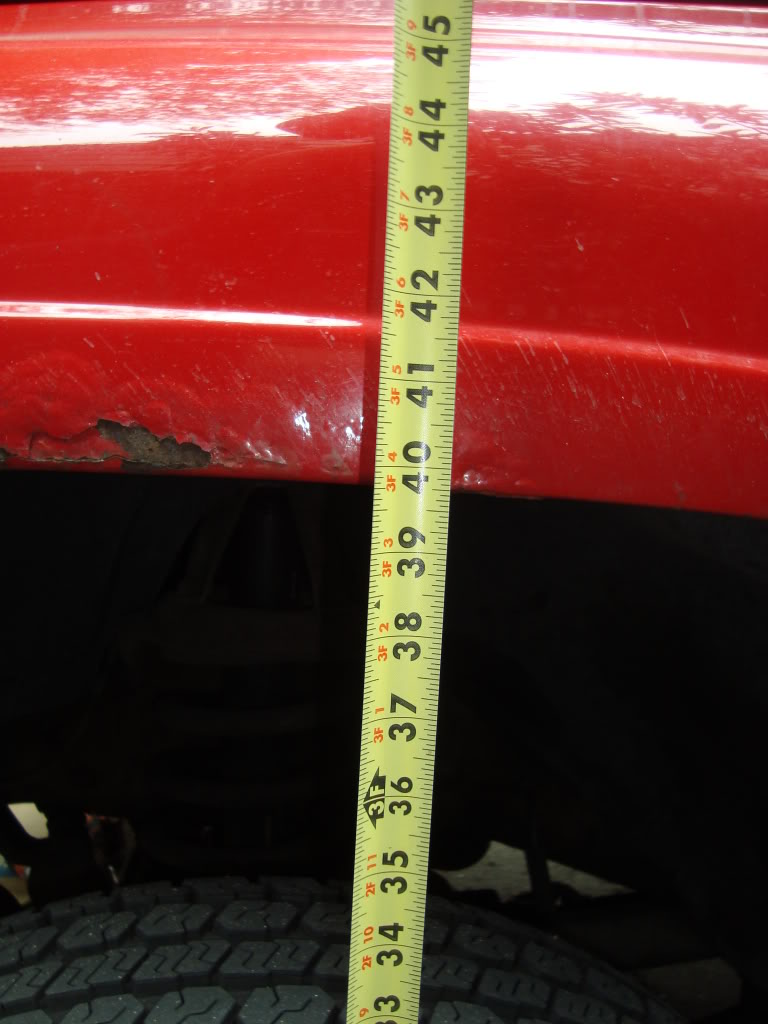
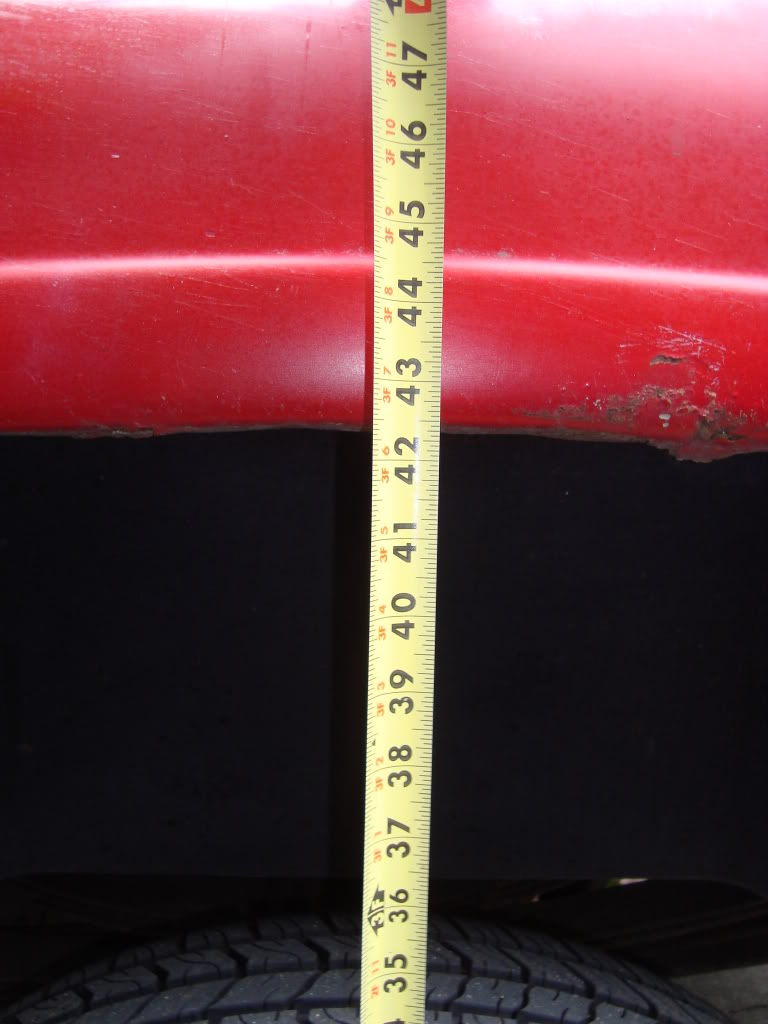
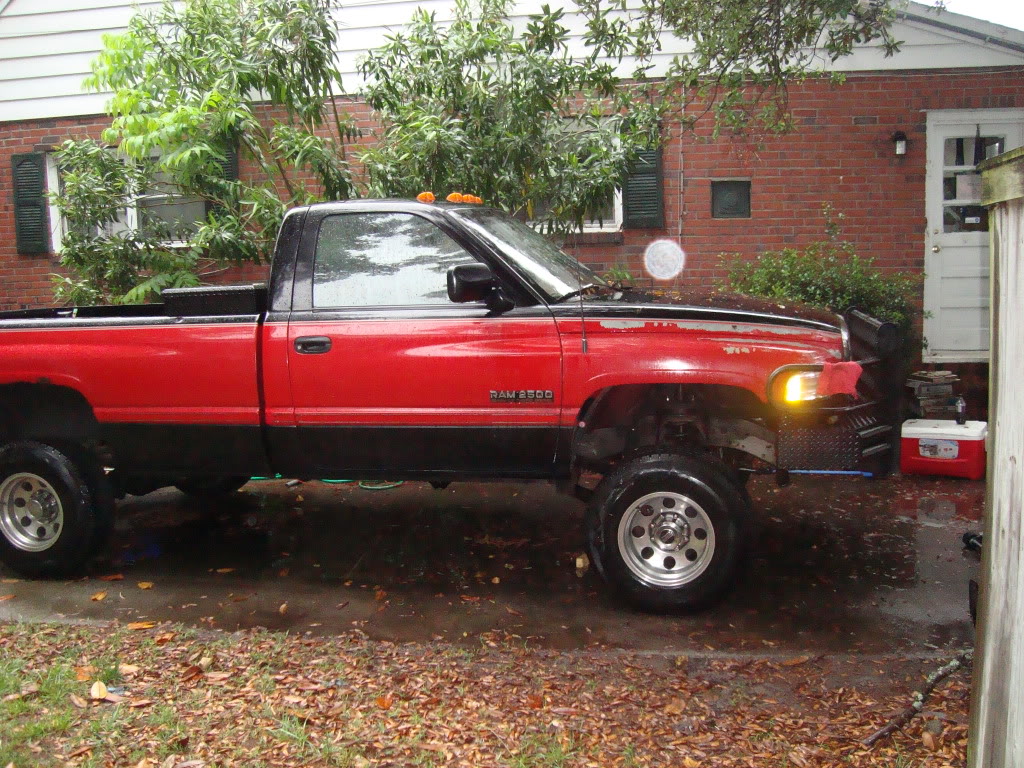
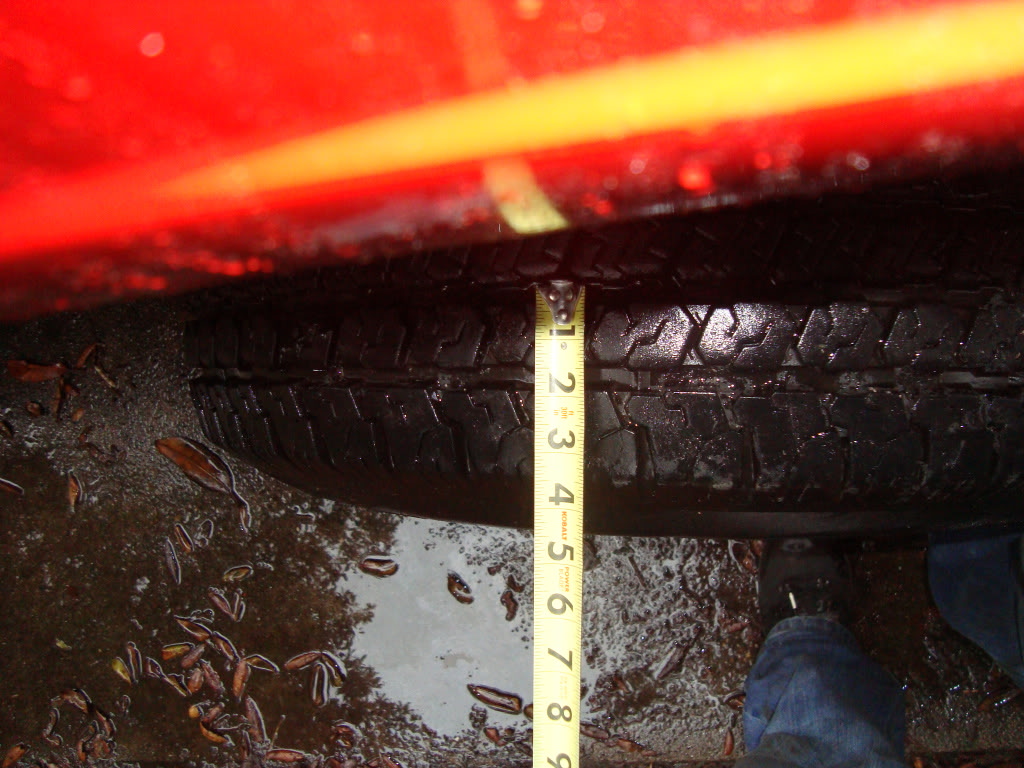
front fender height as it sits now
and rear fender height
---AutoMerged DoublePost---
as promised, here are the pictures
now here are the factory parts still installed. yes, I know its nasty under there.
also, here is some of the winch that is coming off (will be retained for later install) and the new bumper to go on
current winch mounting bracket. it was a snow plow mount at some point in time
front fender height as it sits now
and rear fender height
Last edited by hard_hat; Apr 28, 2012 at 01:01 PM. Reason: Automerged Doublepost

 When are you puttin them in??
Thread Starter
|
Diesel Fan
Joined: Apr 2012
Posts: 10
Likes: 0
here are the long awaited pictures of the install process from beginning to end. This was a giant PITA due to the condition of the truck.
Getting started day 1
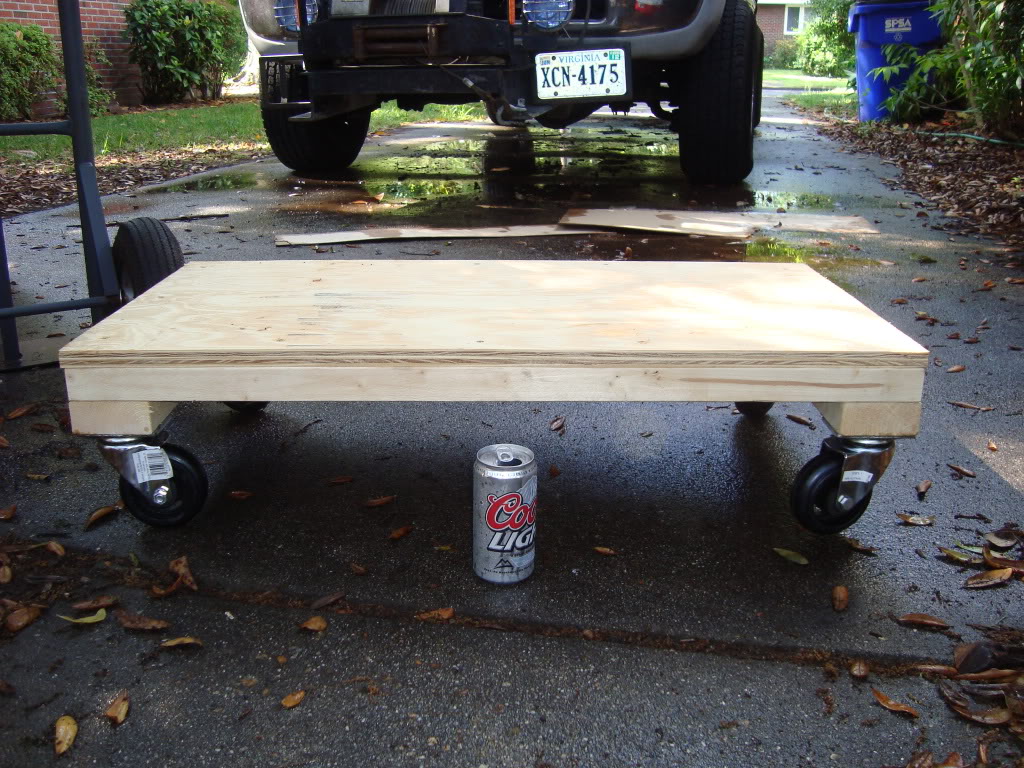
didn't have a creeper, so I built one before really getting started
bumper removed
winch removed
winch and mount sitting on the ground. this thing is every bit as heavy as it looks
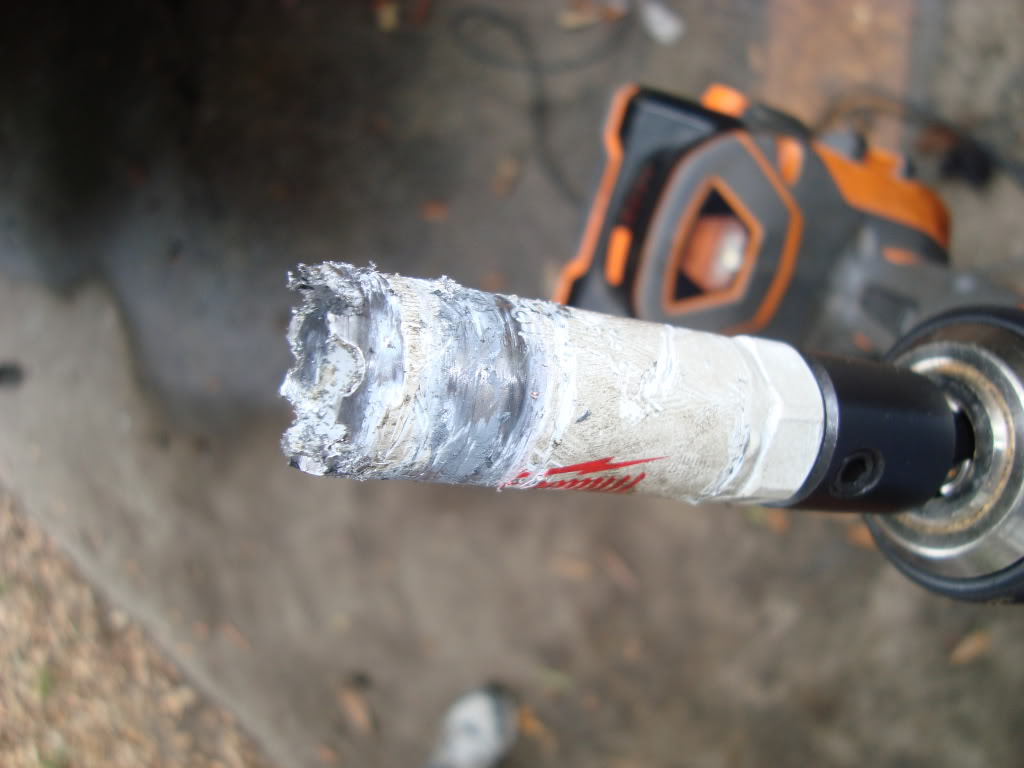
drilling holes in crossmember for track bar bracket
and the bit
here is a video of how bad the old track bar was
http://s554.photobucket.com/albums/jj401/devilsenemy_1/truck/?action=view¤t=MOV05097.mp4
Getting started day 1
didn't have a creeper, so I built one before really getting started
bumper removed
winch removed
winch and mount sitting on the ground. this thing is every bit as heavy as it looks
drilling holes in crossmember for track bar bracket
and the bit
here is a video of how bad the old track bar was
http://s554.photobucket.com/albums/jj401/devilsenemy_1/truck/?action=view¤t=MOV05097.mp4
Thread Starter
|
Diesel Fan
Joined: Apr 2012
Posts: 10
Likes: 0
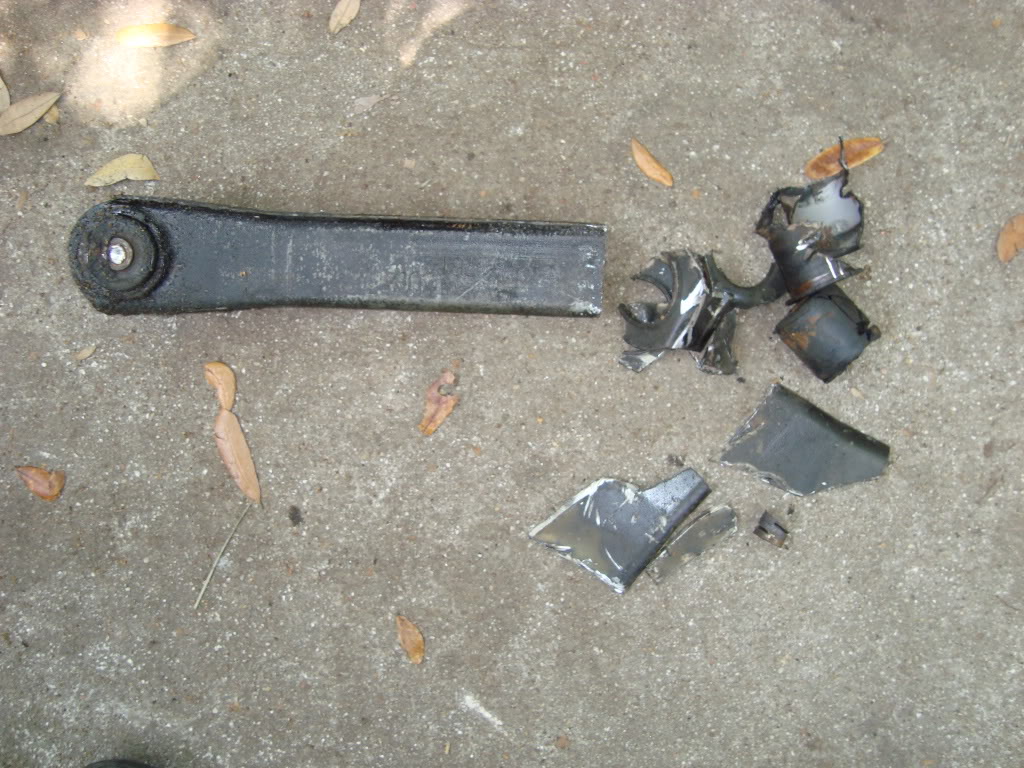
now here is where things got fun. when it was time to remove the old link arms, we found that three of the bolts were frozen into the crush sleeve and could not be pounded out. drivers side upper forward, and passenger side upper forward and aft. to get them out I used the cut off wheel to remove the head and shank portions sticking out. then center punched and drilled out the bolt until enough was gone to remove the link arm from the mount.
this however didn't work for the passenger side upper aft, which the bolt goes thru the frame. after destroying 4 sawzall blades, I decided it was time to stop being nice. again came the cut off wheel.
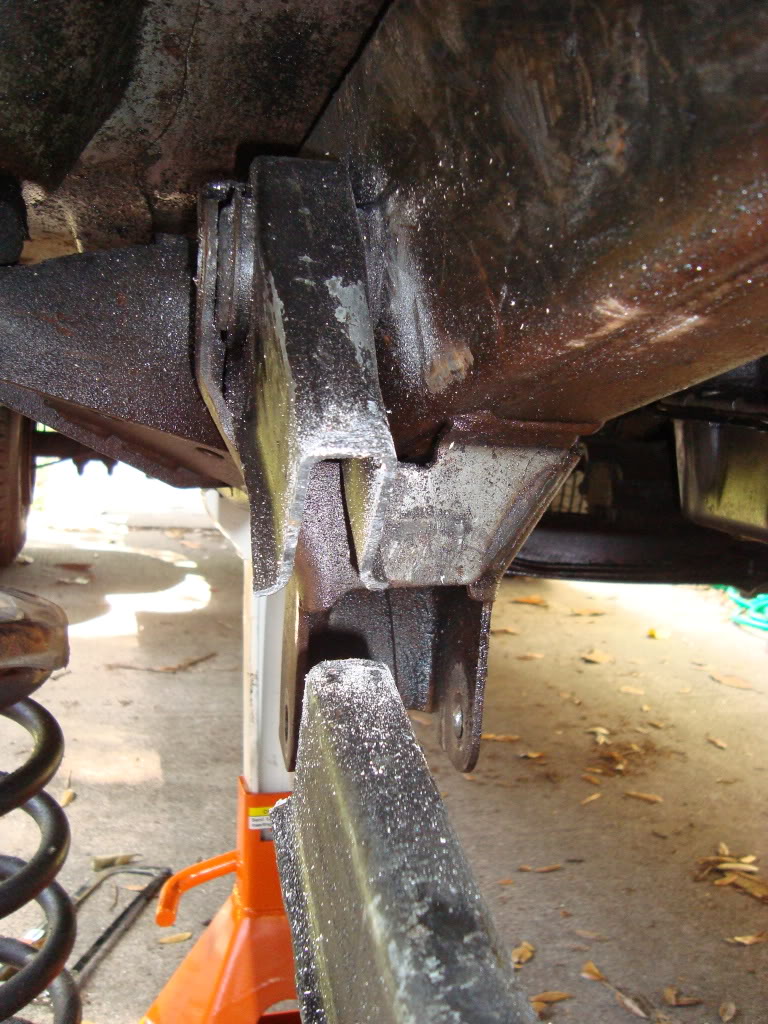
after removal
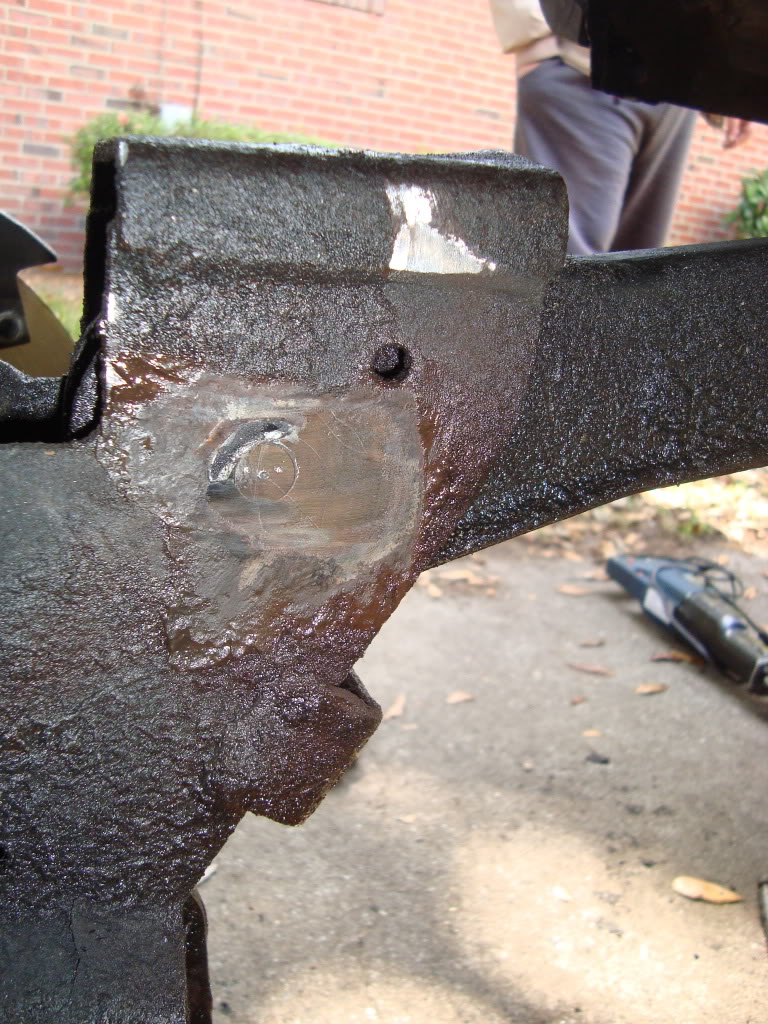
all holes (with stuck fasteners) were enlarged to 1/2" and new grade 8 hardware was installed.
as I was installing the steering box stabilizer, the forward or lower (depending on how you look at it) holes on both sides stripped out. plan was to install a helicoil. drivers side was fine, passenger side not so much. as soon as i touched the drill to the threaded insert, it disappeared. and then I found a bunch of stuff in the frame rail.
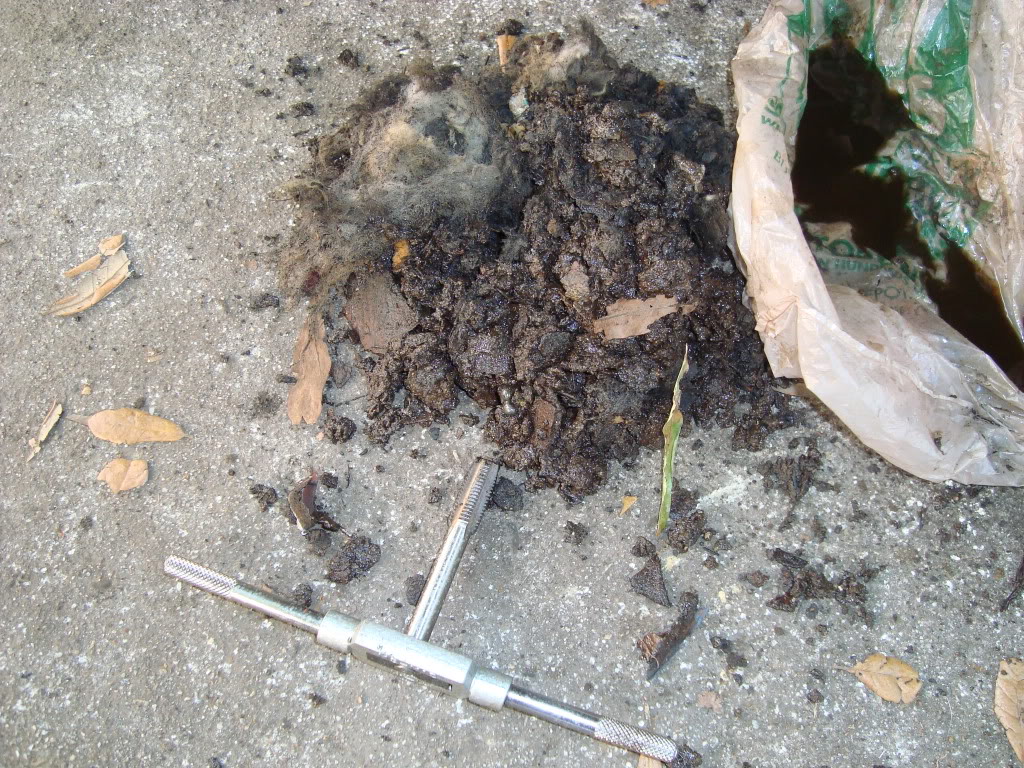
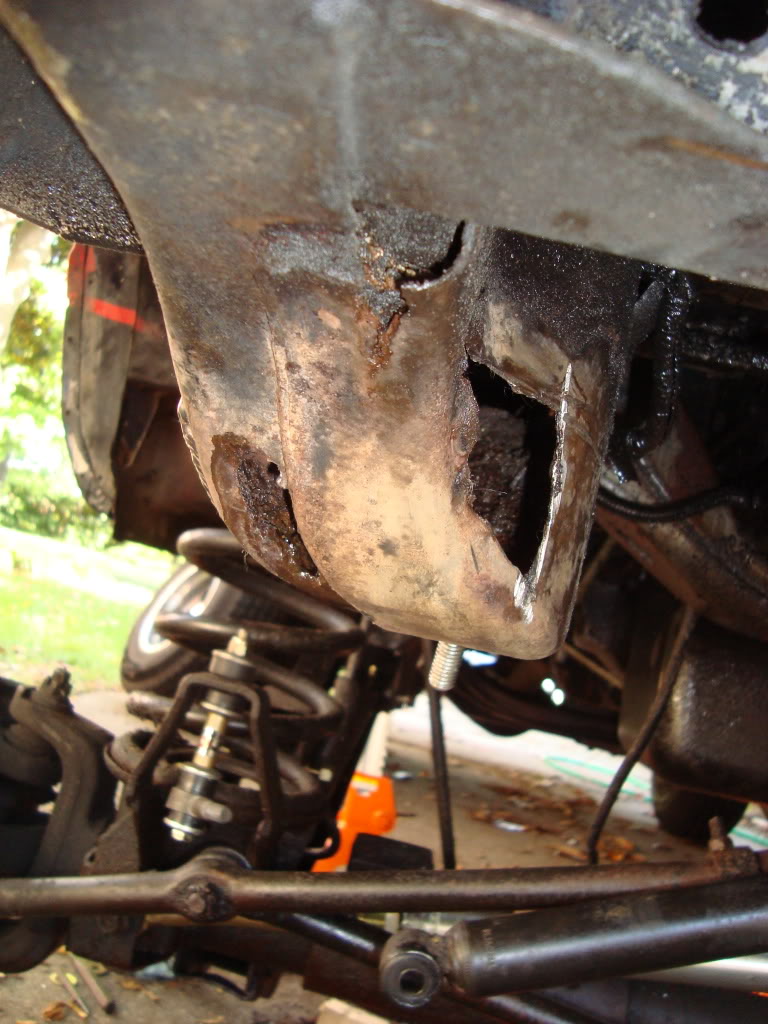
helicoil not used, inserted new bolt thru frame down, nut on the bottom. access through new hole cut out to remove rusted through spots that my screwdriver poked through while removing junk. (weld repairs to come soon)
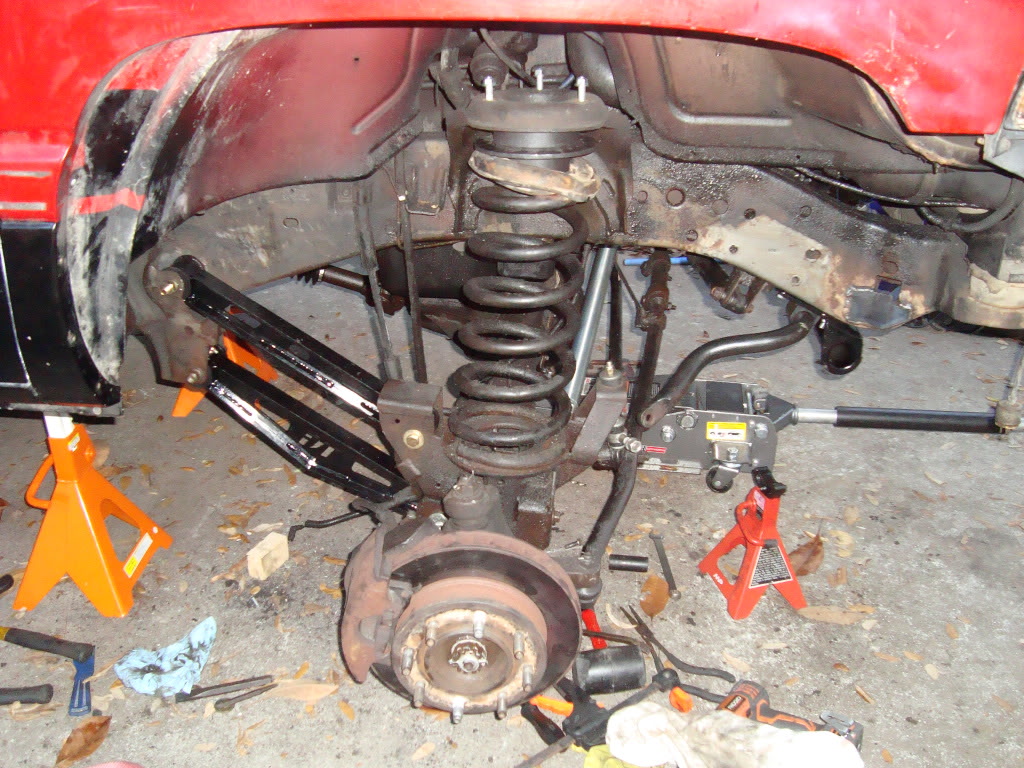
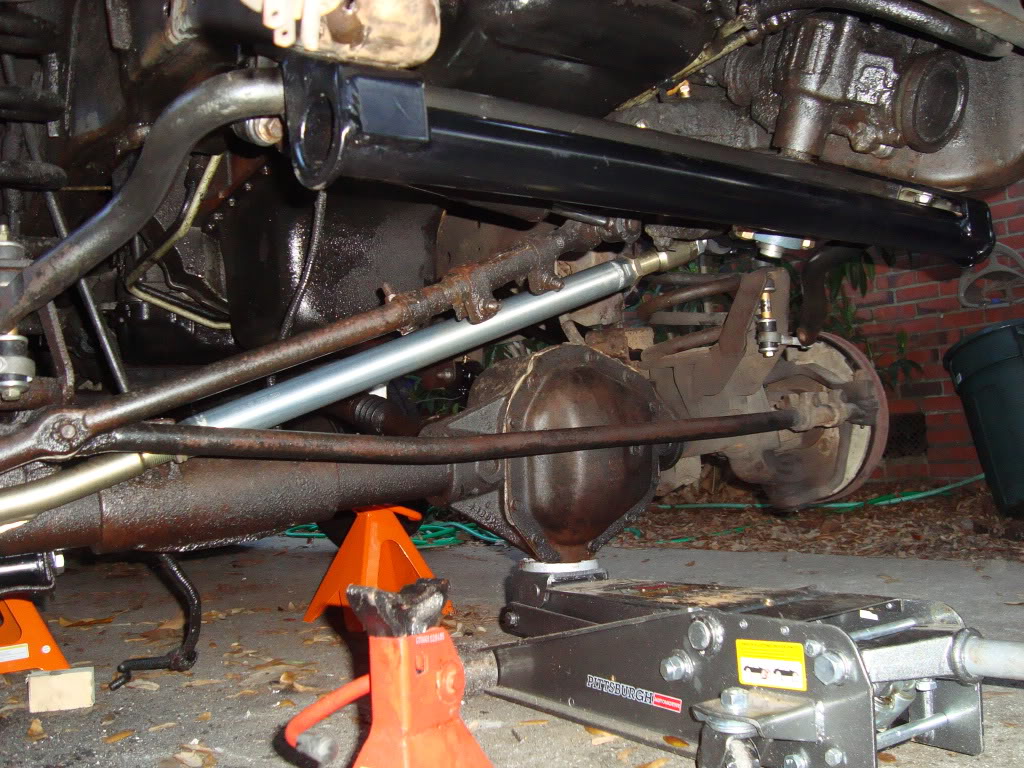
getting it all tied together, and all the bolts tightened (and rechecked)
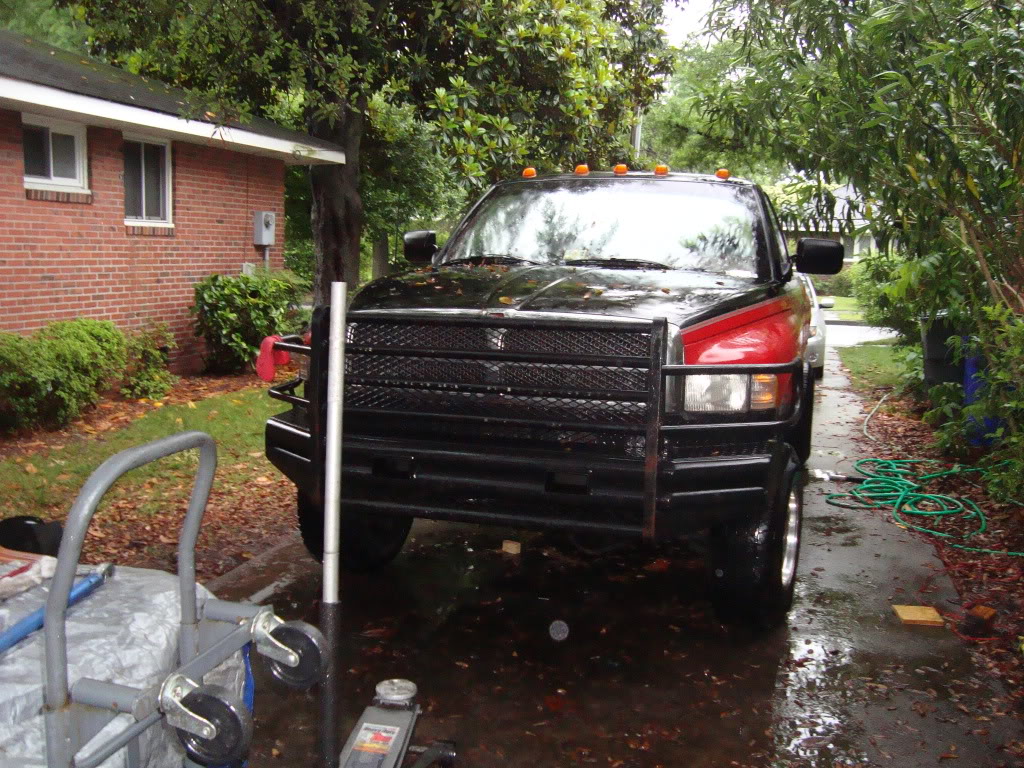
new bumper installed
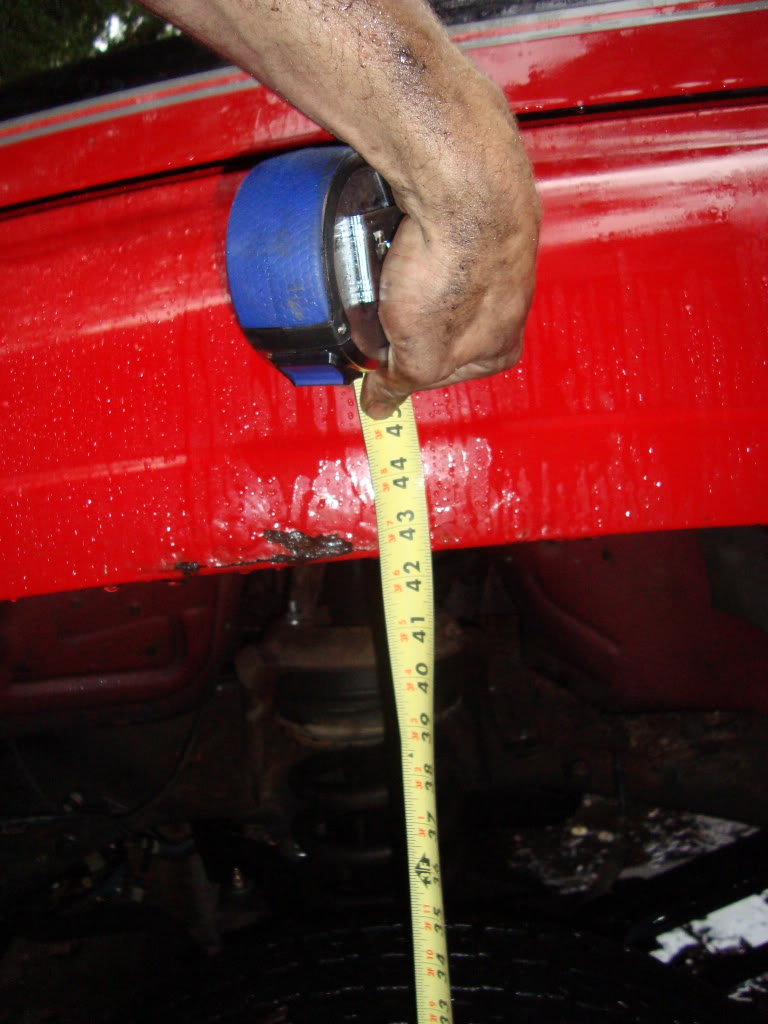
and here is the alignment as it sits now. taking it in for alignment tomorrow.
drivers side

passenger side
and last but not least, the new front fender height.
in retrospect, it was a very rewarding job to do myself, and I only had help on one day for a few hours. every time I turned around something was going wrong, and it seemed that every other day it was raining.
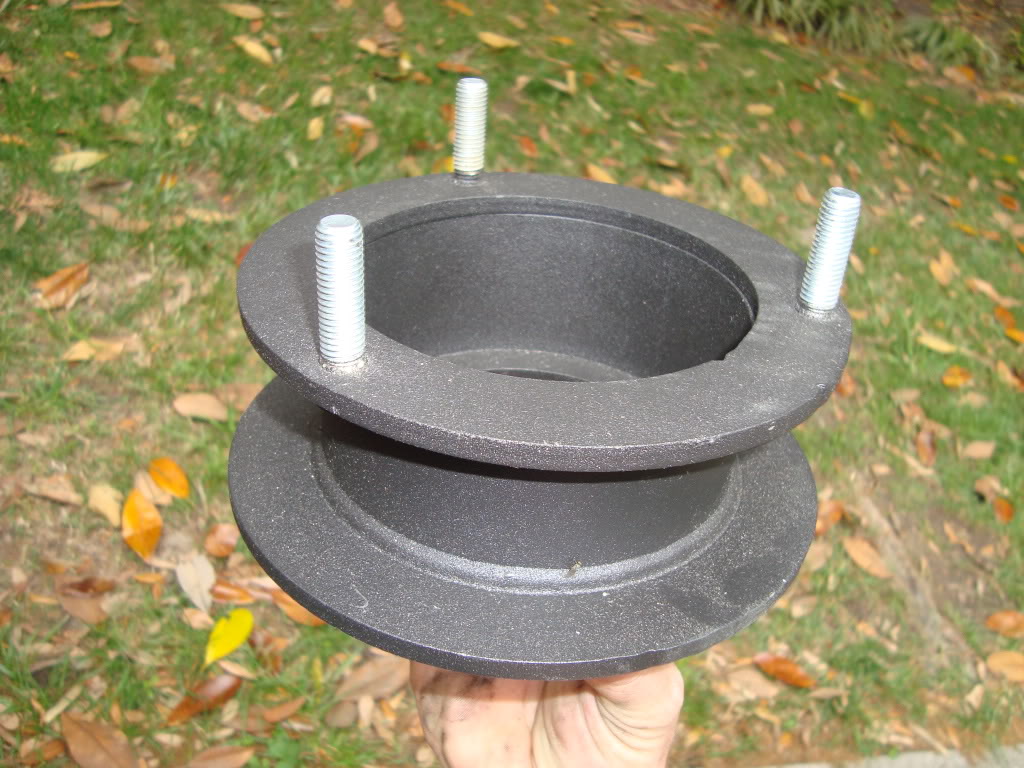
other things not seen in the pictures are new front shocks and the 2.5" coil spring spacers.
this however didn't work for the passenger side upper aft, which the bolt goes thru the frame. after destroying 4 sawzall blades, I decided it was time to stop being nice. again came the cut off wheel.
after removal
all holes (with stuck fasteners) were enlarged to 1/2" and new grade 8 hardware was installed.
as I was installing the steering box stabilizer, the forward or lower (depending on how you look at it) holes on both sides stripped out. plan was to install a helicoil. drivers side was fine, passenger side not so much. as soon as i touched the drill to the threaded insert, it disappeared. and then I found a bunch of stuff in the frame rail.
helicoil not used, inserted new bolt thru frame down, nut on the bottom. access through new hole cut out to remove rusted through spots that my screwdriver poked through while removing junk. (weld repairs to come soon)
getting it all tied together, and all the bolts tightened (and rechecked)
new bumper installed
and here is the alignment as it sits now. taking it in for alignment tomorrow.
drivers side
passenger side
and last but not least, the new front fender height.
in retrospect, it was a very rewarding job to do myself, and I only had help on one day for a few hours. every time I turned around something was going wrong, and it seemed that every other day it was raining.
other things not seen in the pictures are new front shocks and the 2.5" coil spring spacers.


