
Dmax Replacing the FCA a.k.a. FPR

Thread Starter
|
Super Moderator
Joined: Oct 2007
Posts: 14,872
Likes: 764
From: Houston, Tx

Tools needed:
Torx T-25 bit in 1/4 drive and 2 inch extension.
12mm sockets
15mm sockets
8mm hex bit
10mm sockets and wrenches
various small screw drivers
Getting started:
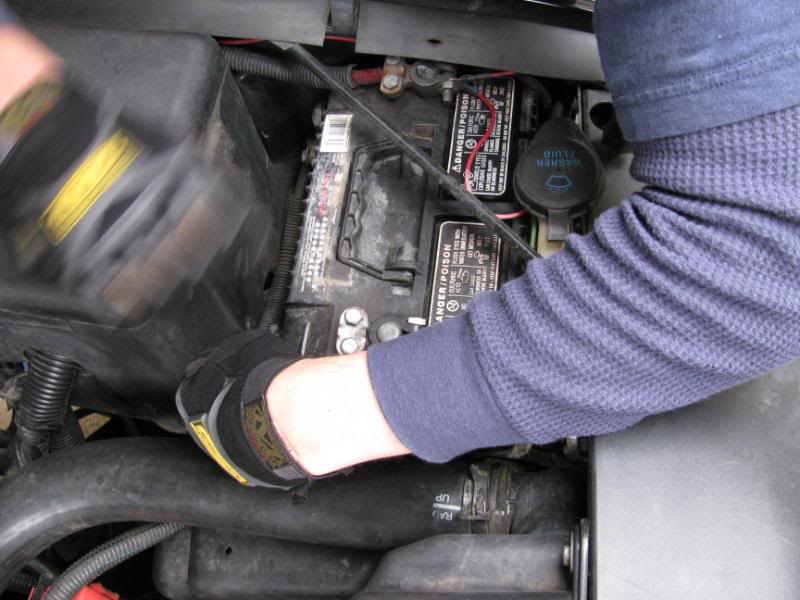
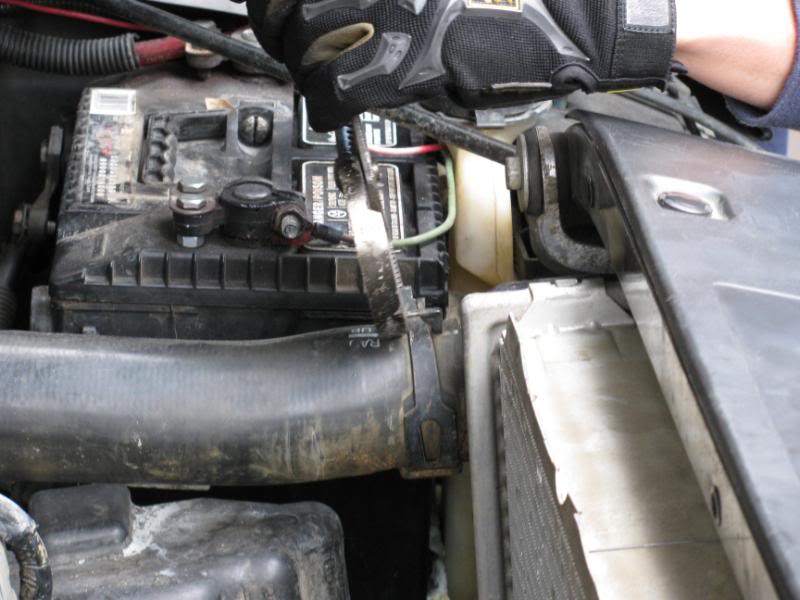
Disconnect the negatives on both batteries
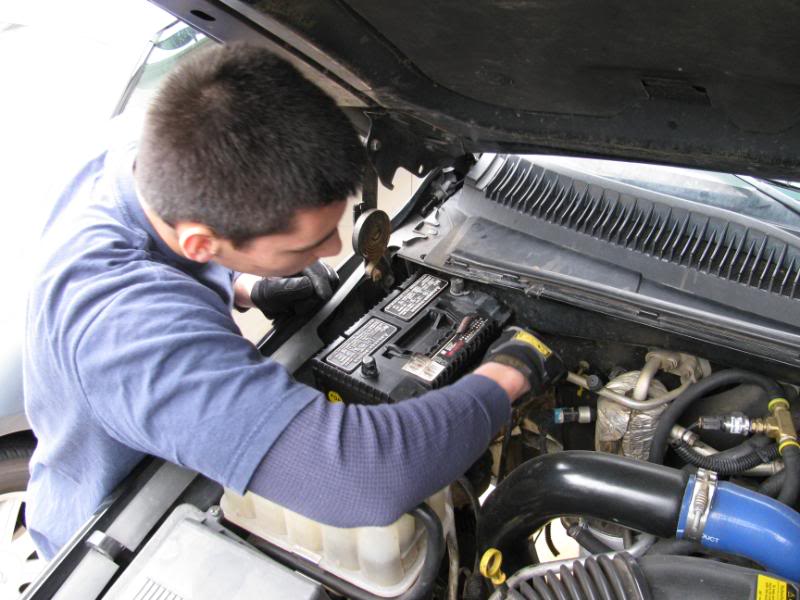
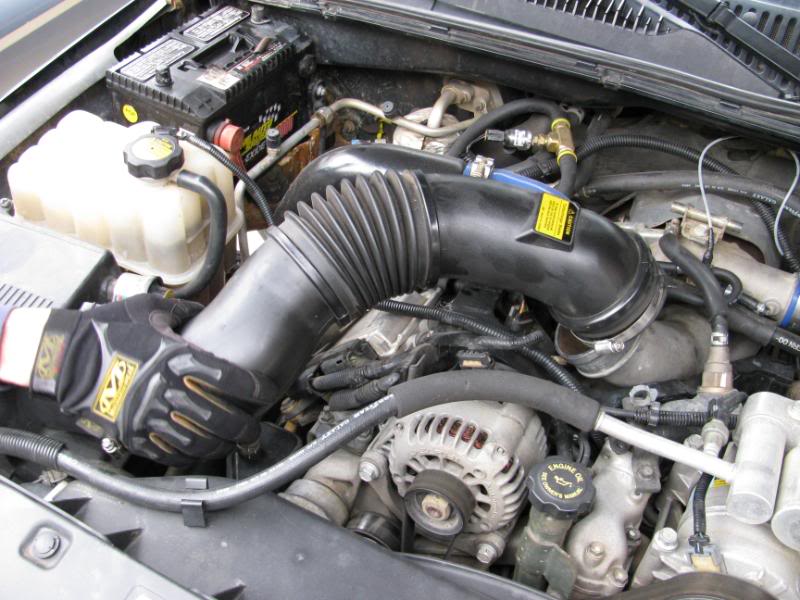
Pull off the intake
Torx T-25 bit in 1/4 drive and 2 inch extension.
12mm sockets
15mm sockets
8mm hex bit
10mm sockets and wrenches
various small screw drivers
Getting started:
Disconnect the negatives on both batteries
Pull off the intake
Thread Starter
|
Super Moderator
Joined: Oct 2007
Posts: 14,872
Likes: 764
From: Houston, Tx
Drain the coolant out from the radiator, there is a little drain bolt that can be opened up so that the coolant can be drained.
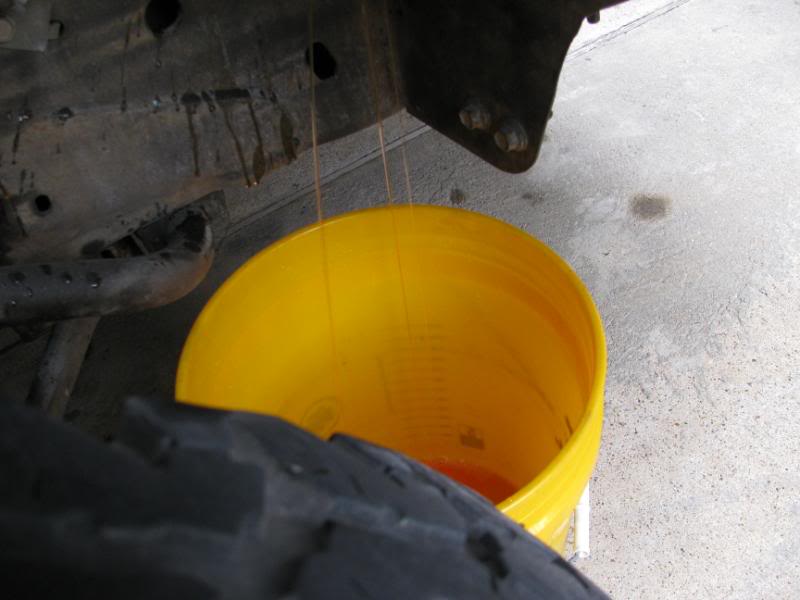
You only want to drain enough to empty the thermostat housing. about a gallon would be enough to keep the coolant from going all over the place when you crap open the thermostat housing.
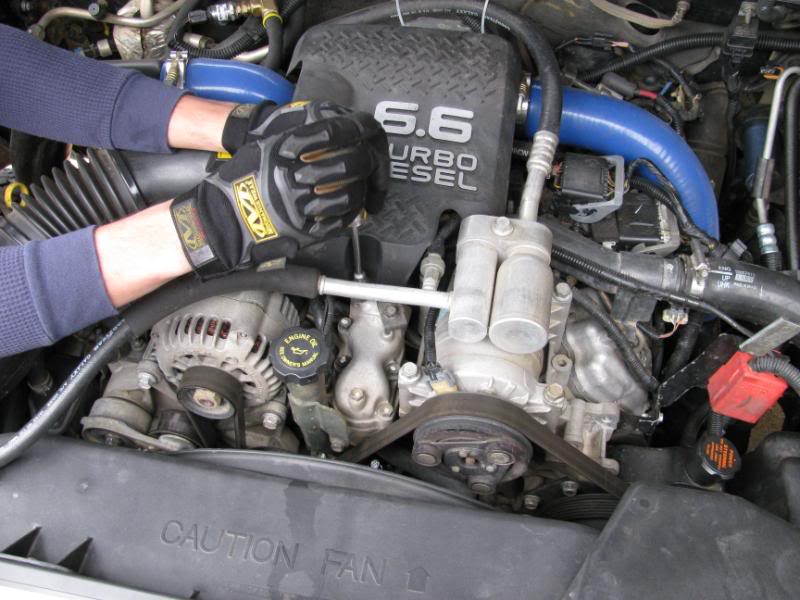
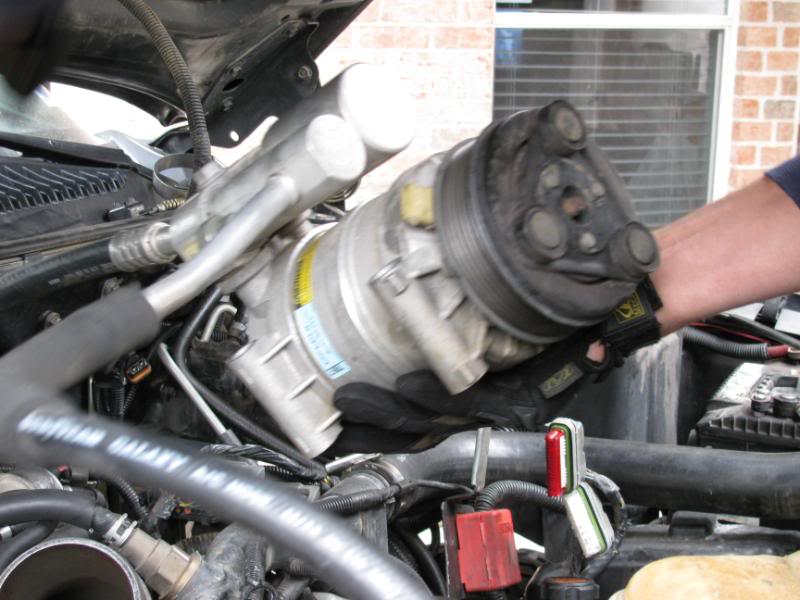
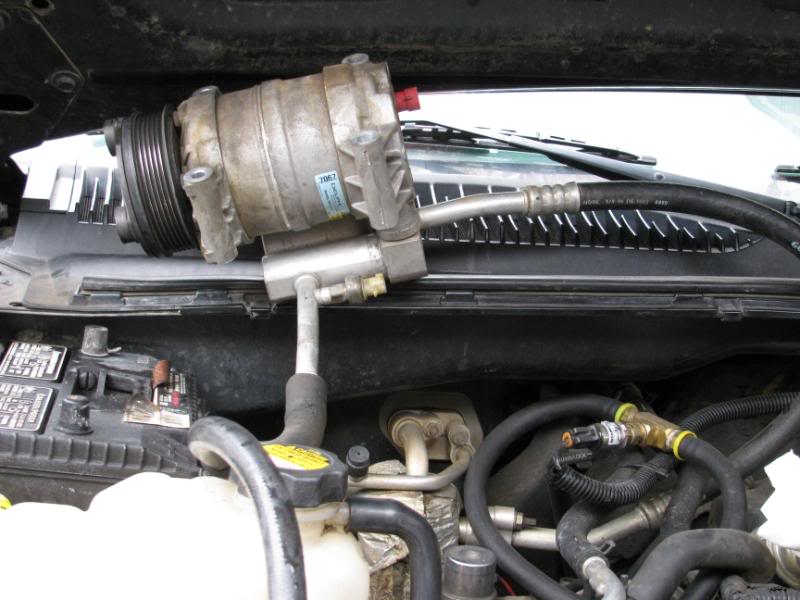
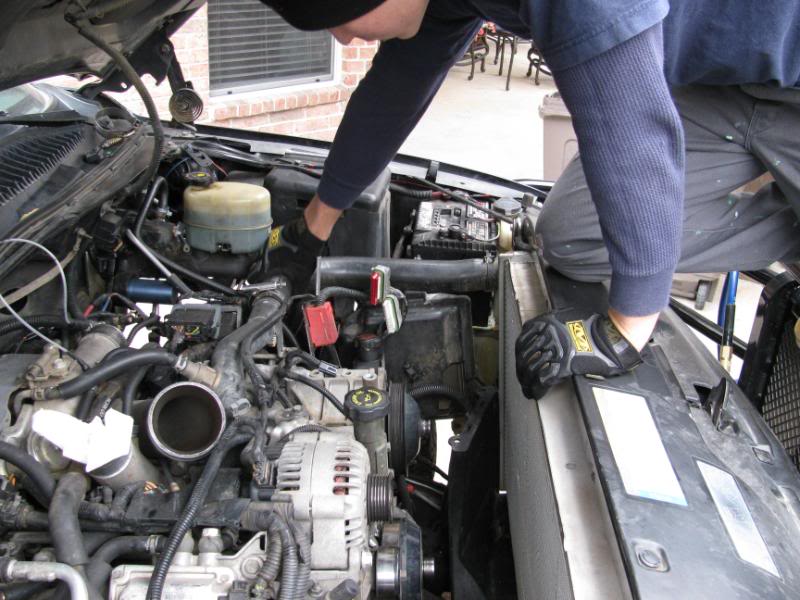
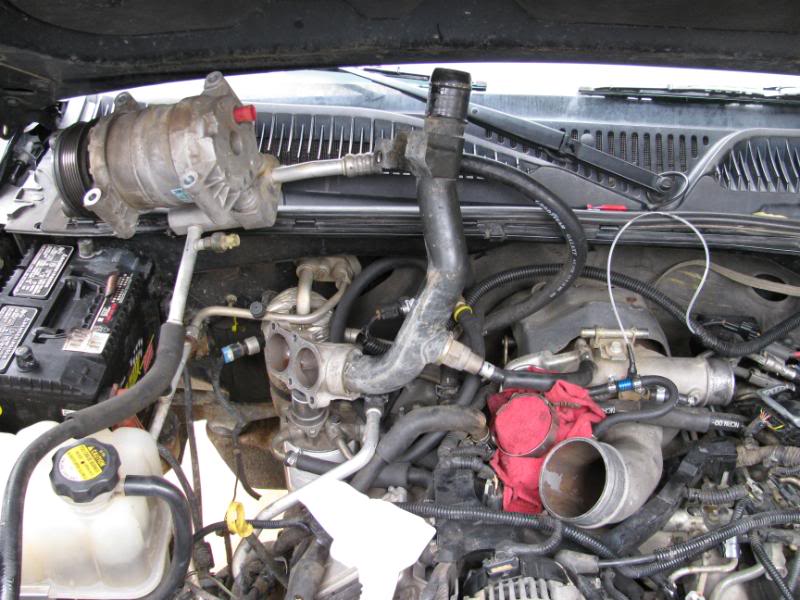
Next thing would be to remove the AC compressor
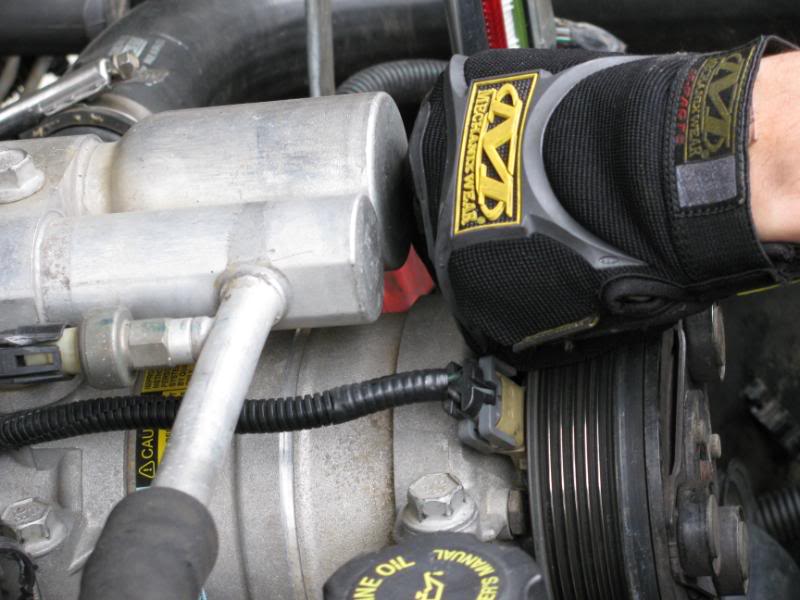
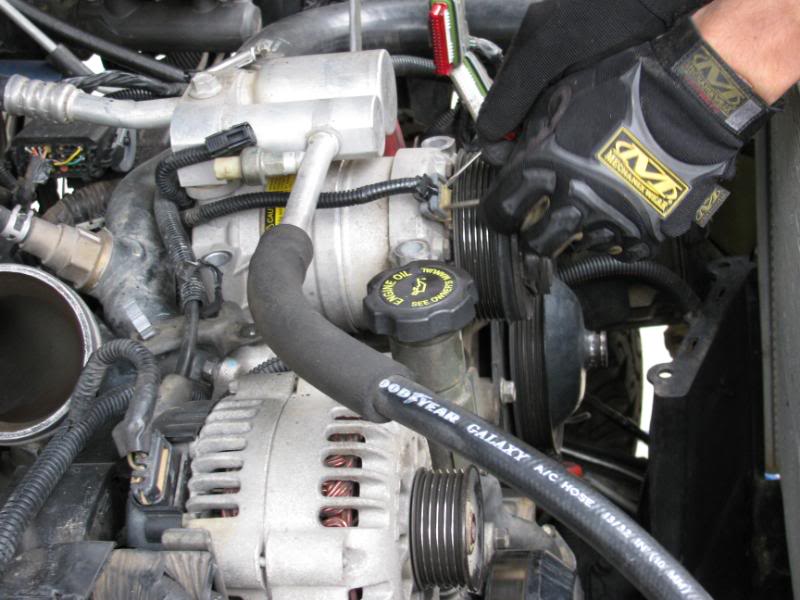
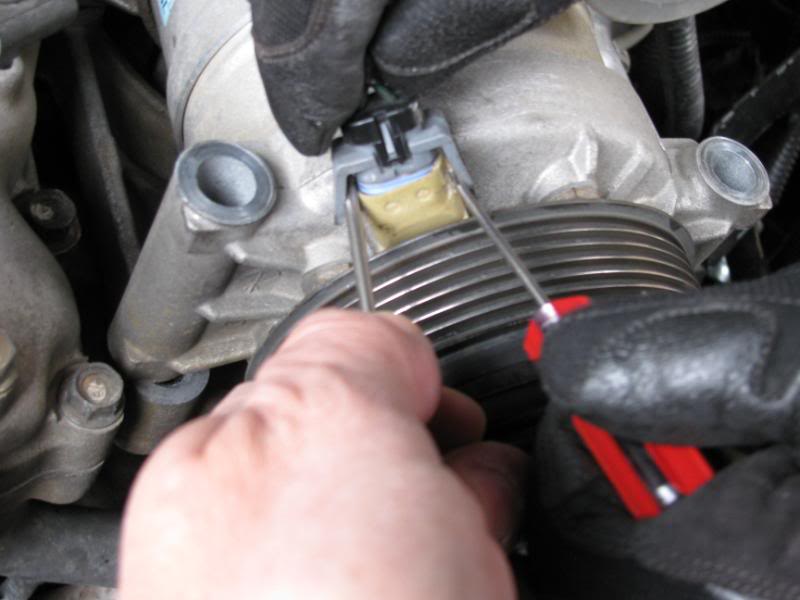
when you unbolt the AC compressor just lay it on over to the passenger side of the engine.
You only want to drain enough to empty the thermostat housing. about a gallon would be enough to keep the coolant from going all over the place when you crap open the thermostat housing.
Next thing would be to remove the AC compressor
when you unbolt the AC compressor just lay it on over to the passenger side of the engine.
Thread Starter
|
Super Moderator
Joined: Oct 2007
Posts: 14,872
Likes: 764
From: Houston, Tx
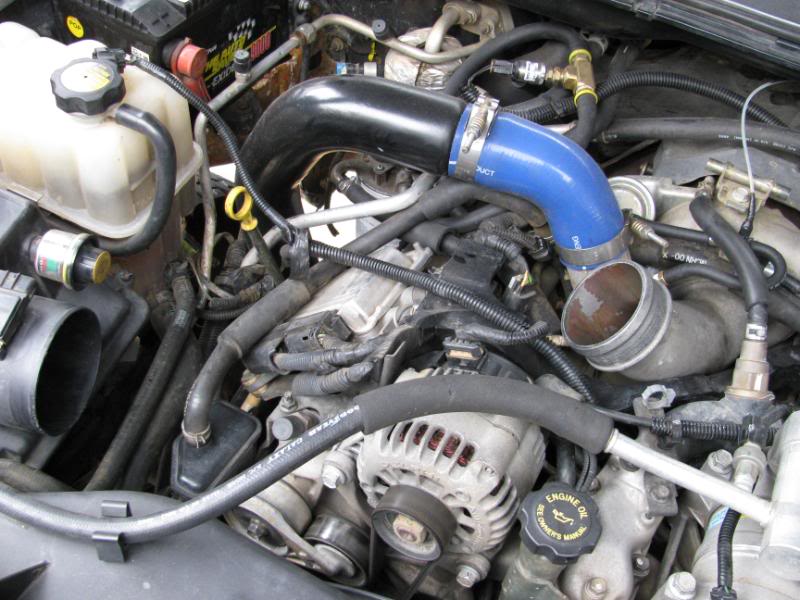
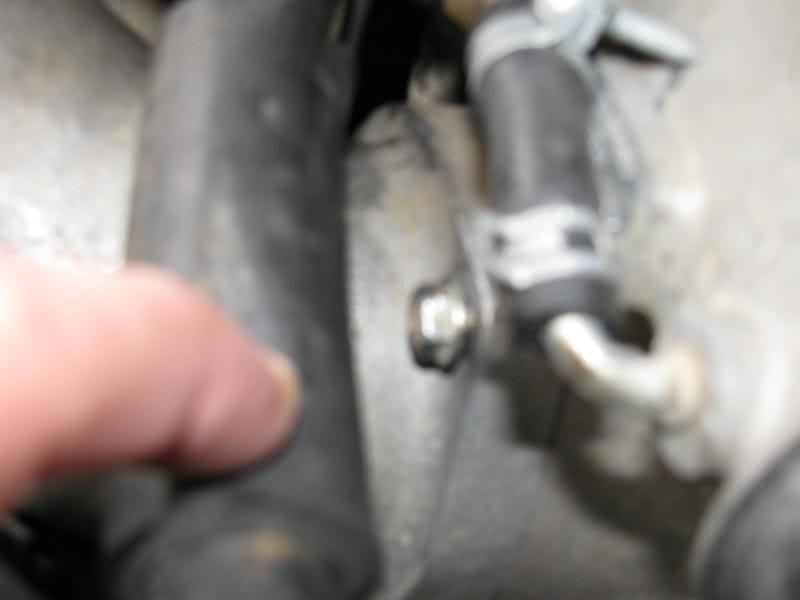
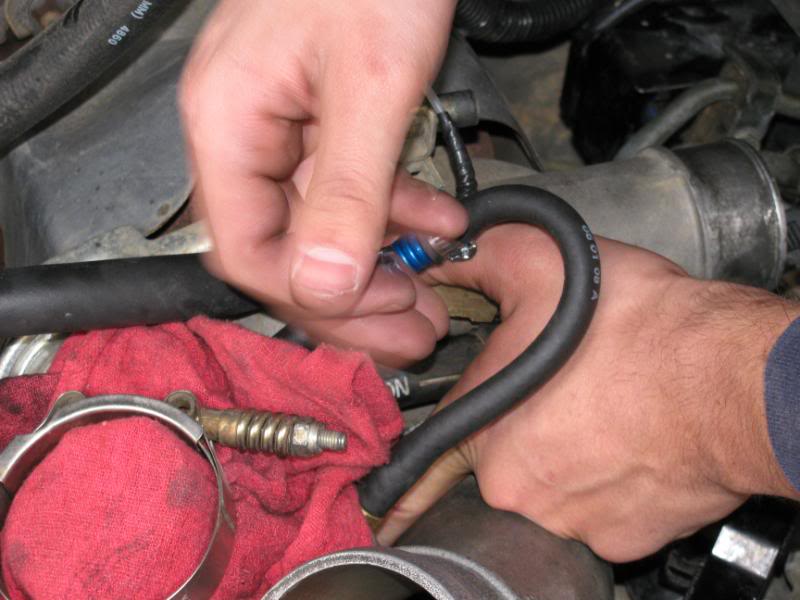
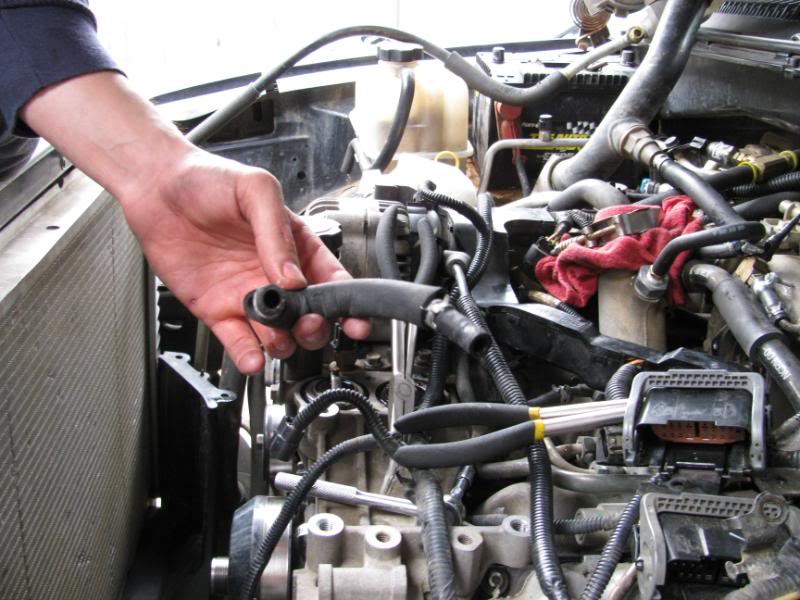
The next step would be to remove the radiator hose coming from top of the radiator to the thermostat housing.
After removing the hose you will have to get the thermostat housing off. You might have to move the big electrical wire connectors out the way a little bit to get access to the bolt that's holding the support bracket that's part of the thermostat housing down
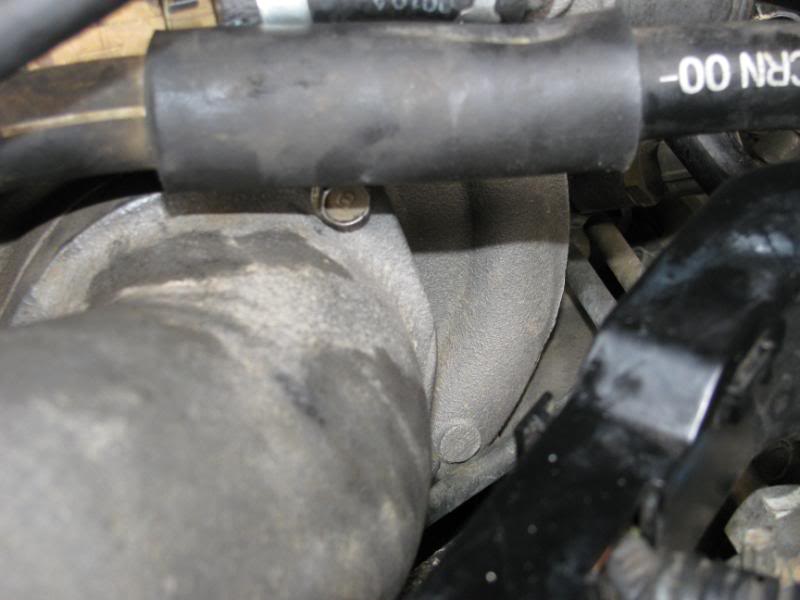
after that you can now work on getting the actual bolts on the thermostat housing. there are 4 of them that need to be removed to pull the housing off.
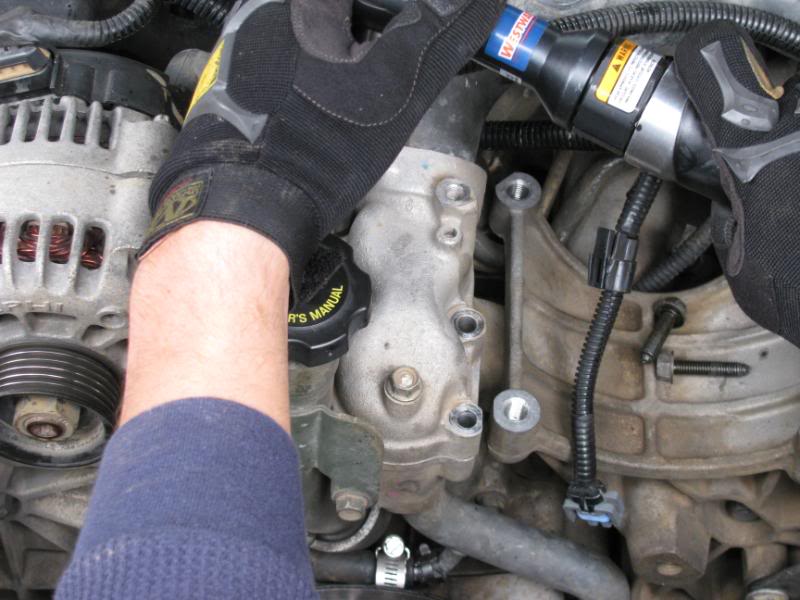
once its off you can lay it out the way or just disconnect the hose on there thats going to the turbo.
After removing the hose you will have to get the thermostat housing off. You might have to move the big electrical wire connectors out the way a little bit to get access to the bolt that's holding the support bracket that's part of the thermostat housing down
after that you can now work on getting the actual bolts on the thermostat housing. there are 4 of them that need to be removed to pull the housing off.
once its off you can lay it out the way or just disconnect the hose on there thats going to the turbo.
Thread Starter
|
Super Moderator
Joined: Oct 2007
Posts: 14,872
Likes: 764
From: Houston, Tx
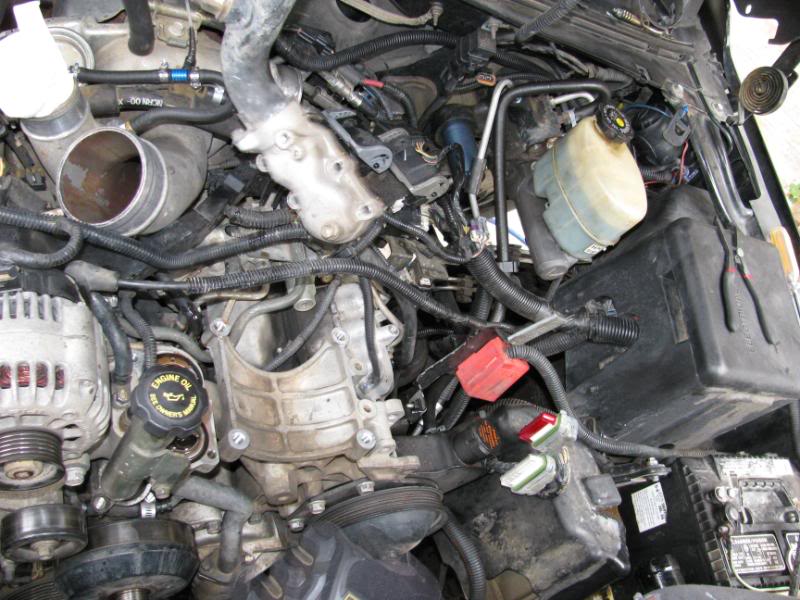
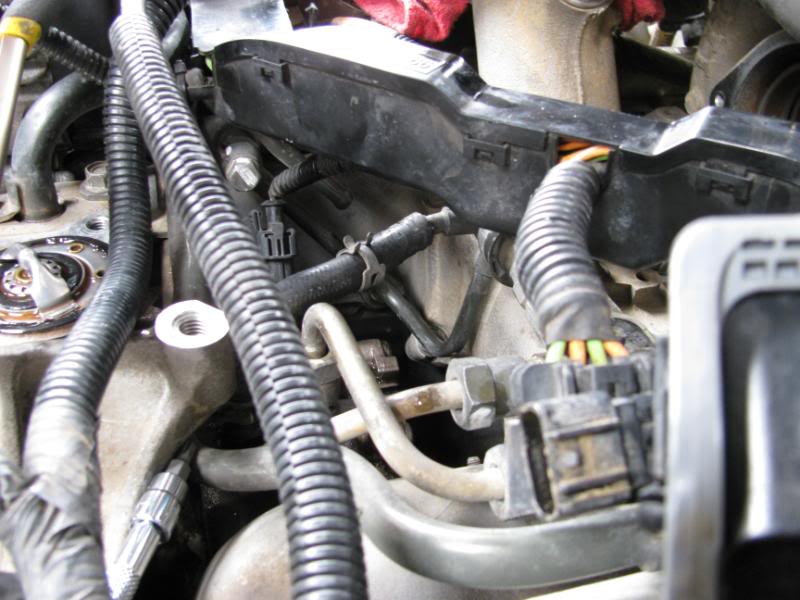
Now you can get to work on getting the wire harness out of the way.
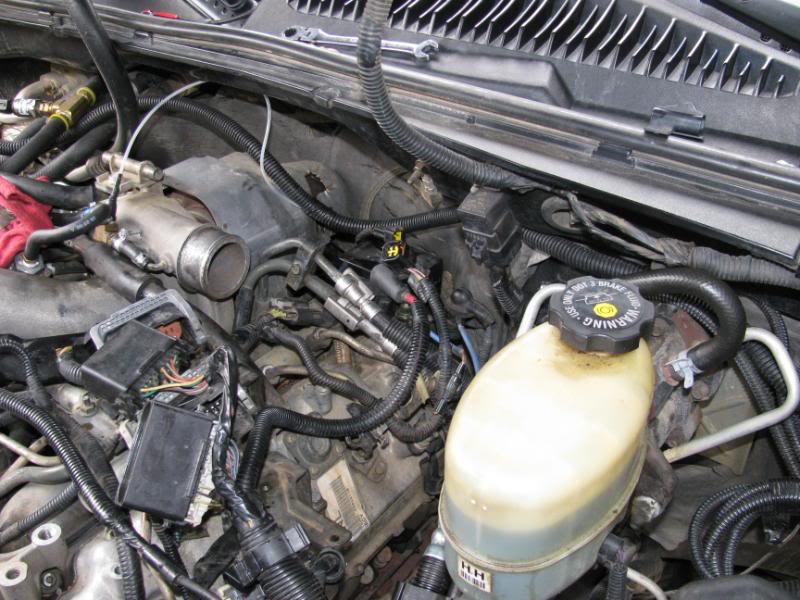
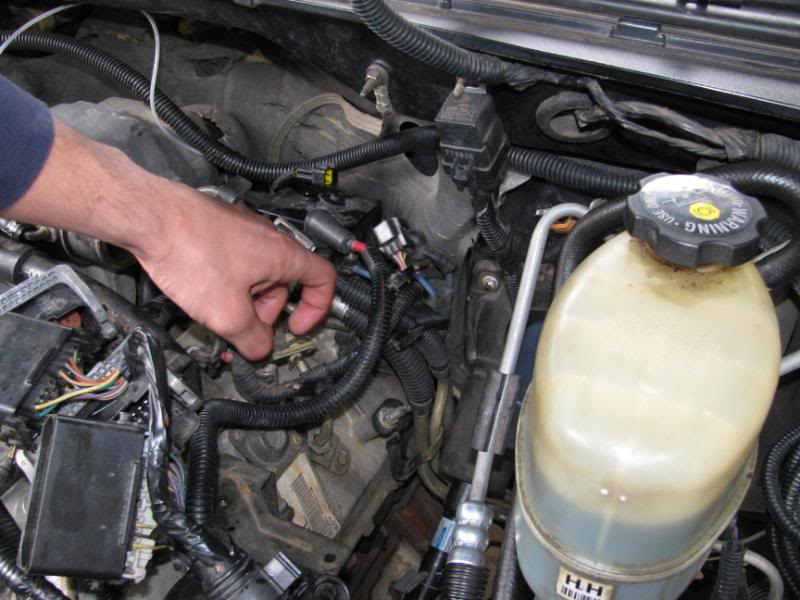
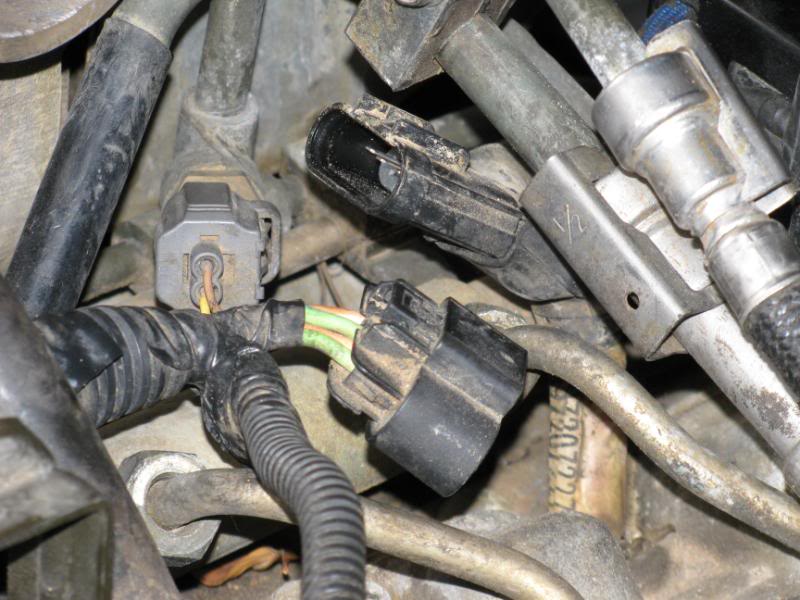
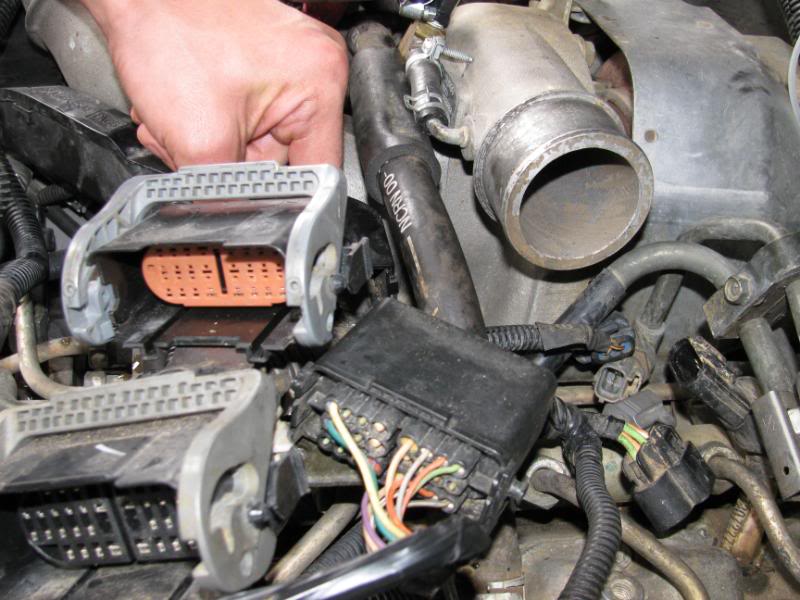

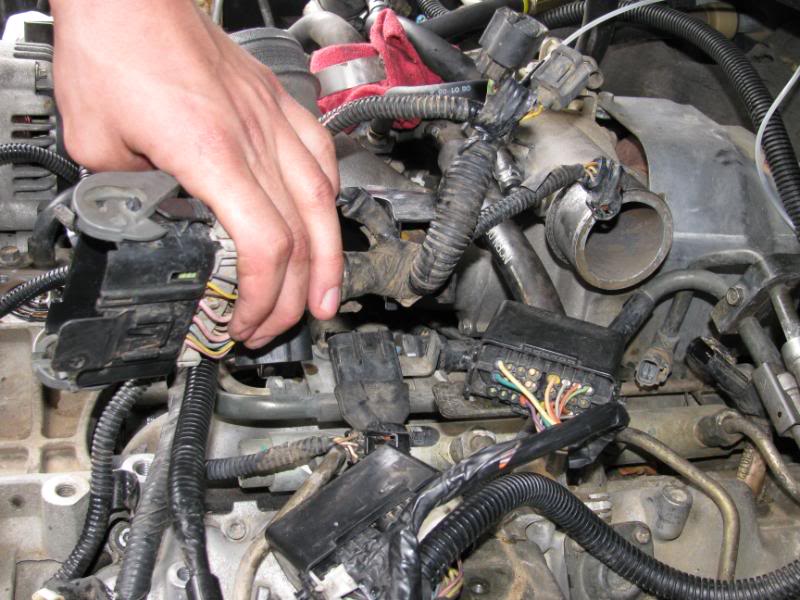
unfortunately for me i couldn't get mine completely out of the way since i had to remove my fca first to unplug the connector because i have a lbz one on it. but once you work your way disconnecting wires form the driver side to past the turbo you then can lay the wire harness over to the side.
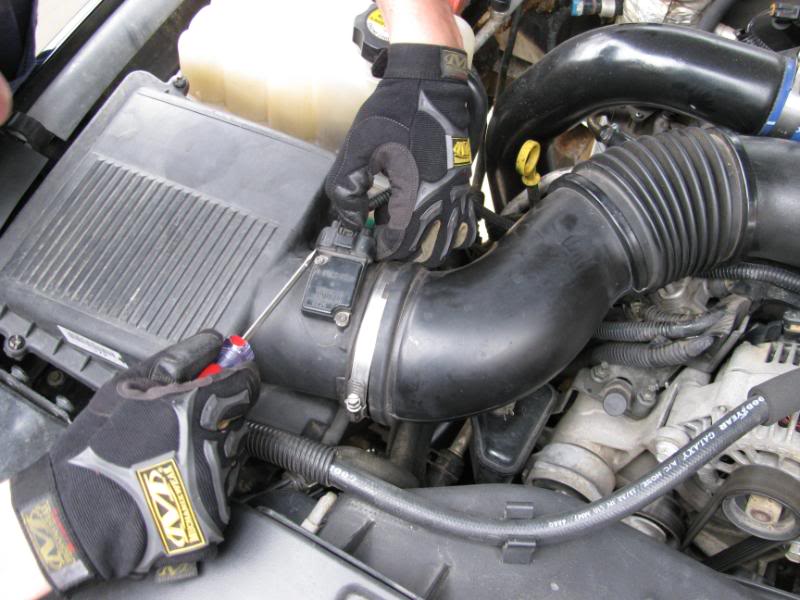
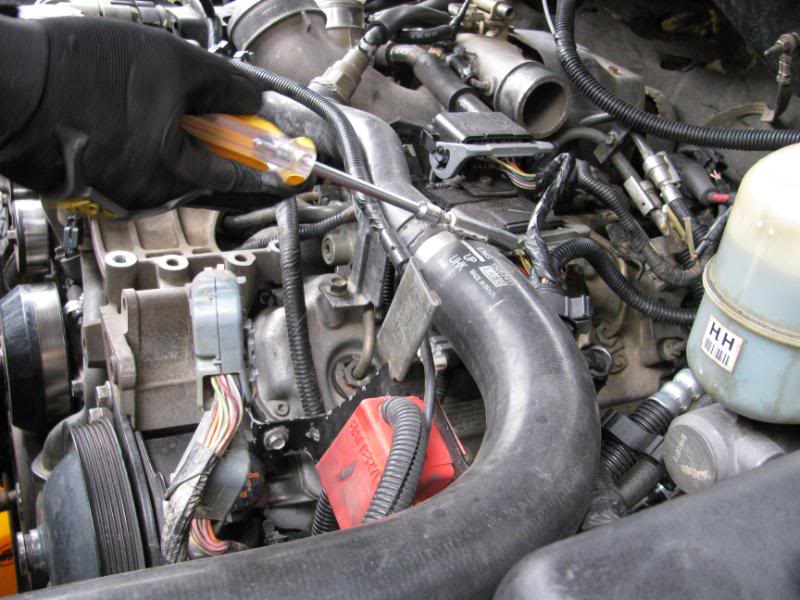
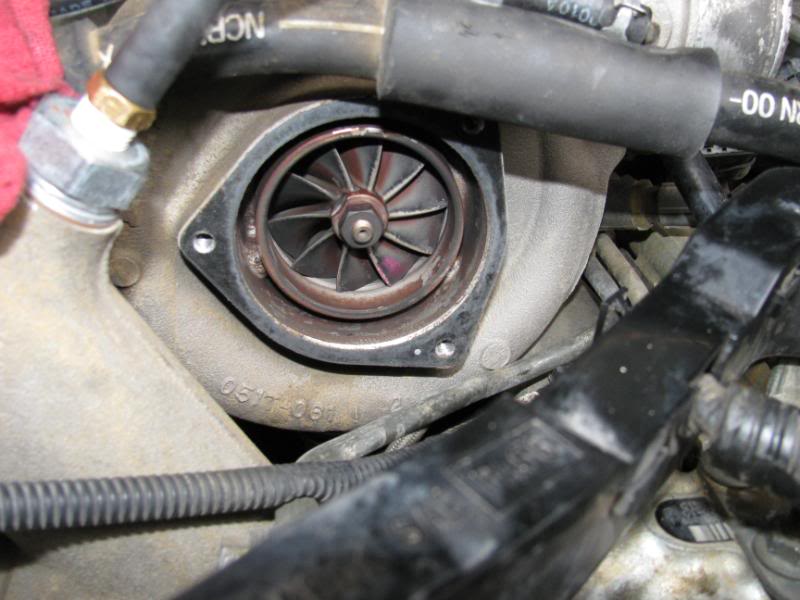
After doing that you can then remove the turbocharger inlet horn. there are 3 10mm bolts holding it on, a flex hear ratchet head wrench works nice in this area.
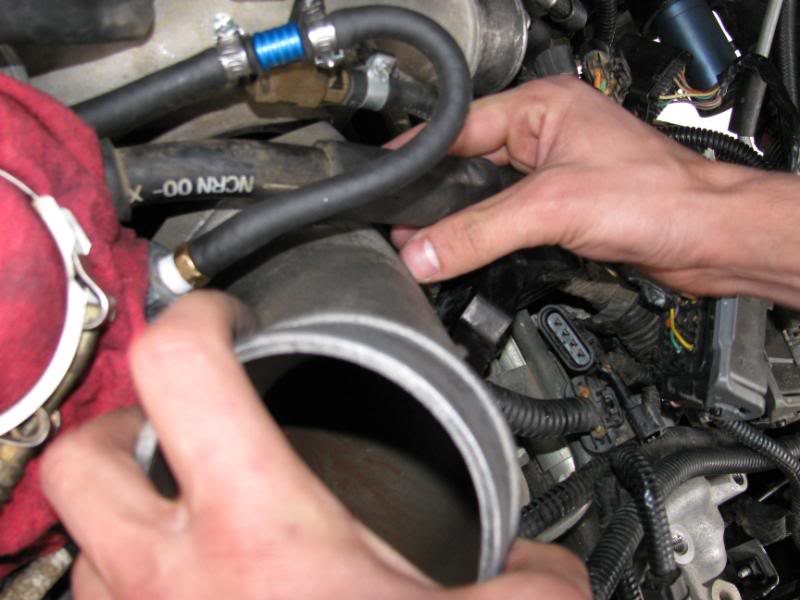
unfortunately for me i couldn't get mine completely out of the way since i had to remove my fca first to unplug the connector because i have a lbz one on it. but once you work your way disconnecting wires form the driver side to past the turbo you then can lay the wire harness over to the side.
After doing that you can then remove the turbocharger inlet horn. there are 3 10mm bolts holding it on, a flex hear ratchet head wrench works nice in this area.
Thread Starter
|
Super Moderator
Joined: Oct 2007
Posts: 14,872
Likes: 764
From: Houston, Tx
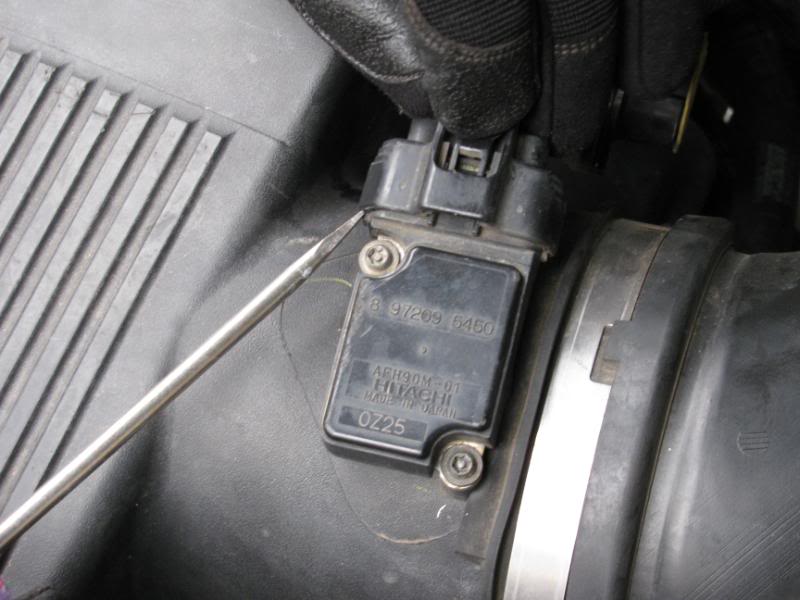
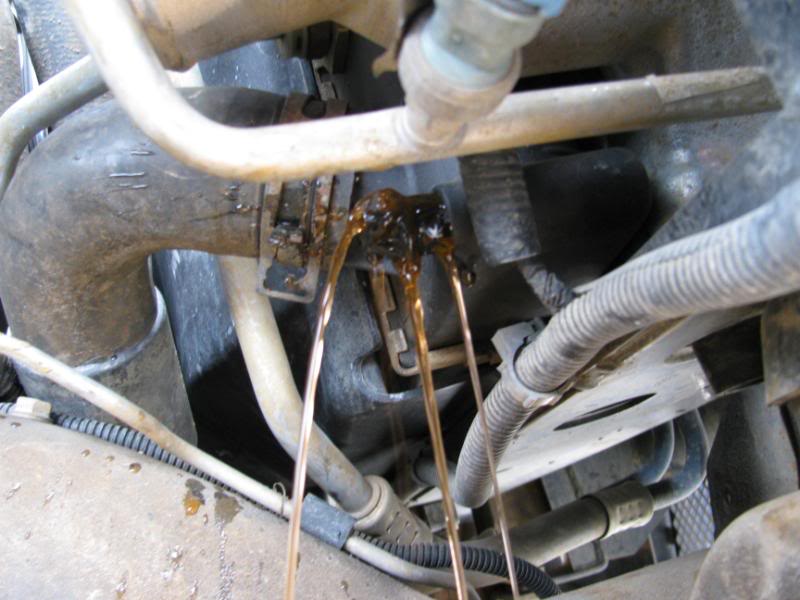
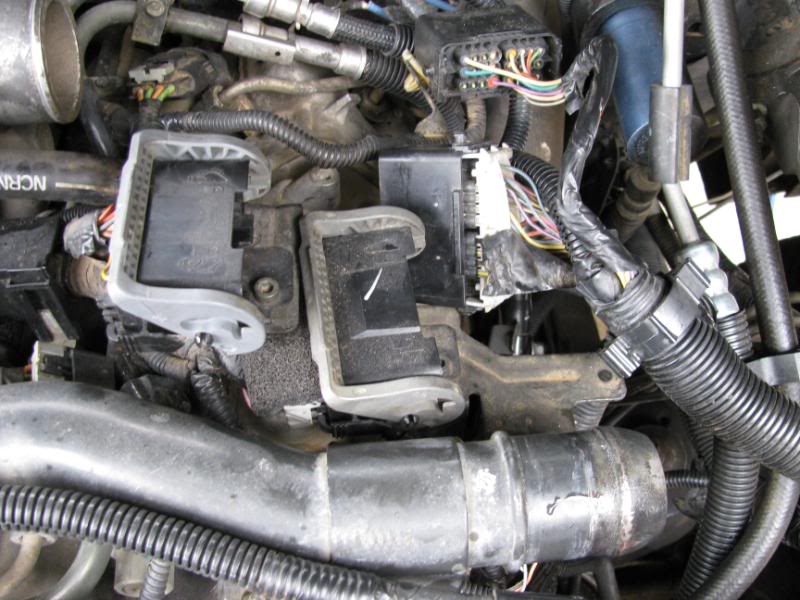
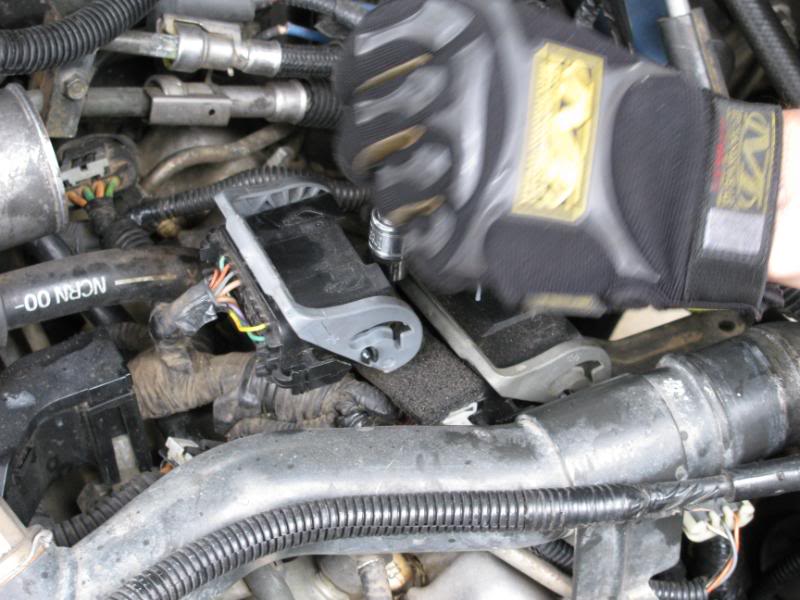
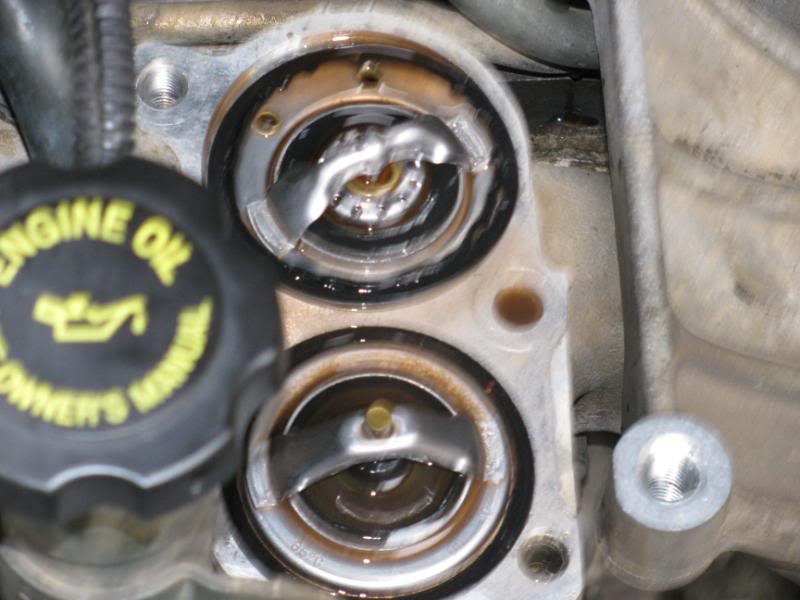
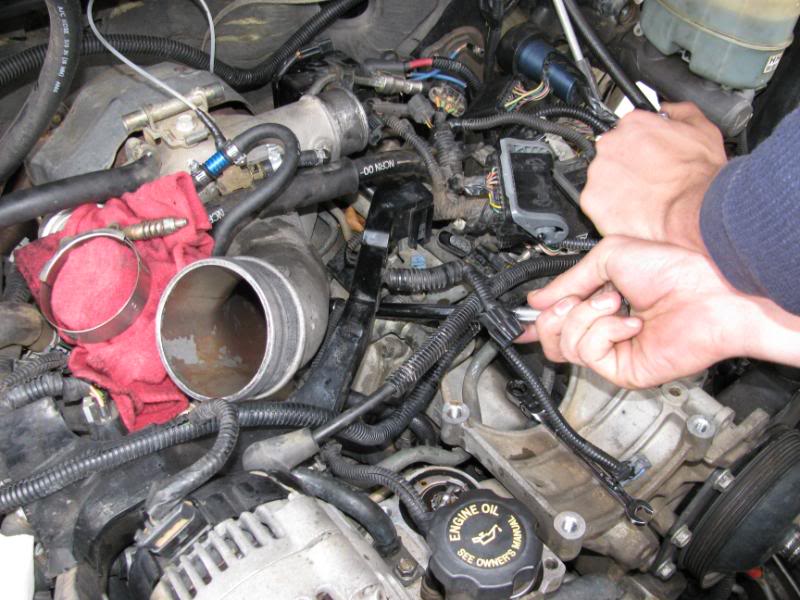
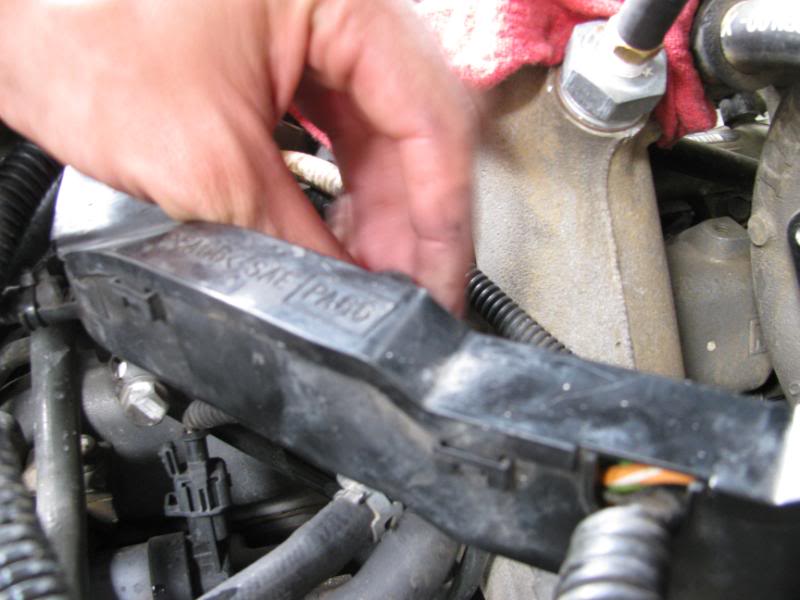
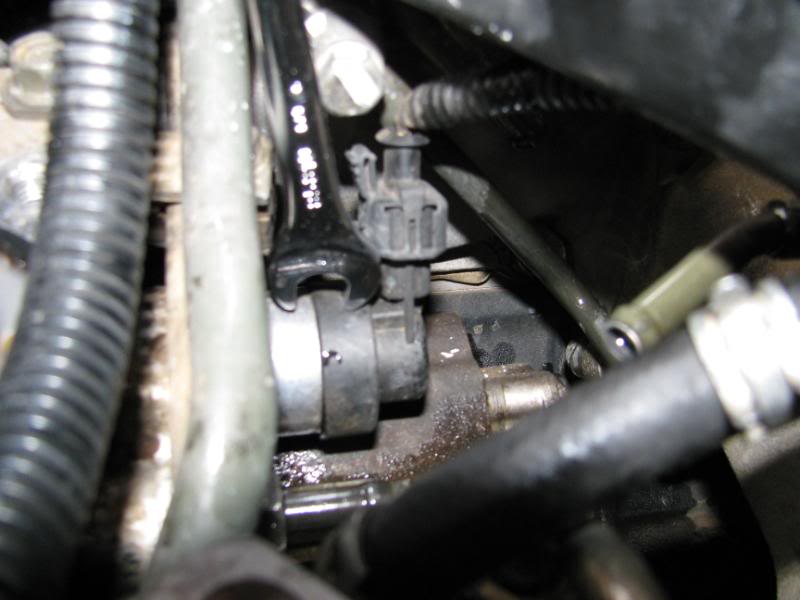
Now you should have a clear view of the FCA from up top.
There is two rubber hoses going to the cp3 pump, remove them to get better access to the FCA with your torx bit.
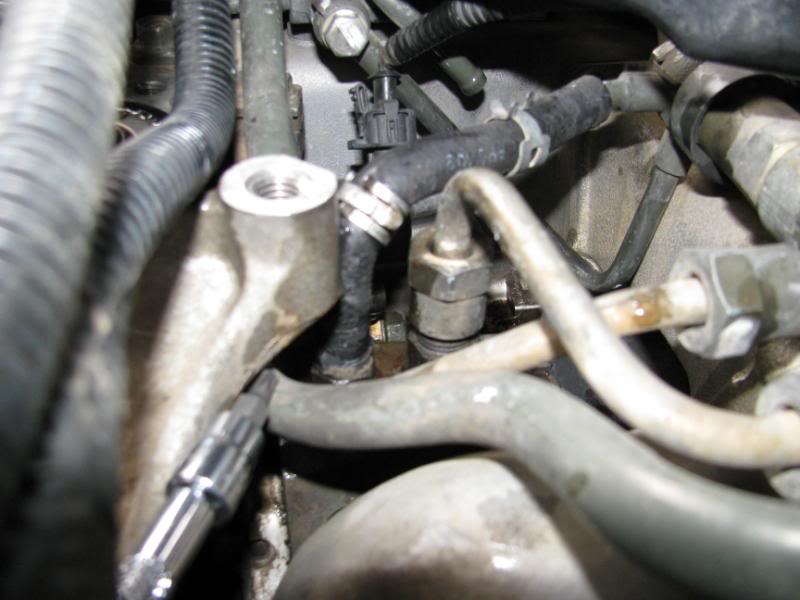
Here is a side view of it. (note this is a lbz fca on a lb7 cp3)
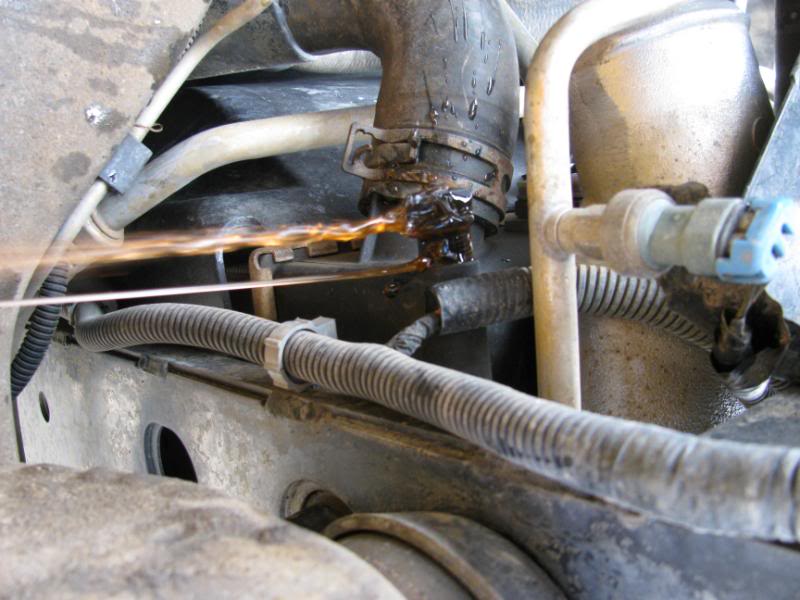
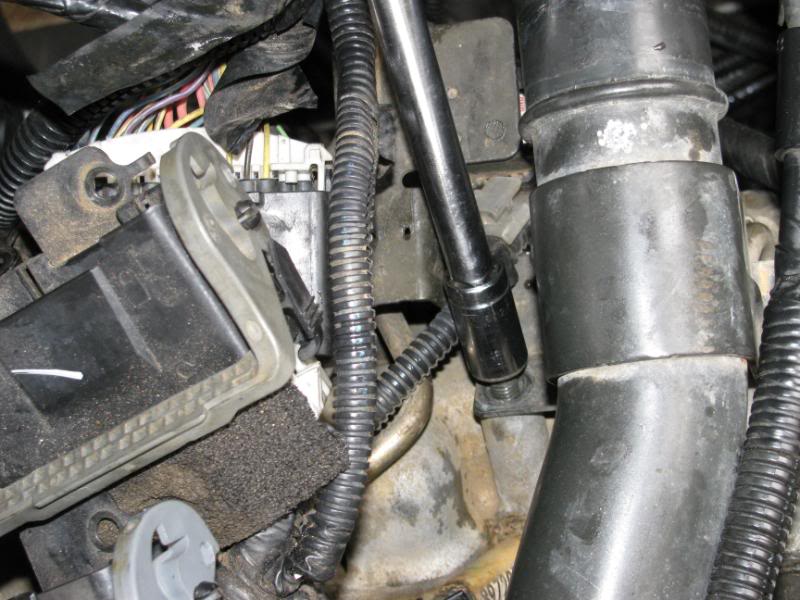
Heres a top view of it. fro a previous time when i did the mod the first time.
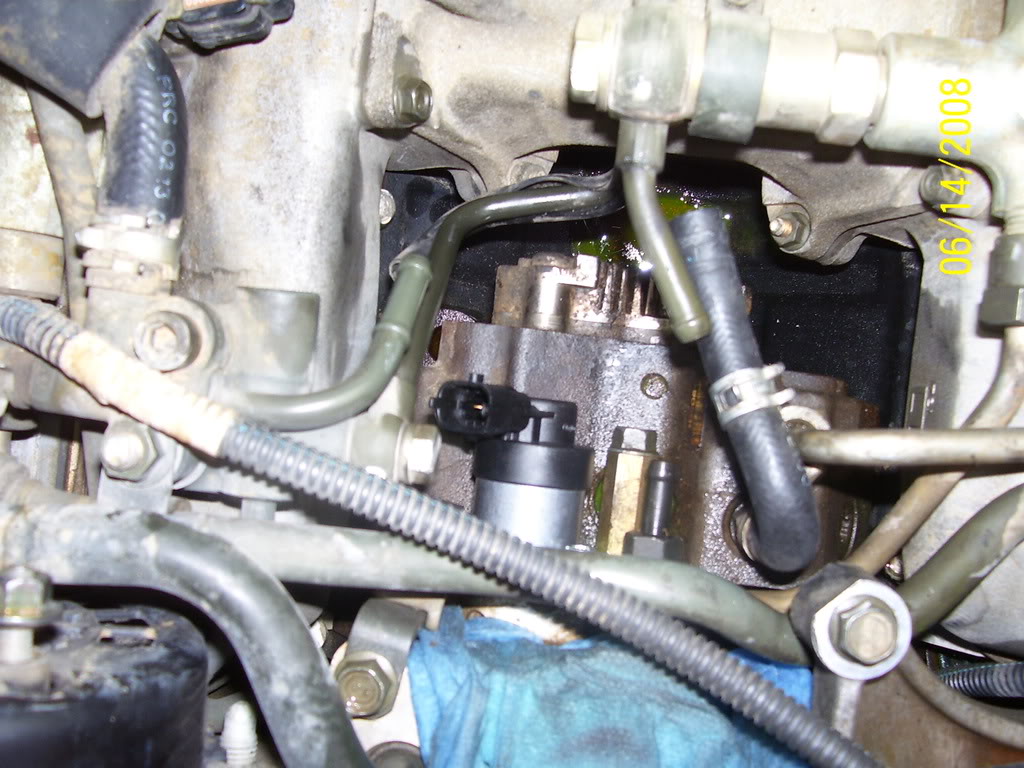
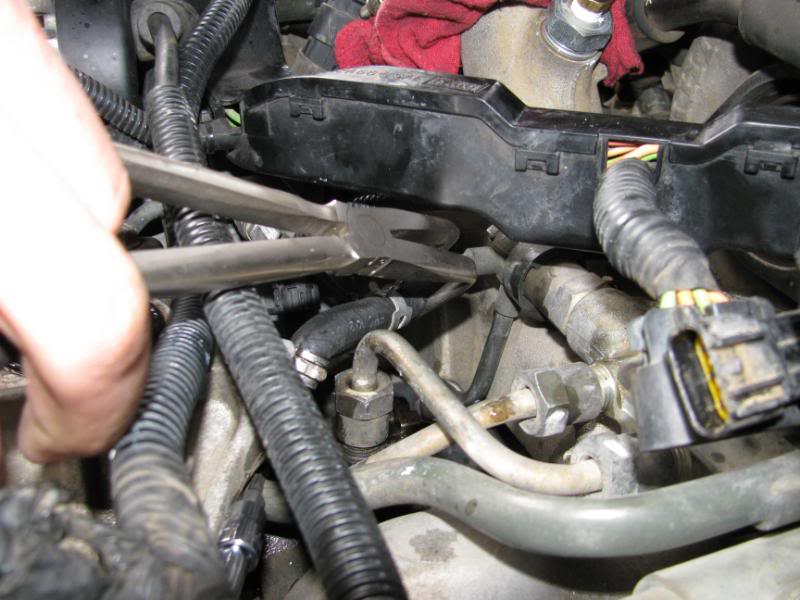
There is 3 T-25 torx bits holding the FCA to the cp3. Be careful when removing them make sure that the bit is stuck firmly in the bolt before trying to remove it. A nice trick t do it put some glue on the bit so that when you take it out you dont loose it into the abyss that is also known as the valley of the engine. These bolts are a litte hard to get out but it just takes time a patience. If you happen to get some dirt in the hole where the fca used to be, turn the engine over a few times so the cpe can flush the fuel out that hole and taking the dirt with it.
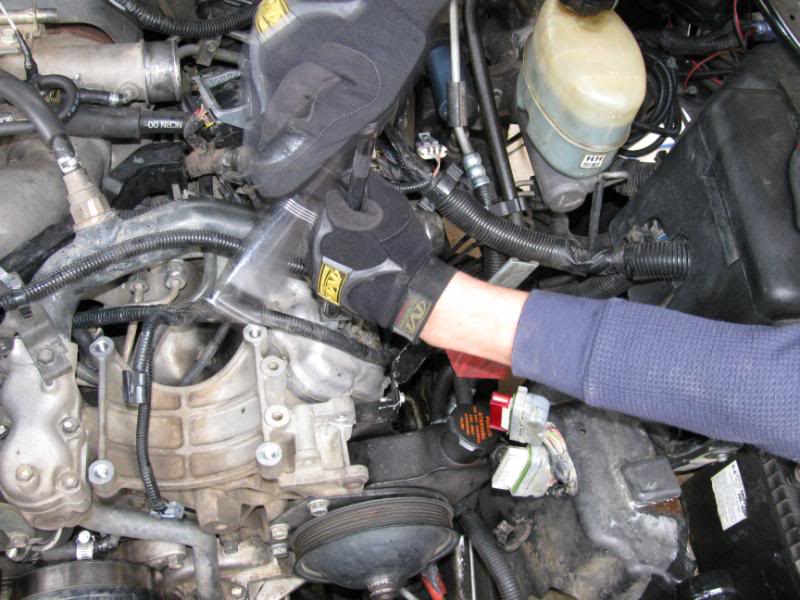
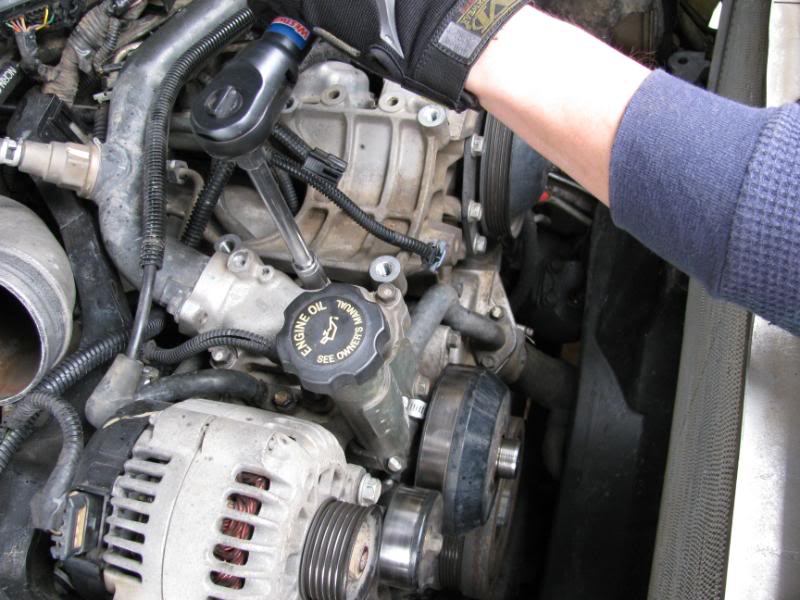
when finished swapping out re-assemble the truck
There is two rubber hoses going to the cp3 pump, remove them to get better access to the FCA with your torx bit.
Here is a side view of it. (note this is a lbz fca on a lb7 cp3)
Heres a top view of it. fro a previous time when i did the mod the first time.
There is 3 T-25 torx bits holding the FCA to the cp3. Be careful when removing them make sure that the bit is stuck firmly in the bolt before trying to remove it. A nice trick t do it put some glue on the bit so that when you take it out you dont loose it into the abyss that is also known as the valley of the engine. These bolts are a litte hard to get out but it just takes time a patience. If you happen to get some dirt in the hole where the fca used to be, turn the engine over a few times so the cpe can flush the fuel out that hole and taking the dirt with it.
when finished swapping out re-assemble the truck


Diesel Enthusiast
Joined: Sep 2008
Posts: 393
Likes: 8
From: Smyrna, Tennessee
wow that looks messy. shoulda cleaned everything up while you had it all taken apart and outta the way
but good write up. definately like all the pictures. i'll need them if i ever need to do this
but good write up. definately like all the pictures. i'll need them if i ever need to do this
Thread Starter
|
Super Moderator
Joined: Oct 2007
Posts: 14,872
Likes: 764
From: Houston, Tx


