DIY 80% turbo whistle increased (continued) Bumper Ram Air
#1
 10-12-2012, 01:31 PM

Thought id post some pics up of my most recent DIY mod, its the poor mans ram air made from a rubermaid trash can and pvc and with the use of the old intake parts. this is an add from "turbo whistle increased 80% in 15min".
parts-
1-old intake
2'-4" sewer pvc
1-4" hose clamp
1-4" pvc coupler
1-rubbermaid trash can (not sure the model but you can probably tell the size from the pics, its the standard office trash can)
tools-
-saw for the pvc
-razor knife
-raw man power

this is the pvc intake idea i got off the other thread with a cheaper air filter, this is before any mods to the heat sheild
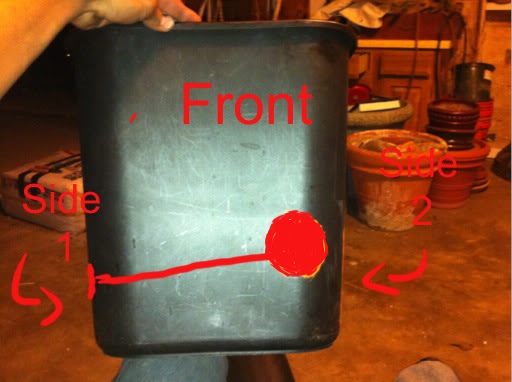
sorry i didn't get exact measurements but here are the basic cuts, on the next 4 pics you are basically need to cut out all of the red area. the line across the front is a fine slit with the razor knife
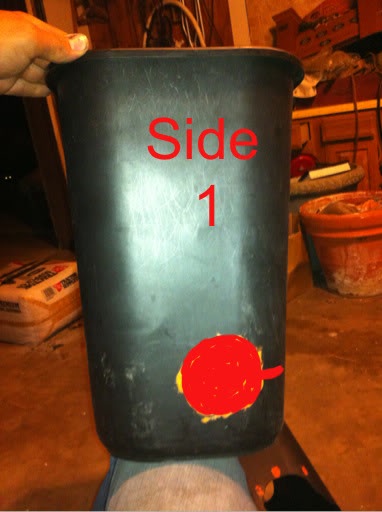
this is where it will slide past the old airbox supports, the cuts need to be continued underneath about 2"
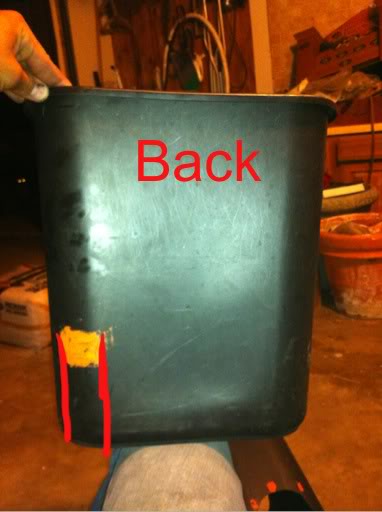
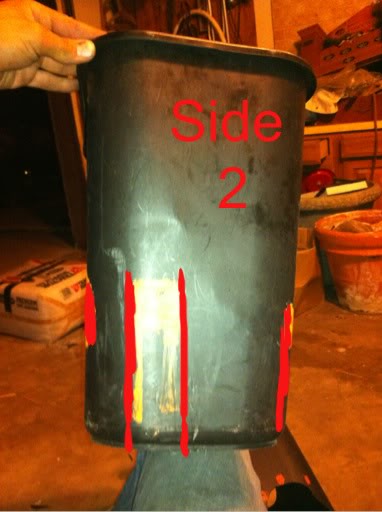
same on these cuts 2" underneath
sorry for the jump but didnt take too many pics, its not going to be easy getting the can in place, i wanted it as sealed as possible so i did the minimum amount of cutting. i took a small 4" pipe went under the truck and spray painted from the inside the pipe to get a circle for my cut for the 4". i also screwed 2 small set screws in the bottom side of the batters box under the battery for some support
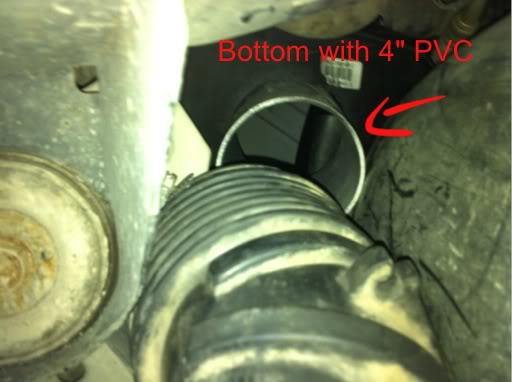

here is a view from the bottom with a short pipe inserted
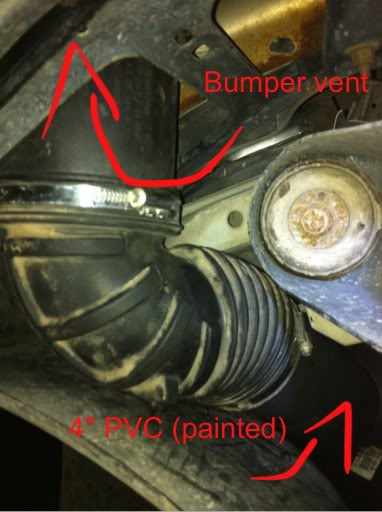
here is where the old parts come into play, measure and cut your pipe to length then use your upper 90 degree boot and fasten it. now take your 6" (i think) plastic pipe from the old intake and put it in place before the pipe goes in for easier installation
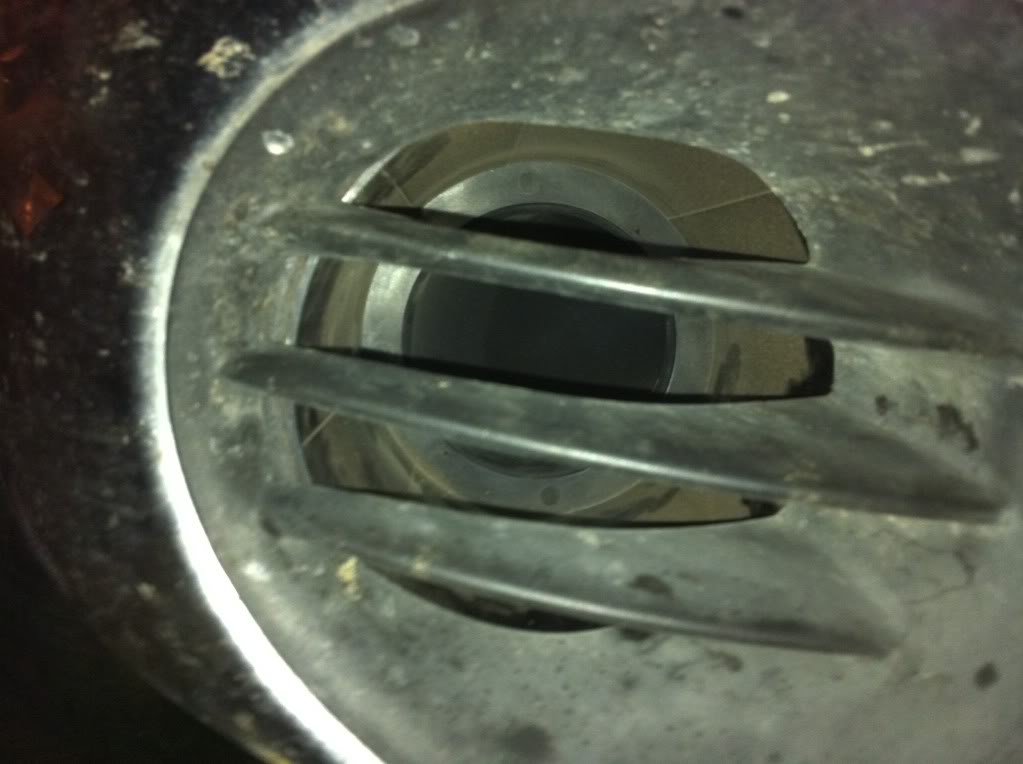
here is what the vent should look like
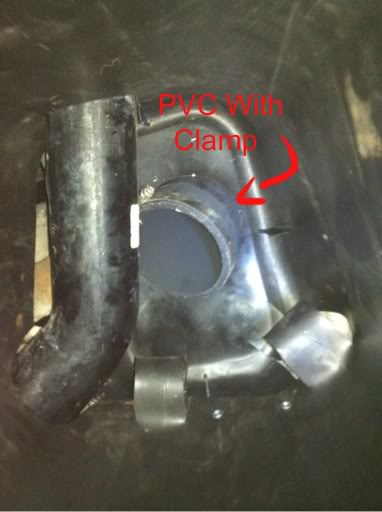
in this image i cut an angle in my coupler then cut one side of it so it would work with the hose clamp
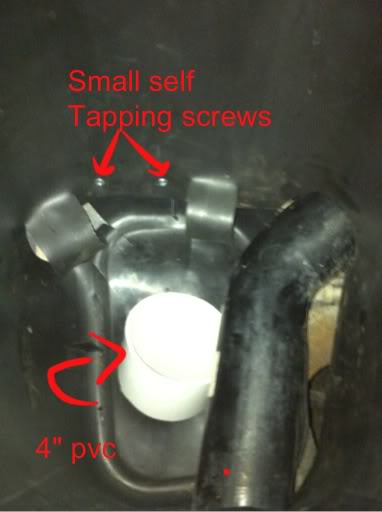
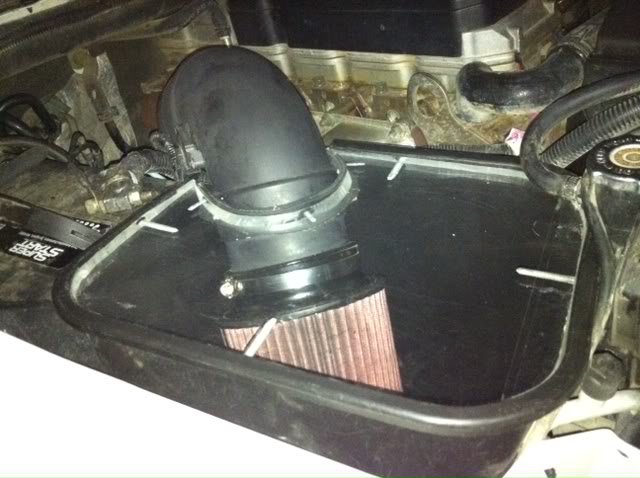
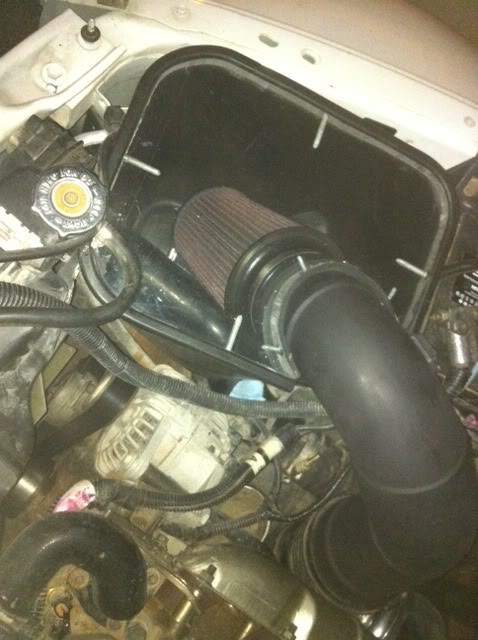
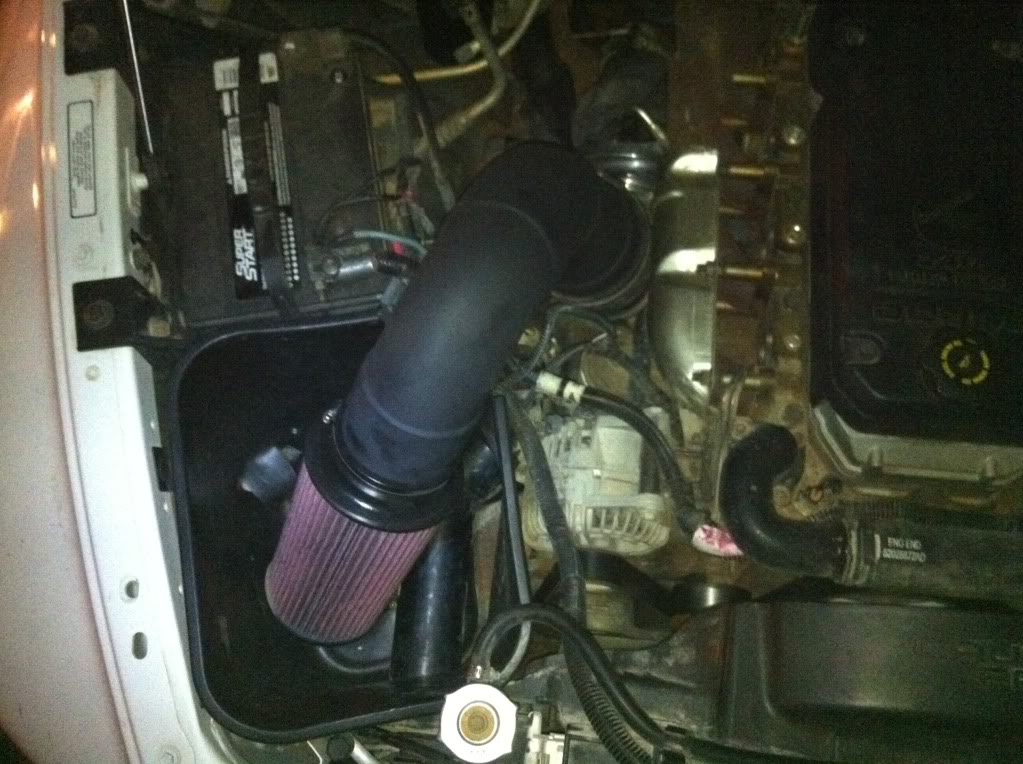 here it is from the top with the intake installed, make a half moon cut where you want the intake to come through.
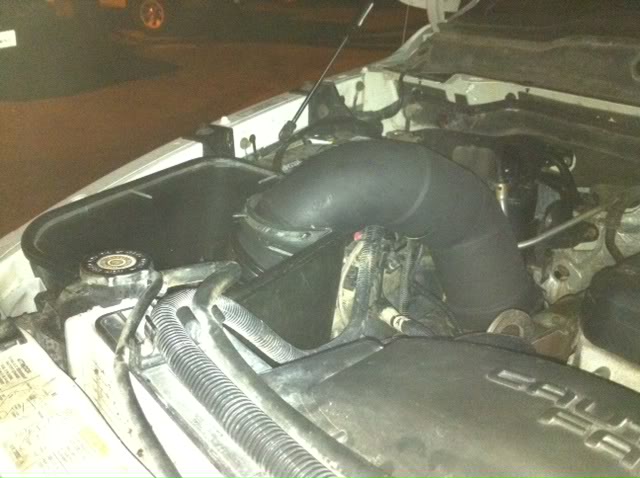
found some old 3/4 plexiglass decided to make a lid out of it, used a old radiator hose for a soft seal by the intake and just drilled and put in some self tapping screws in the sides of the can to secure it
some more pics
parts-
1-old intake
2'-4" sewer pvc
1-4" hose clamp
1-4" pvc coupler
1-rubbermaid trash can (not sure the model but you can probably tell the size from the pics, its the standard office trash can)
tools-
-saw for the pvc
-razor knife
-raw man power
this is the pvc intake idea i got off the other thread with a cheaper air filter, this is before any mods to the heat sheild
sorry i didn't get exact measurements but here are the basic cuts, on the next 4 pics you are basically need to cut out all of the red area. the line across the front is a fine slit with the razor knife
this is where it will slide past the old airbox supports, the cuts need to be continued underneath about 2"
same on these cuts 2" underneath
sorry for the jump but didnt take too many pics, its not going to be easy getting the can in place, i wanted it as sealed as possible so i did the minimum amount of cutting. i took a small 4" pipe went under the truck and spray painted from the inside the pipe to get a circle for my cut for the 4". i also screwed 2 small set screws in the bottom side of the batters box under the battery for some support
here is a view from the bottom with a short pipe inserted
here is where the old parts come into play, measure and cut your pipe to length then use your upper 90 degree boot and fasten it. now take your 6" (i think) plastic pipe from the old intake and put it in place before the pipe goes in for easier installation
here is what the vent should look like
in this image i cut an angle in my coupler then cut one side of it so it would work with the hose clamp
here it is from the top with the intake installed, make a half moon cut where you want the intake to come through. found some old 3/4 plexiglass decided to make a lid out of it, used a old radiator hose for a soft seal by the intake and just drilled and put in some self tapping screws in the sides of the can to secure it
some more pics
Last edited by Stevenlittle69; 10-12-2012 at 01:33 PM.

Thread
Thread Starter
Forum
Replies
Last Post


