Replacing Duramax LB7 Injectors 01-04 tips and hints
#1
 04-08-2009, 01:14 AM


I am in no way an expert on this stuff, i just thought it would be nice to document this and share me replacing my injectors with yall. These pictures are on the passenger side, but both sides are the same, driver side a little longer because the bolts are harder to get to. when you get parts you might see some supliers sell a "complete" kit for injector install, you must make sure that you get the injector return line seals too.
Tools needed:
5mm allen bit, wrench, and ball end bit.
8mm allen bit or ball end bit.
Torque wrench
Basic set of metric tools
19mm wrench, stubby, crows foot.
Pick set.
Pry bar set and maybe a floor jack
Getting Started:
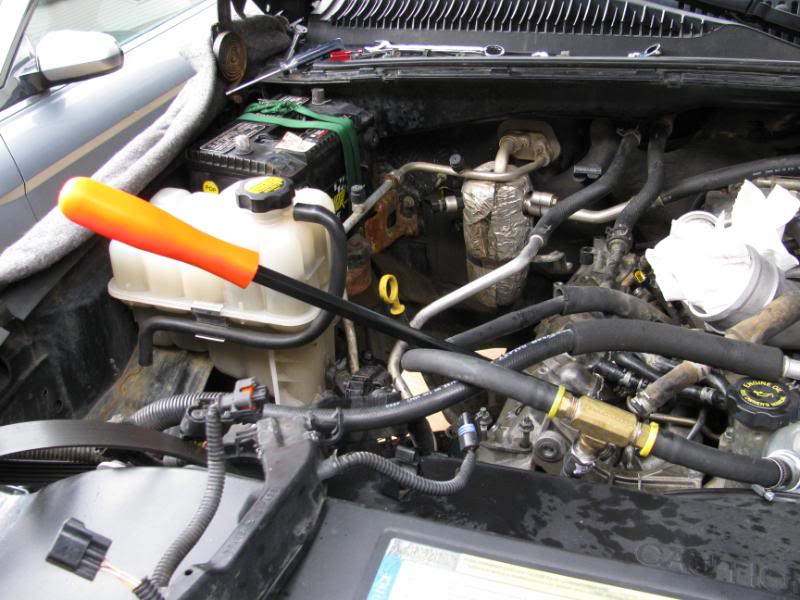
Starting on the Passenger side you gotta remove All the tubing, intake, the FF bracket (theres 3 bolts holding it on and a 4th one just holding a coolant line to it) and the FICM.
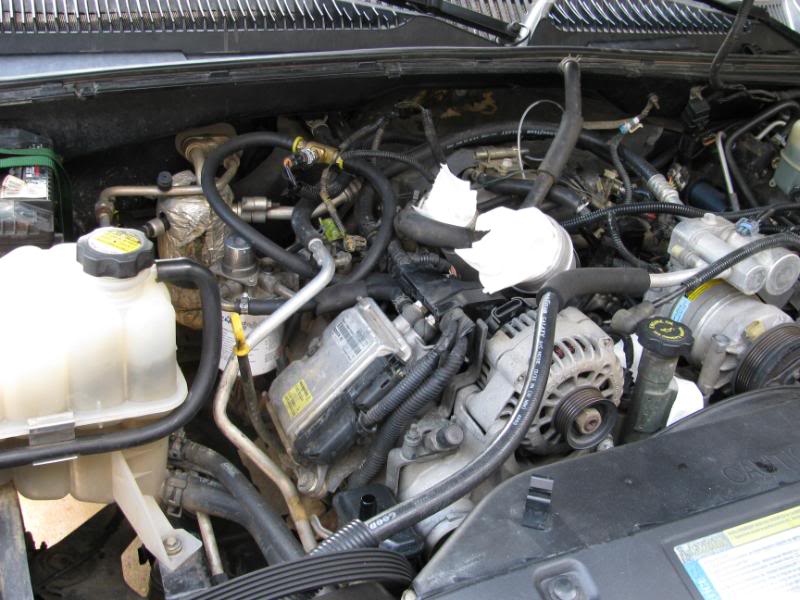
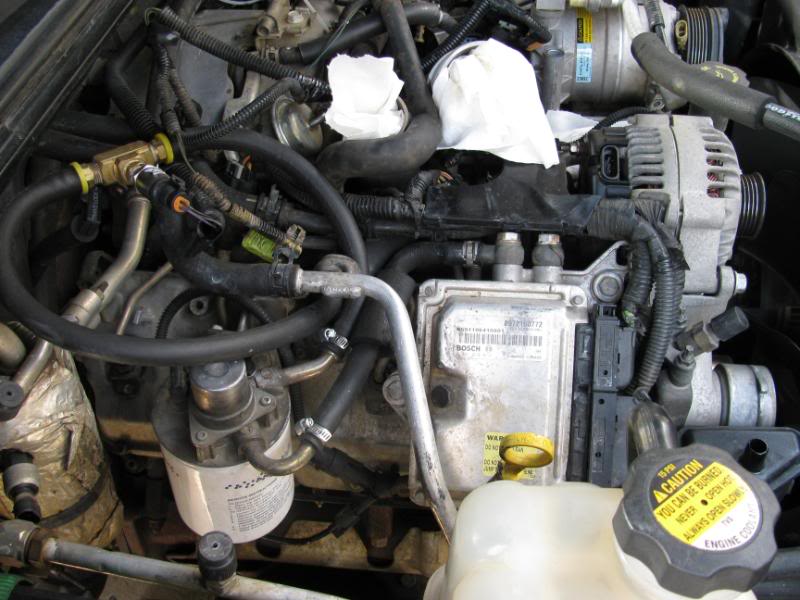
The connectors on the FICM have tabs that slide up and down, for the top connector theres a tab on the top of it and you can pull it up untill the connector off. the bottom connector comes off the same. After disconnecting nearly all the engine wire harness you can pull it out of the way. and then start removing the FF ad FICM.
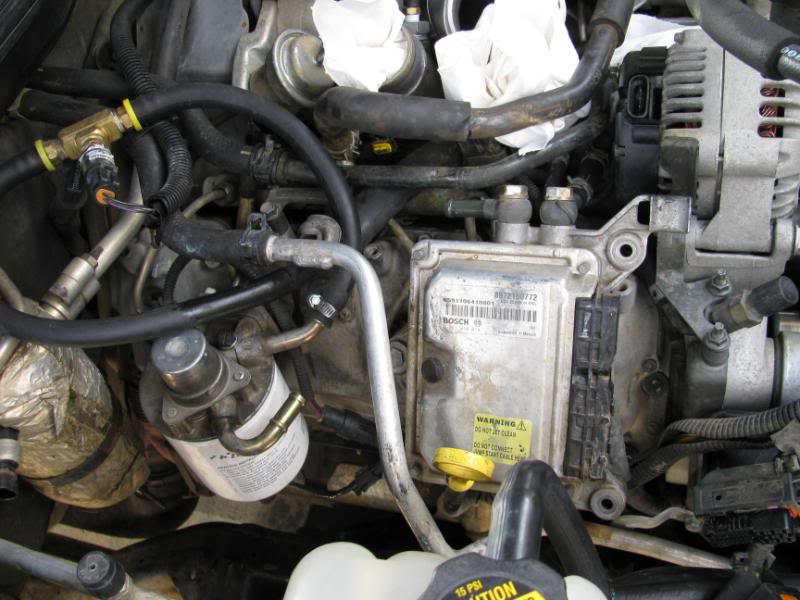
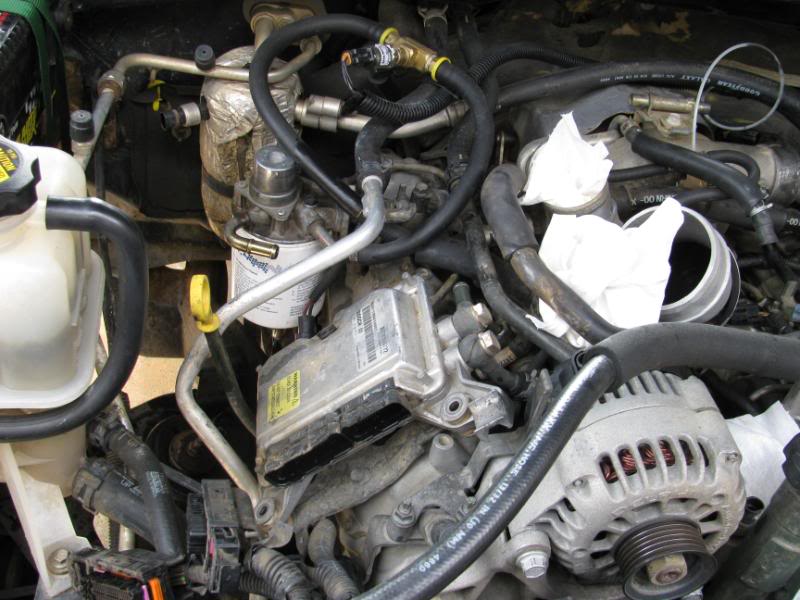

And disconnect the glow plug wire and remove the metal bracket connecting them all together.
Tools needed:
5mm allen bit, wrench, and ball end bit.
8mm allen bit or ball end bit.
Torque wrench
Basic set of metric tools
19mm wrench, stubby, crows foot.
Pick set.
Pry bar set and maybe a floor jack
Getting Started:
Starting on the Passenger side you gotta remove All the tubing, intake, the FF bracket (theres 3 bolts holding it on and a 4th one just holding a coolant line to it) and the FICM.
The connectors on the FICM have tabs that slide up and down, for the top connector theres a tab on the top of it and you can pull it up untill the connector off. the bottom connector comes off the same. After disconnecting nearly all the engine wire harness you can pull it out of the way. and then start removing the FF ad FICM.
And disconnect the glow plug wire and remove the metal bracket connecting them all together.
Last edited by 2500HeavyDuty; 09-09-2011 at 02:30 AM.
The following 7 users liked this post by 2500HeavyDuty:
Antsrcool (01-18-2010),
DuramaxFerg (07-12-2013),
Duramax_89 (07-07-2013),
K50 (11-06-2009),
shaggy77 (10-08-2013),
and 2 others liked this post.
#2
04-08-2009, 01:24 AM
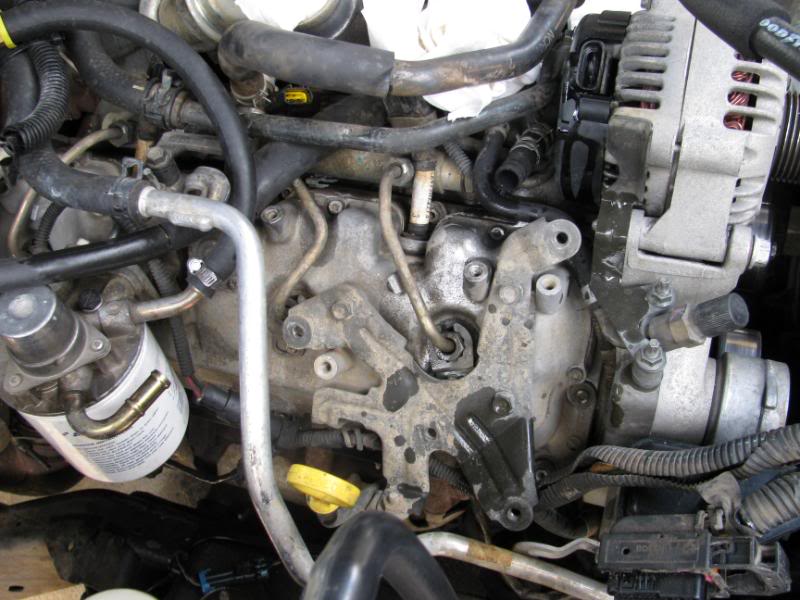
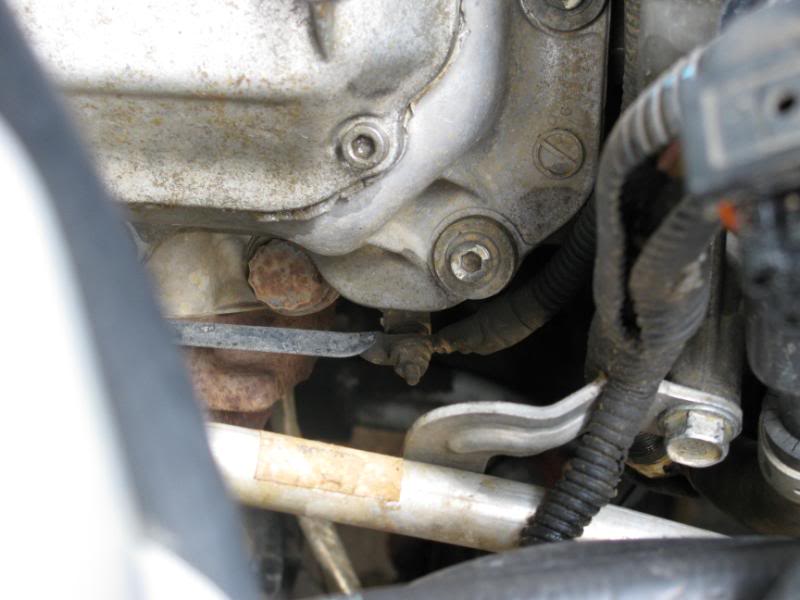
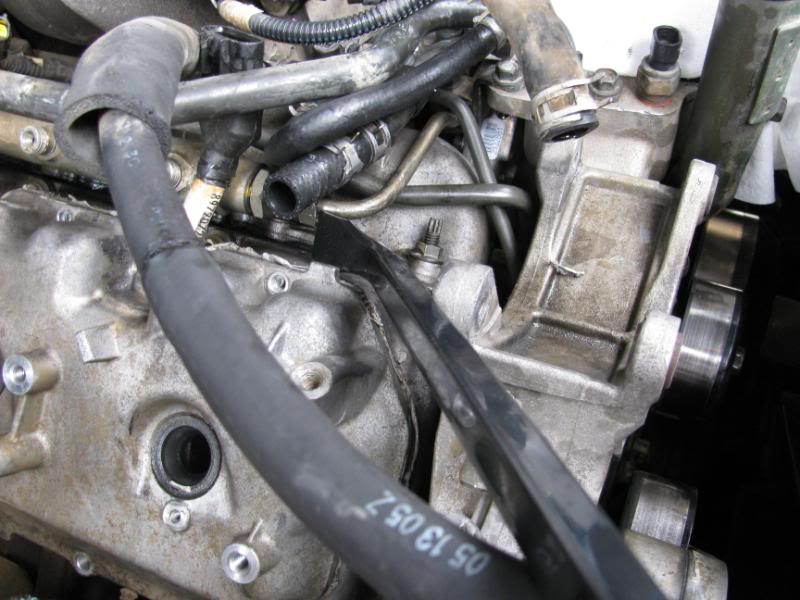
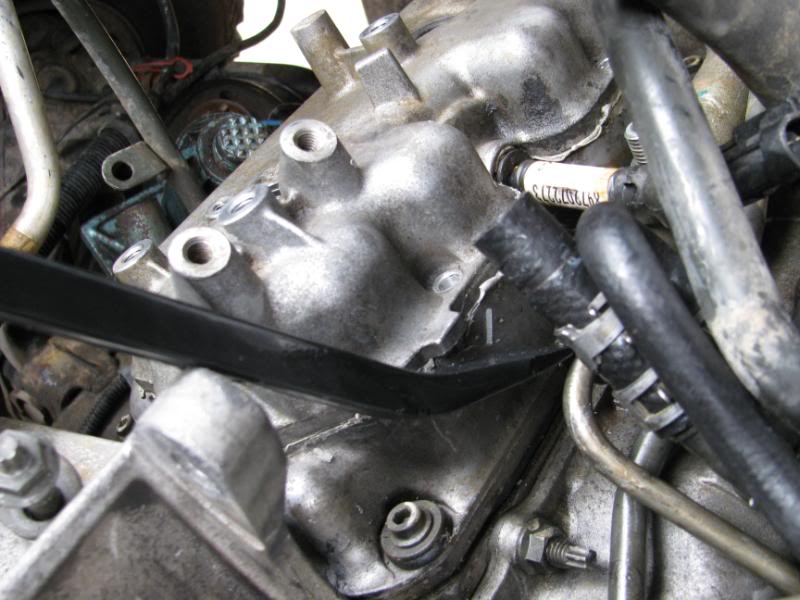
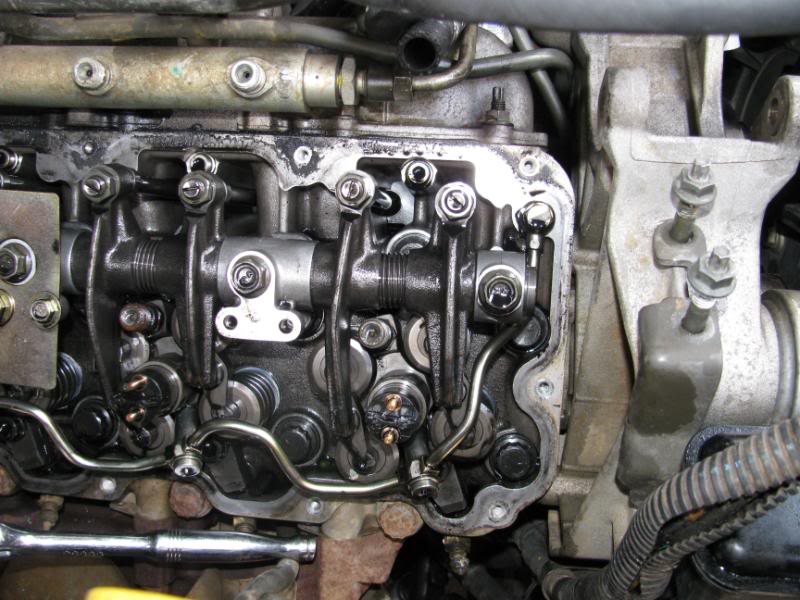
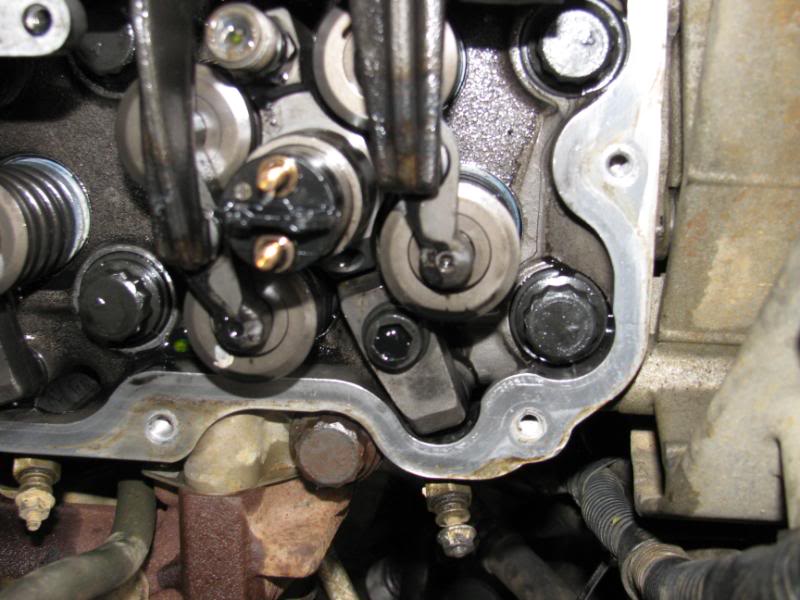
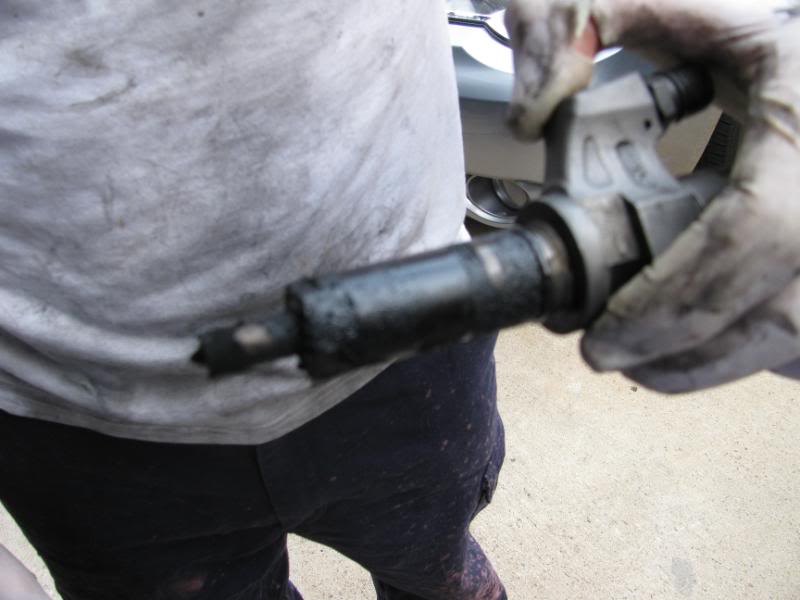
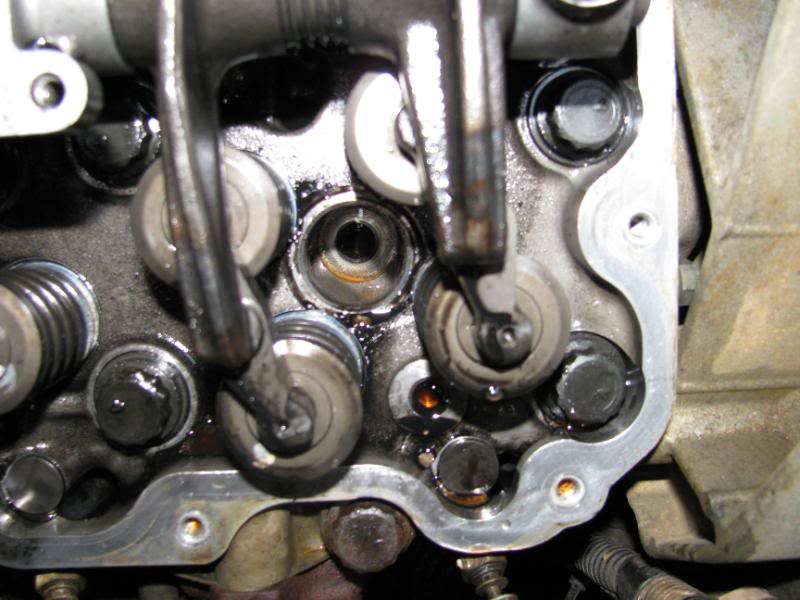
Remove the Keepers on the injector lines with a 8mm socket.
Then remove the injector lines with a 19mm wrench. If you plan on keeping some of the same injectors and injector lines then you should have a look at this post for more information on the corrosion buildup on the injector lines and injectors.
https://www.dieselbombers.com/chevy-...r-service.html
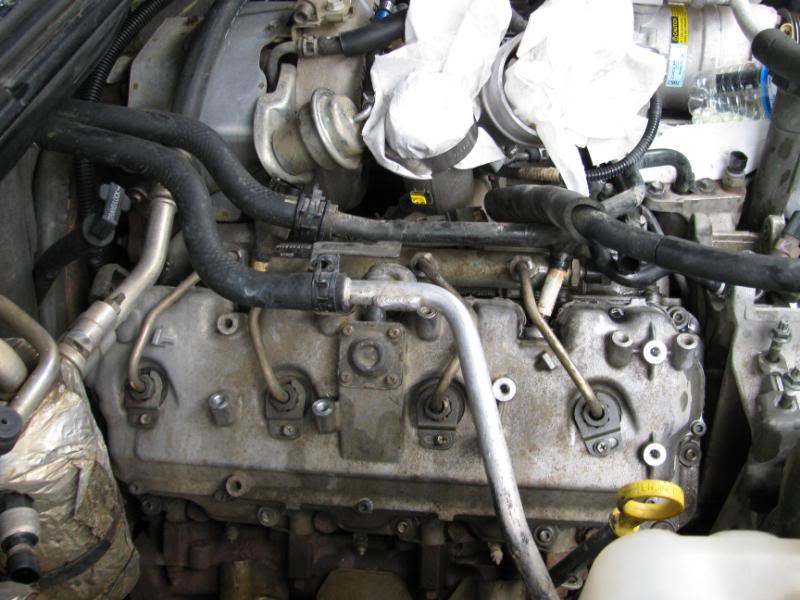
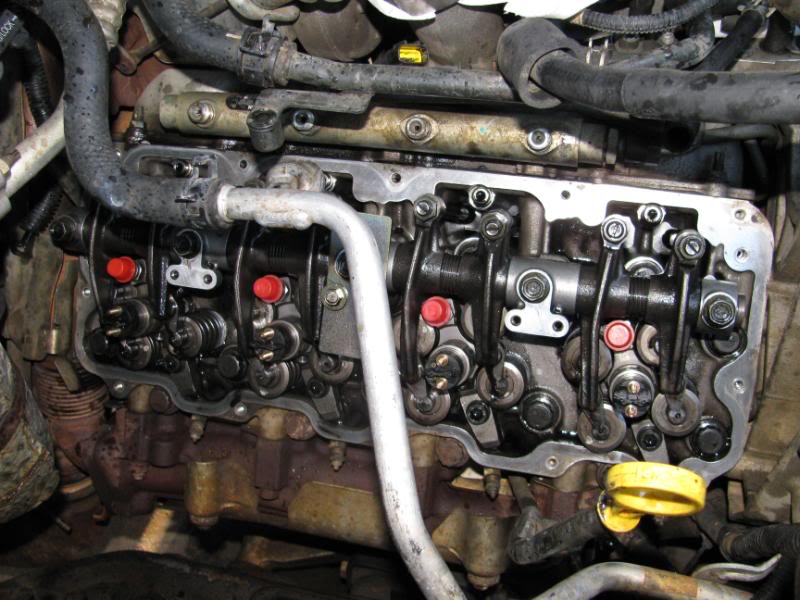
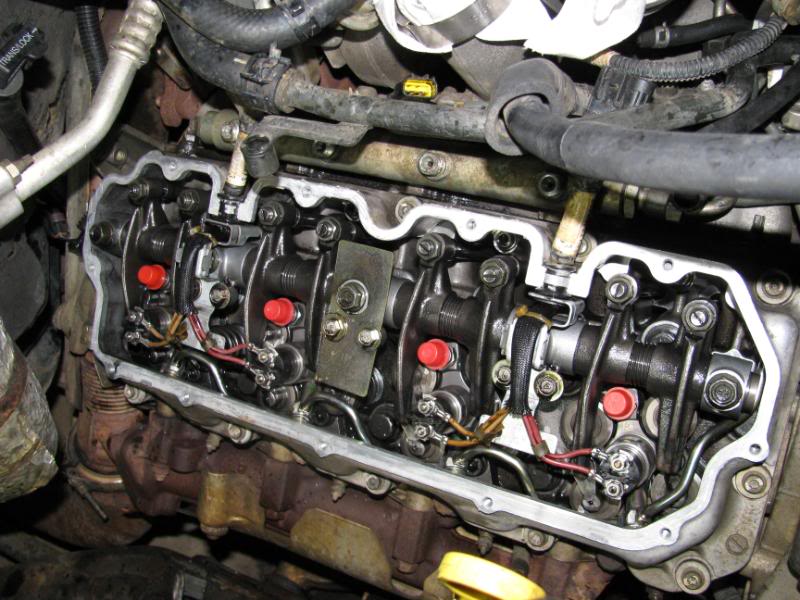
Next step is to remove the upper valve cover. There are tabs sticking out the upper valve cover you can use as pry points. The factory sealant is crazy strong. I tried using a floor jack and it would t budge it kept on picking up the engine.
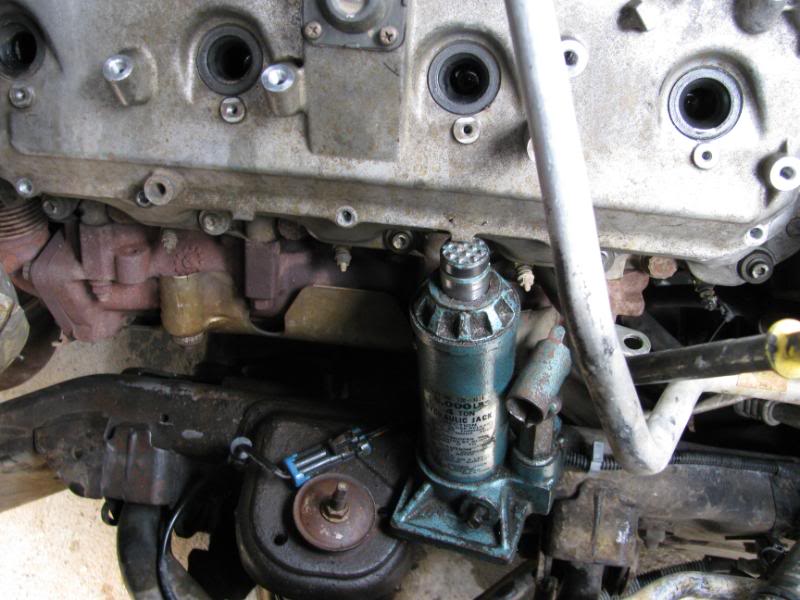
You can pull the alternator off and use the bracket it for it as a fulfrum for more leverage against the valve cover.
Upper valve cover off

Then remove the injector lines with a 19mm wrench. If you plan on keeping some of the same injectors and injector lines then you should have a look at this post for more information on the corrosion buildup on the injector lines and injectors.
https://www.dieselbombers.com/chevy-...r-service.html
Next step is to remove the upper valve cover. There are tabs sticking out the upper valve cover you can use as pry points. The factory sealant is crazy strong. I tried using a floor jack and it would t budge it kept on picking up the engine.
You can pull the alternator off and use the bracket it for it as a fulfrum for more leverage against the valve cover.
Upper valve cover off
Last edited by 2500HeavyDuty; 12-22-2009 at 04:40 PM.
The following 3 users liked this post by 2500HeavyDuty:
#3
04-08-2009, 12:04 PM
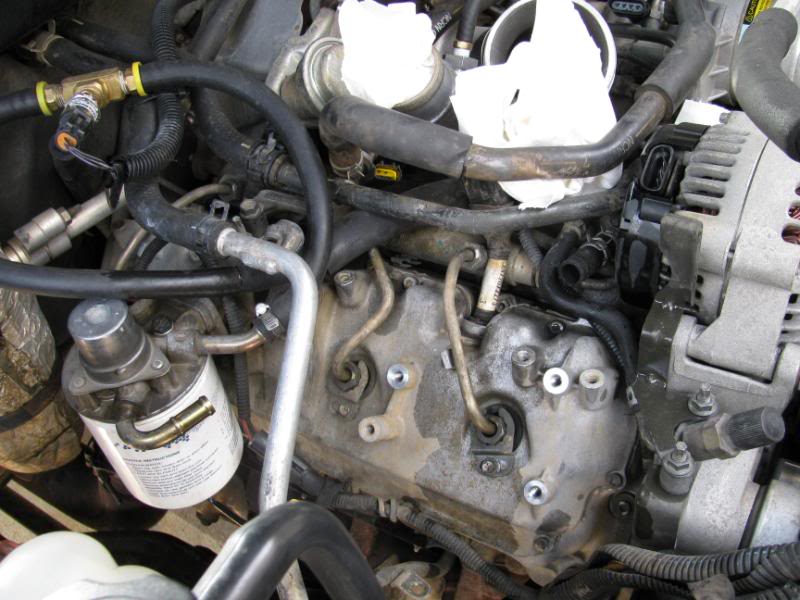
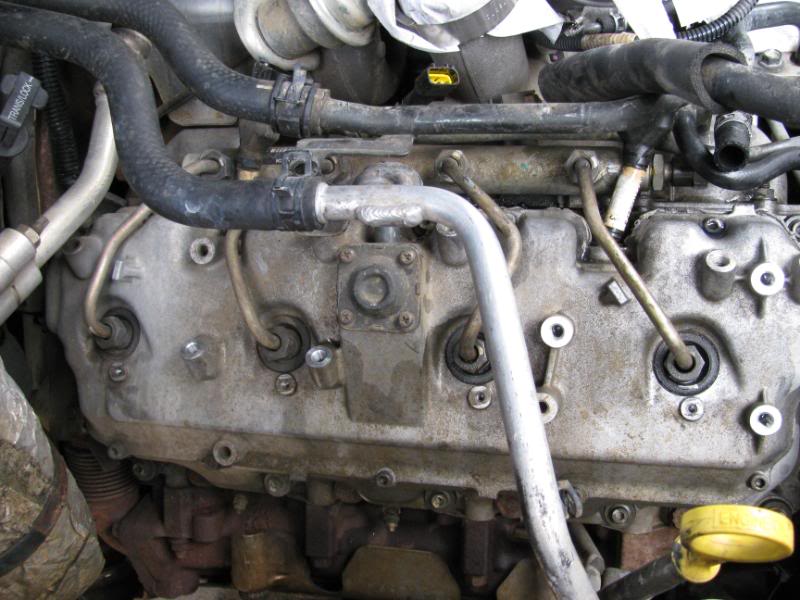
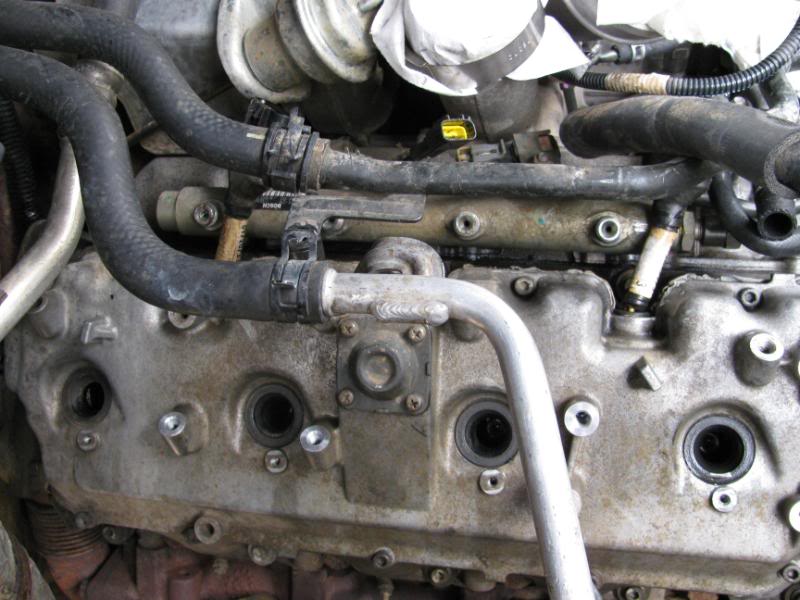
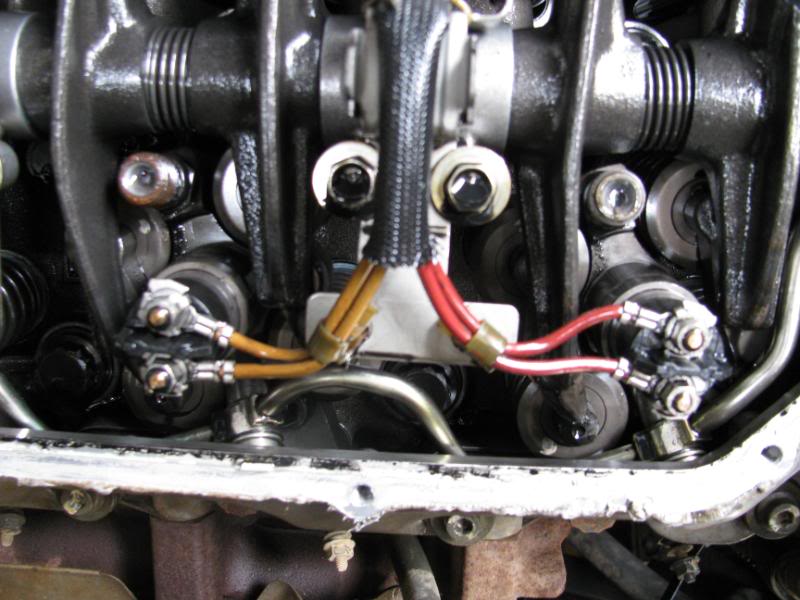
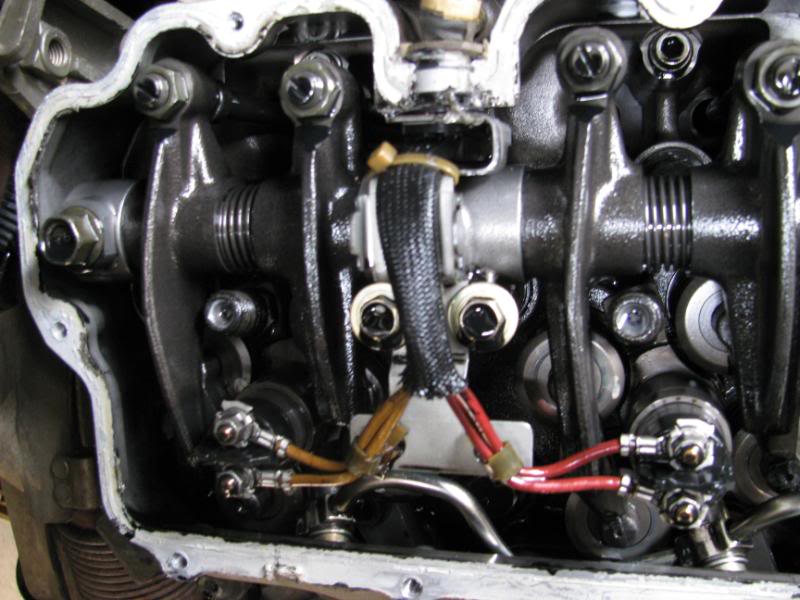
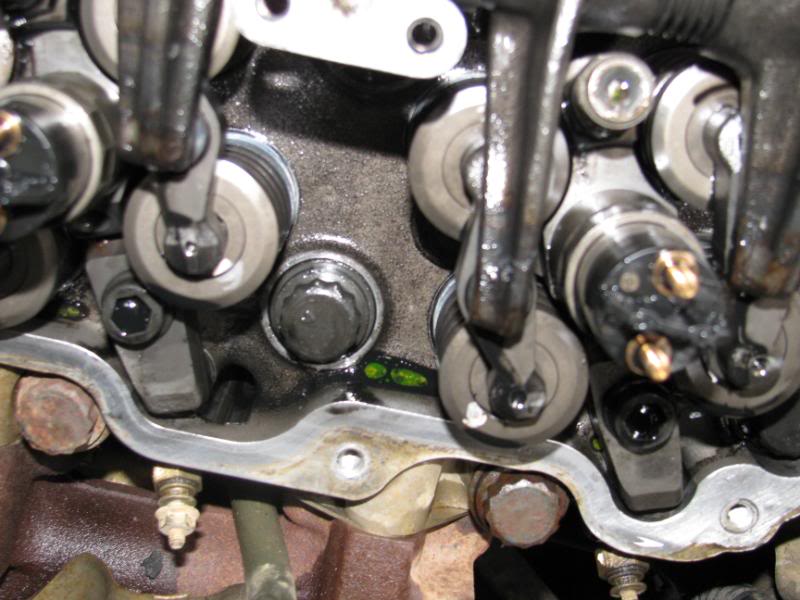
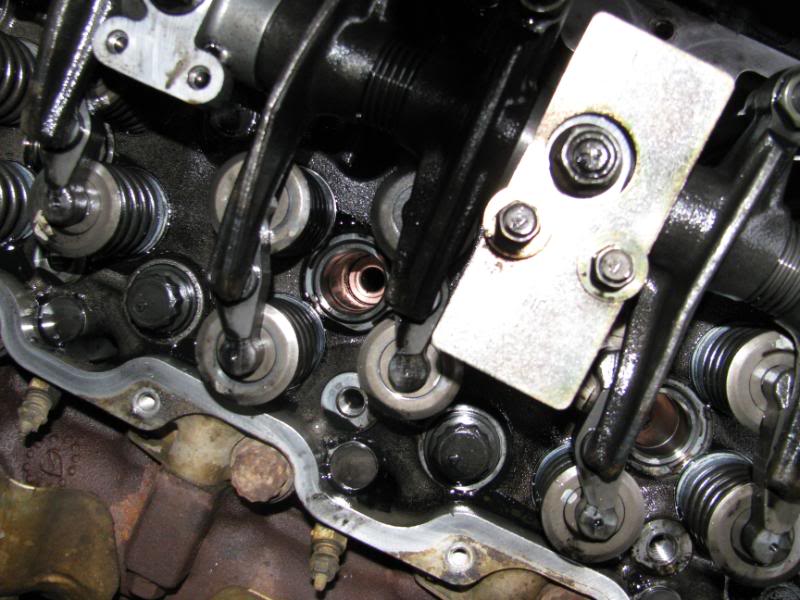
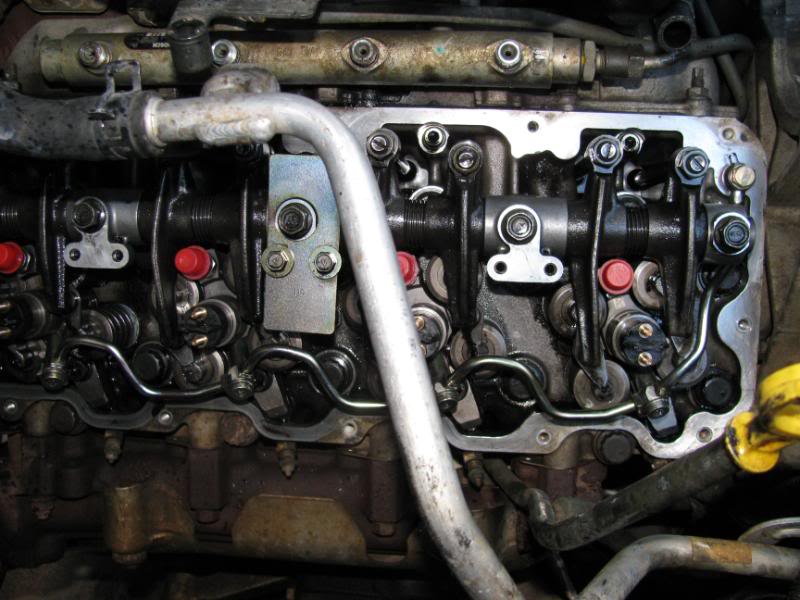
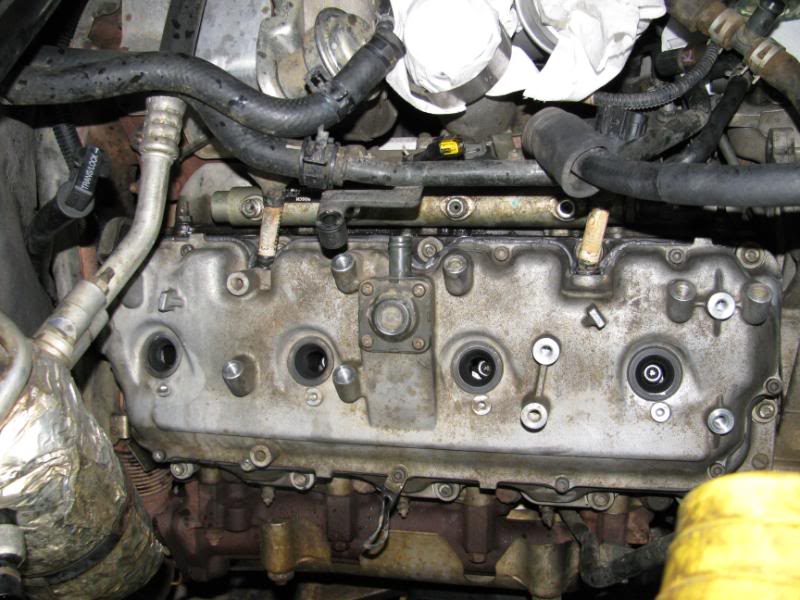
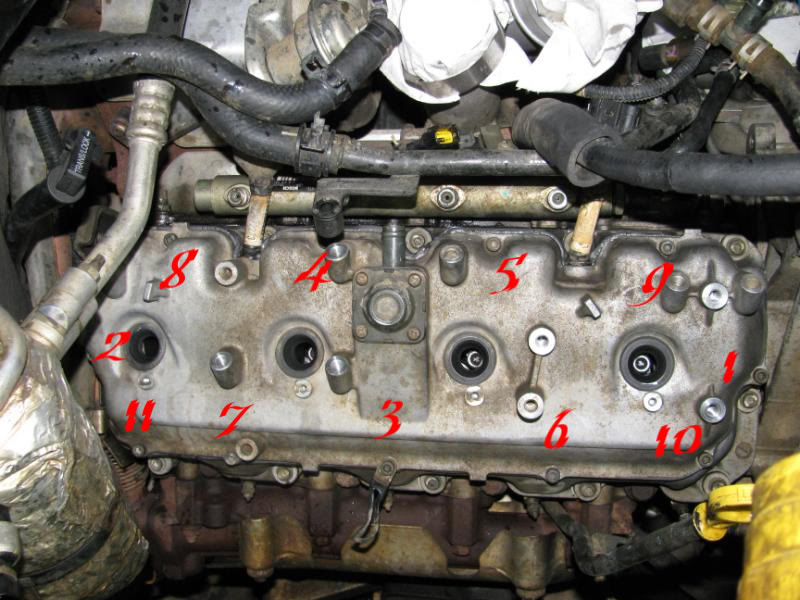
To get the lower valve cover off you gotta disconnect and remove the injecor wire harness. Its held down to two injectors with four 7mm nuts and two gold 10mm bolts. The 7mm nuts are permanently fixed to the harness so u don't have to worry about loosing them, just the 10mm ones u need to hold on to.

After Removing them You are now ready to pull the lower valve cover off. using a 5mm ball end allen bit really helps out, also having a variety of extensions helps to when you get close to the fire wall. Pulling the fender liner really helps out when trying to get the ones in the back on the driver side. The bolts aint tight, in fact some of mine were finger loose...

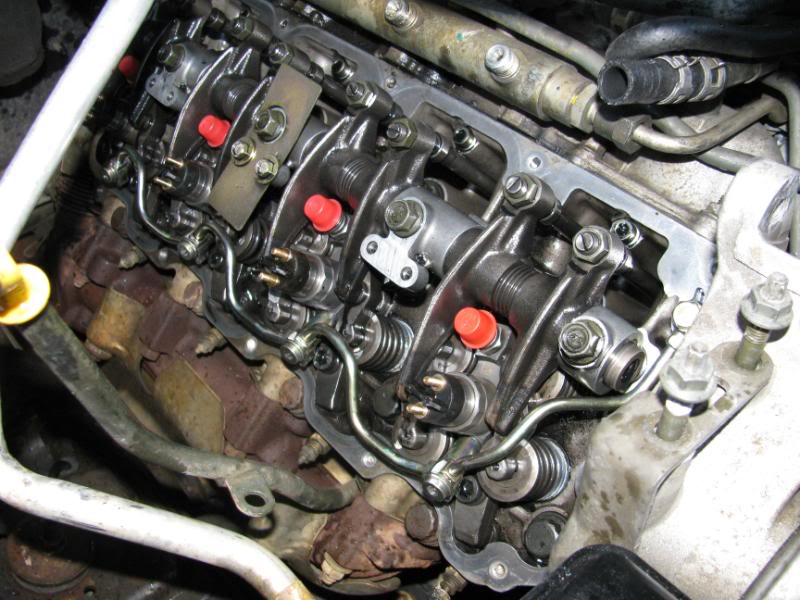
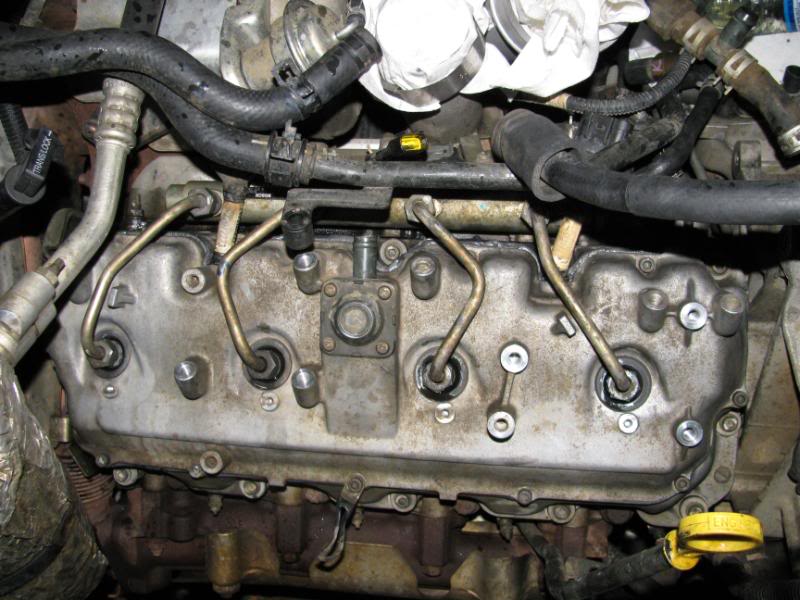
With the lower valve cover off you can remove the injector return line. Be careful with these, try to use a regular 5mm allen bit and tap it in there the best you can because these bolts strip easily. I messed up two of them and i had to use channel locks to remove them.
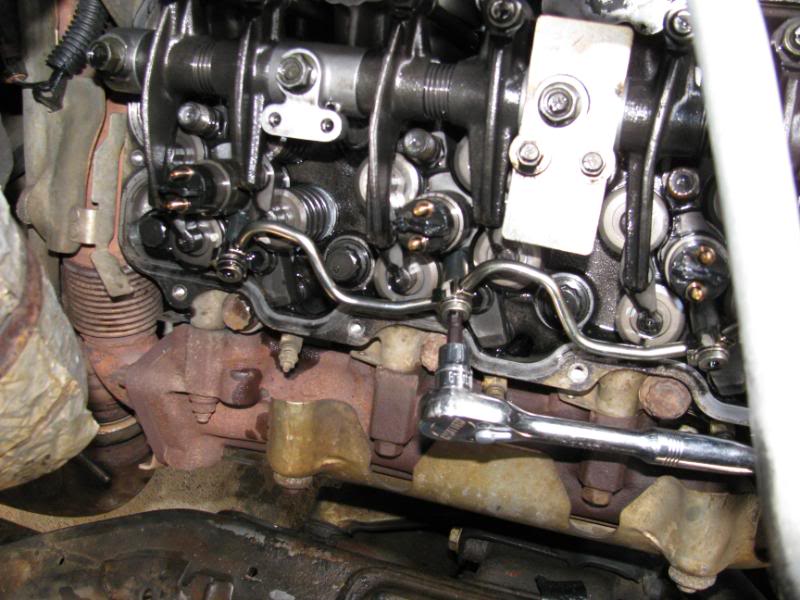
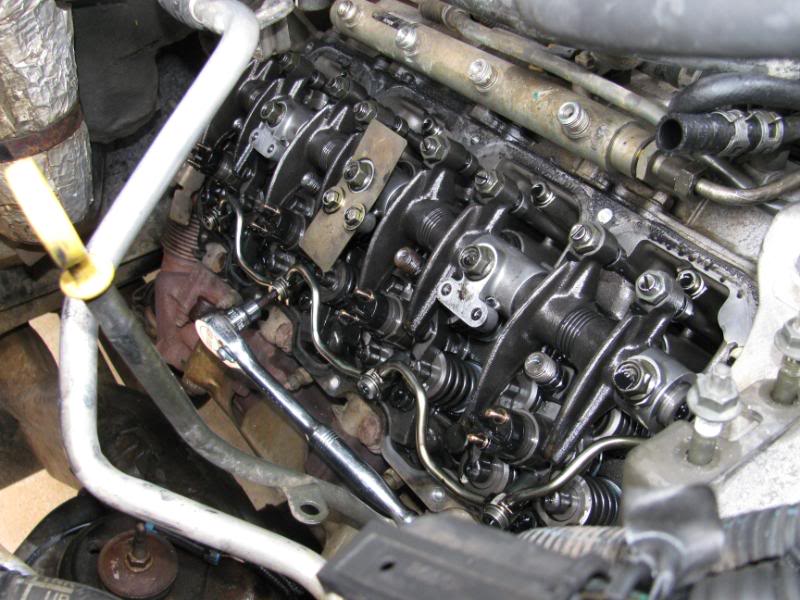
Picture with the return lines removed.
After Removing them You are now ready to pull the lower valve cover off. using a 5mm ball end allen bit really helps out, also having a variety of extensions helps to when you get close to the fire wall. Pulling the fender liner really helps out when trying to get the ones in the back on the driver side. The bolts aint tight, in fact some of mine were finger loose...
With the lower valve cover off you can remove the injector return line. Be careful with these, try to use a regular 5mm allen bit and tap it in there the best you can because these bolts strip easily. I messed up two of them and i had to use channel locks to remove them.
Picture with the return lines removed.
Last edited by 2500HeavyDuty; 12-22-2009 at 04:39 PM.
The following 5 users liked this post by 2500HeavyDuty:
K50 (11-06-2009),
Peacemaker (10-18-2011),
shaggy77 (10-11-2013),
SonicAudio (04-27-2010),
unclecowboy (03-14-2011)
#4
04-08-2009, 12:27 PM
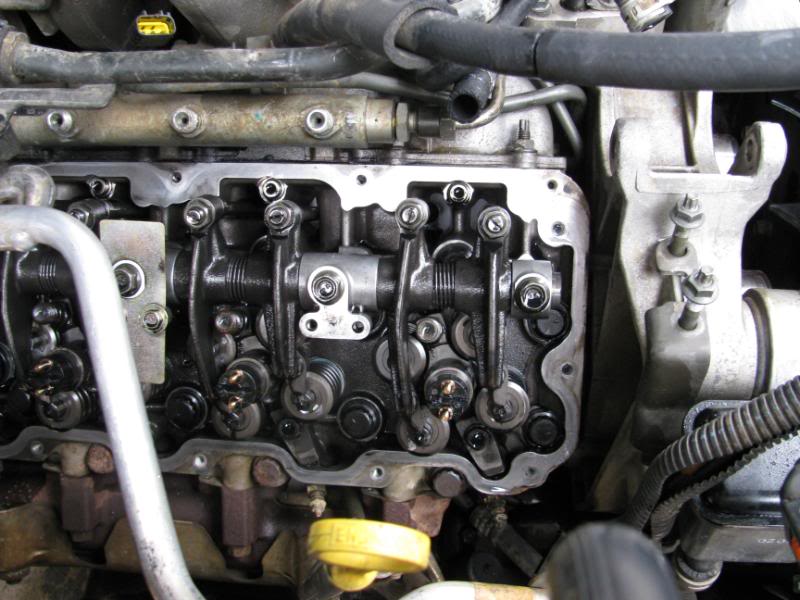
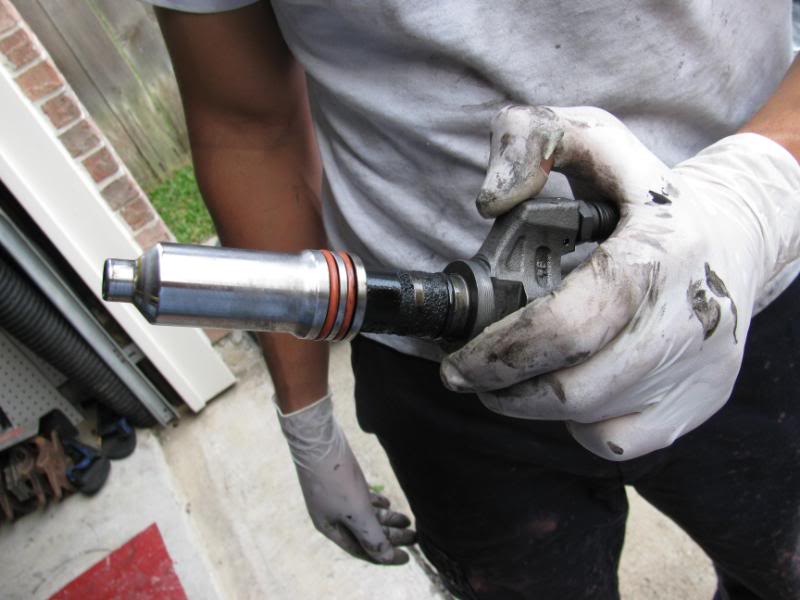
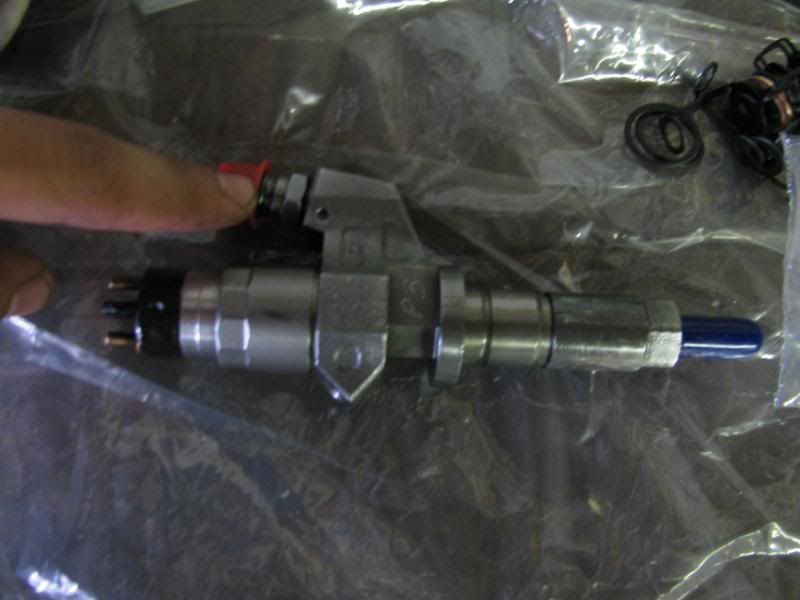
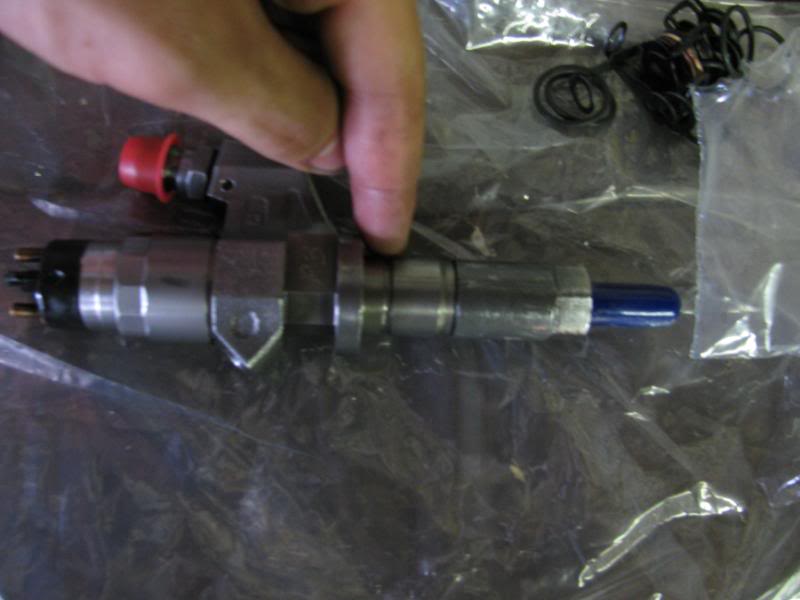
All the injectors have a bracket holding them in place, un screw them, they are pretty tight so make sure not to strip them with a 8mm allen bit.
To pop them out once the injector is loose give them a little twist first to make sure aren't stuck to the cup and then use a small pry bar to pop them out from the top using the bottom of the high pressure supply line on the injector as a pry point and the head bolt as your fulcrum. They should pop right out pretty easily. make sure to remove the copper washer from the bottom of the cup if it doesn't come out with the injector. be sure not to lose the steel button that rests under the bracket that holds down the injector, it usually stays in place, but make sure it doesn't go anywhere.
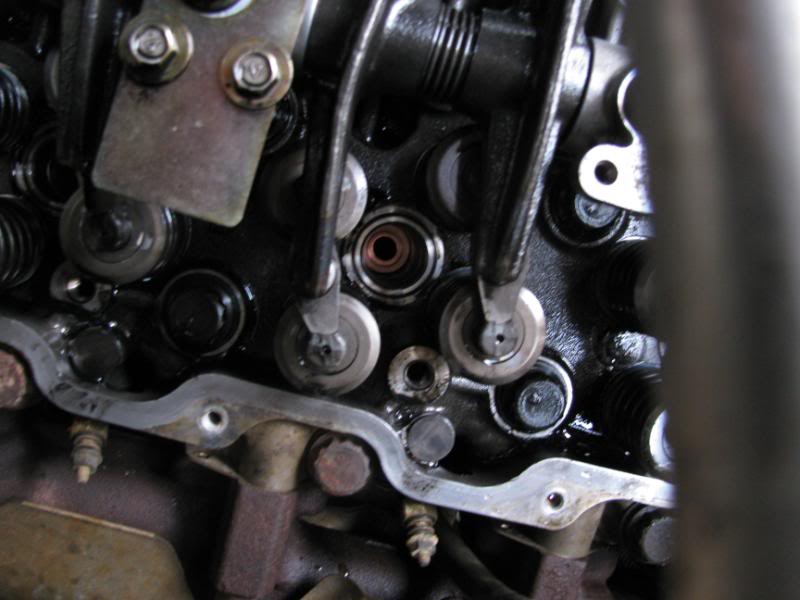
If the injector comes out with the cup, the coolant from the head will drain into the cylinder if you didnt drain the coolant first.
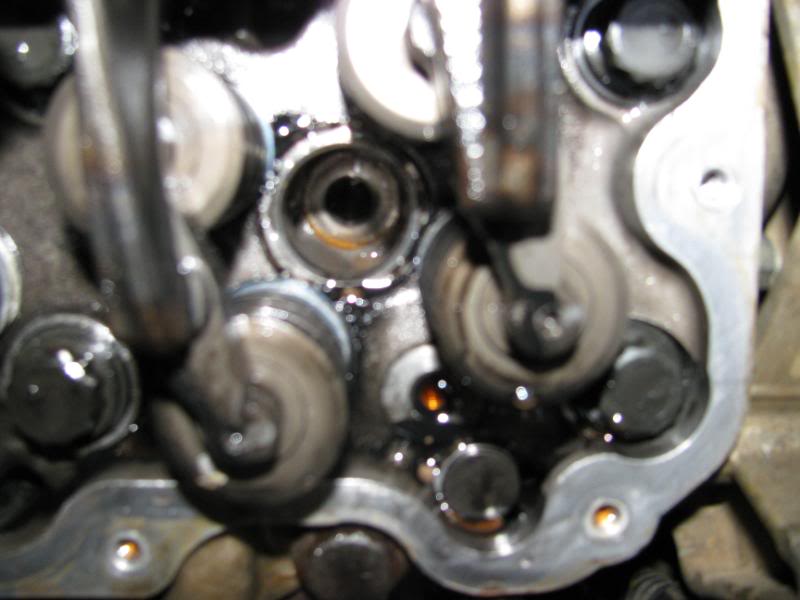
You can see the gunk built up on the injector that caused it to stick to the cup.
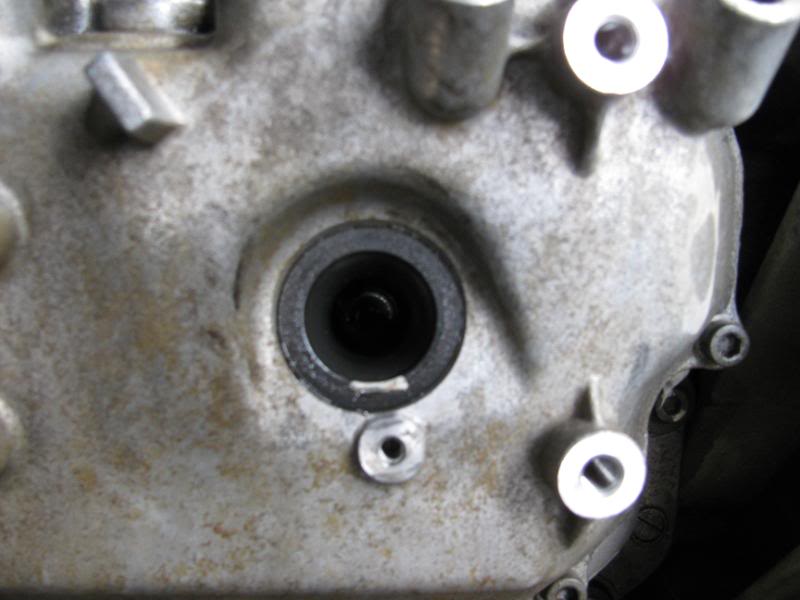
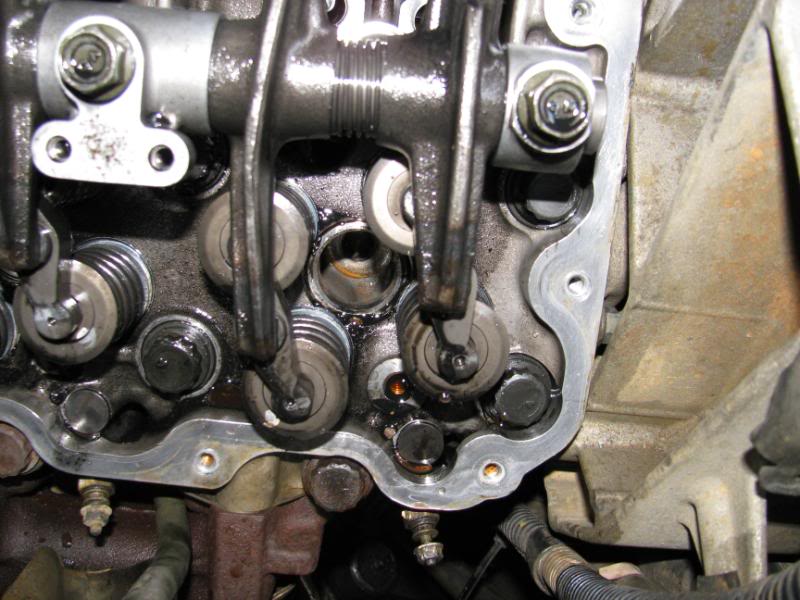
The Injector bore with out the cup in there
Make sure you get all the coolant out the cylinder by bumping the engine over a few times, itl make a huge mess but you gotta get it out somehow. To reinstall the cup clean up the locktite on the bottom of the cup and clean the insides real good and replace the o rings if you can. then prep the cup by using putting red locktite on the bottom of the cup where it begins to taper because that's where it seals with the head. and lube up the o rings with some vasoline or oil. Also clean the mating surface in the head where the cup contacts, need to get it very clean.
Be very careful when re installing it and make sure it goes in straight, you can put your finger in the cup and slide it into the bore ad make sure its lined up and completely straight. slide the cup in until the first o ring goes in and check to see if the cup is still going straight down the bore and push it in a little more. GM says to use a brass drift to drive the cup into the bore the rest of the way, you can use a 24mm socket put onto an extension backwards. The extension barely fits in between the valves and since its backwards on the socket it gives it a large flat even surface to drive the cup in. drive it in until its flush with the bore.
To pop them out once the injector is loose give them a little twist first to make sure aren't stuck to the cup and then use a small pry bar to pop them out from the top using the bottom of the high pressure supply line on the injector as a pry point and the head bolt as your fulcrum. They should pop right out pretty easily. make sure to remove the copper washer from the bottom of the cup if it doesn't come out with the injector. be sure not to lose the steel button that rests under the bracket that holds down the injector, it usually stays in place, but make sure it doesn't go anywhere.
If the injector comes out with the cup, the coolant from the head will drain into the cylinder if you didnt drain the coolant first.
You can see the gunk built up on the injector that caused it to stick to the cup.
The Injector bore with out the cup in there
Make sure you get all the coolant out the cylinder by bumping the engine over a few times, itl make a huge mess but you gotta get it out somehow. To reinstall the cup clean up the locktite on the bottom of the cup and clean the insides real good and replace the o rings if you can. then prep the cup by using putting red locktite on the bottom of the cup where it begins to taper because that's where it seals with the head. and lube up the o rings with some vasoline or oil. Also clean the mating surface in the head where the cup contacts, need to get it very clean.
Be very careful when re installing it and make sure it goes in straight, you can put your finger in the cup and slide it into the bore ad make sure its lined up and completely straight. slide the cup in until the first o ring goes in and check to see if the cup is still going straight down the bore and push it in a little more. GM says to use a brass drift to drive the cup into the bore the rest of the way, you can use a 24mm socket put onto an extension backwards. The extension barely fits in between the valves and since its backwards on the socket it gives it a large flat even surface to drive the cup in. drive it in until its flush with the bore.
Last edited by 2500HeavyDuty; 04-08-2009 at 12:32 PM.
The following 3 users liked this post by 2500HeavyDuty:
#5
04-08-2009, 01:01 PM
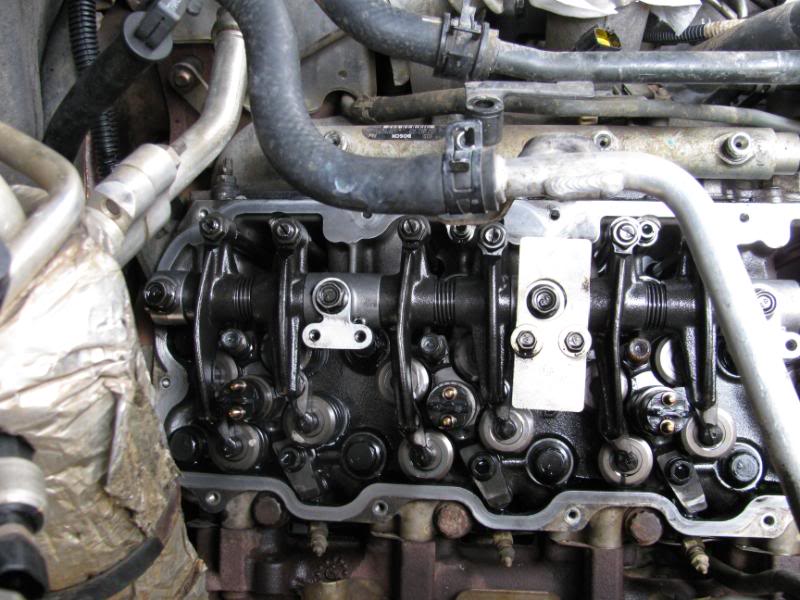
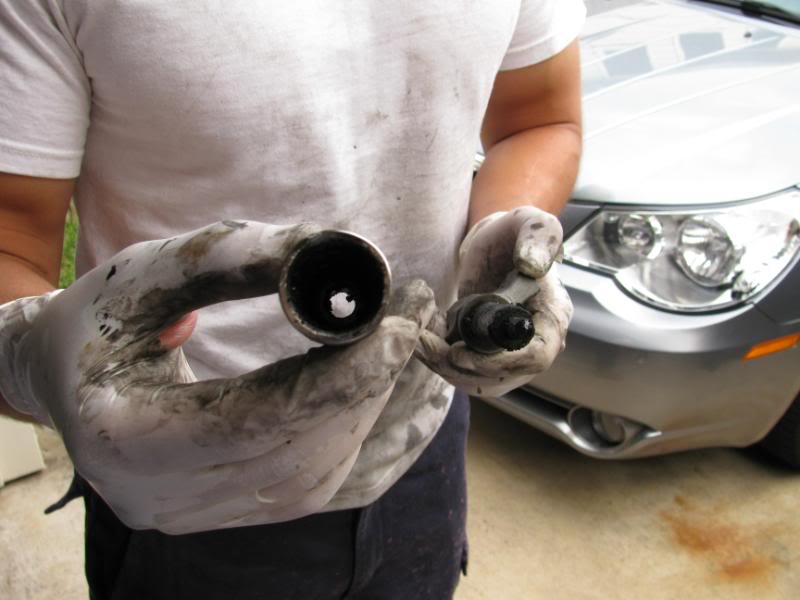
before putting the injectors back in you need to put on two new o rings
in the picture im pointing where the o rings should be
Re install a new copper washer at the bottom of the injector cup.
and install the injector with the clamp and torque it down to 37 ft lbs
Re install the return lines with new seals. Tighten the banjo bolts to 12 Nm or 106 lbin. Tighten the 12mm banjo bolt that goes into the head to 11 lb ft
Install the lower valve cover and tighen bolts in sequence to 10Nm 89 lbin twice
Install the injector harness and tighten the bracket bolts to 9 Nm or 80 lbin
7mm connectors to 2Nm or 18 lbin
The following 3 users liked this post by 2500HeavyDuty:
#6
04-08-2009, 01:17 PM
Put a bead of sealant to the bottom of the upper valve cover about 2-3mm wide and 1mm high and install the upper valve cover.
Tighten bolts to 8 Nm or 71 lbin in this sequence
Install injector lines and keepers
Now put the the FF and FICM back on and ur ready to do the driver side
Thanks to mytmousemalibu (chris) for for giving me tips and hints on replacing the injectors
http://www.duramaxdiesels.com/forum/...ead.php?t=4824
Last edited by 2500HeavyDuty; 04-08-2009 at 01:21 PM.
The following 6 users liked this post by 2500HeavyDuty:
chet (11-16-2010),
dieselmann (03-09-2012),
K50 (11-06-2009),
riegej23 (01-30-2011),
shaggy77 (10-11-2013),
and 1 others liked this post.
#7
04-08-2009, 07:51 PM
The following users liked this post:
2500HeavyDuty (04-09-2009)
#8
04-08-2009, 11:57 PM

#9
04-09-2009, 12:36 AM

 but good job
The following 2 users liked this post by stkdram55:
2500HeavyDuty (04-09-2009),
unclecowboy (03-14-2011)
#10
04-09-2009, 01:45 PM

The following 2 users liked this post by Red_Rattler:
2500HeavyDuty (04-09-2009),
halffast (04-06-2015)


