1997 Dodge Cummins G56 Conversion
#1
 04-14-2015, 08:36 PM


Last weekend I helped my friend swap out his 47RE for a G56 in his 1997 Dodge Ram 2500. I just got his 47RE built about 2 months ago so he could sell the truck, he drove it about 100 miles and decided he wanted that truck, and to sell his 99 24V instead. He was debating on a NV4500 or a G56, but found a good deal on a low mileage take out G56. The other parts we needed were:
Clutch Pedal Assmebly
Clutch Pedal Safety Switch
Clutch Hydraulics Kit (master & slave cylinder and line)
Clutch Kit G56-OHD (from Southbend)
29 Spline Transfercase Input Shaft & Bearing (for 241DHD)
Transfercase Input Seal
Transfercase Shifter (out of a 2001 Dodge)
I tried to remember to take pictures.
First thing we did was remove the drivelines and take a measurement of the transfercase output shaft position
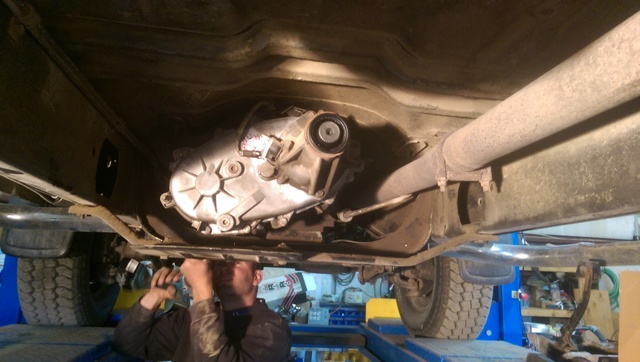
The measurements were 17" from the left frame rail to the center of the transfercase output shaft, and 6 3/4" from the bottom of the frame rails to the center of the output shaft.
Then we removed the transfercase and transmission.
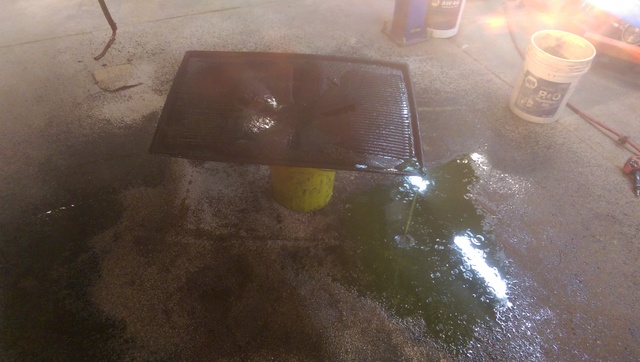
Then we worked on removing all the misc auto transmission stuff like the cooler lines and cooler, the heat exchanger, shift linkage, TV cable and flexplate. It took just as long or longer to take the misc pieces out as it did to take the transmission and transfercase out. The biggest pain was the heat exchanger, and it made a mess!
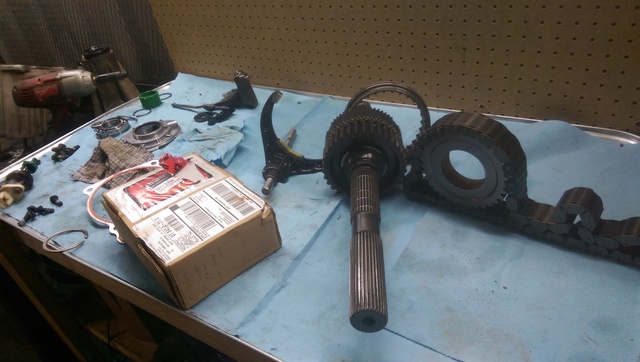
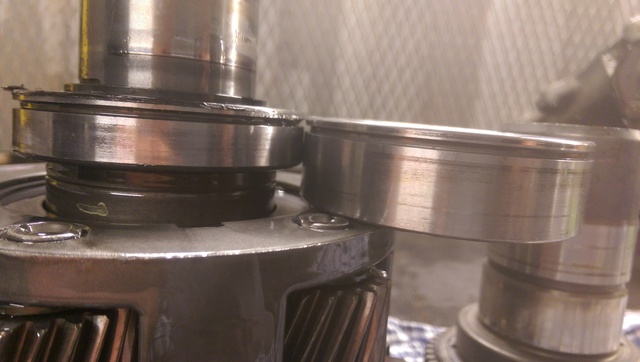
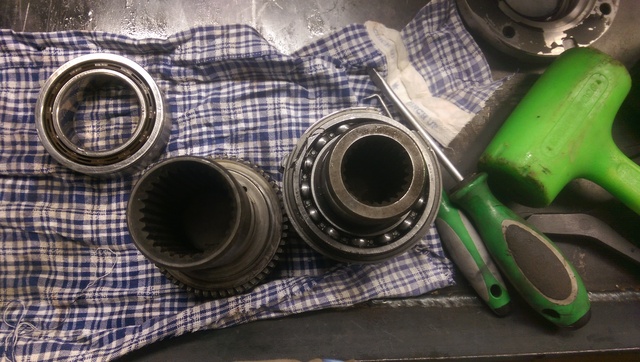
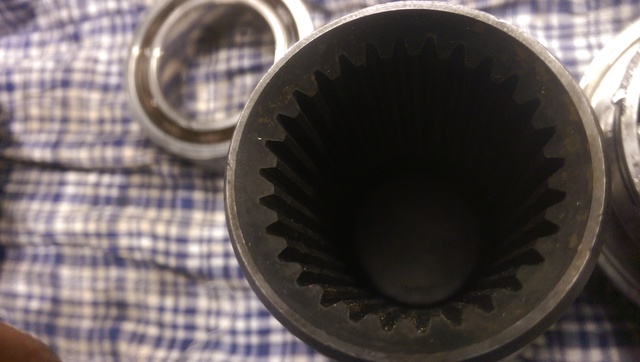
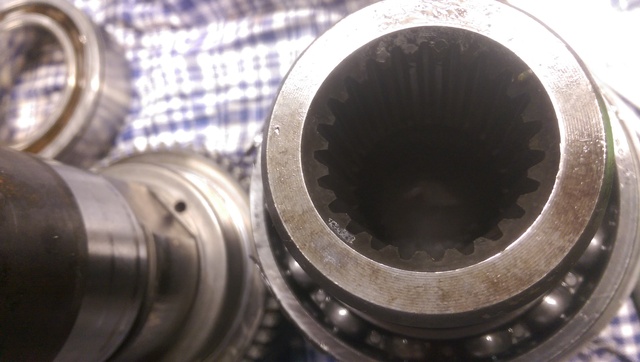
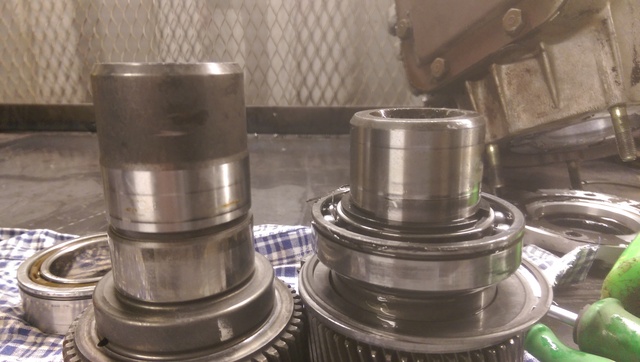
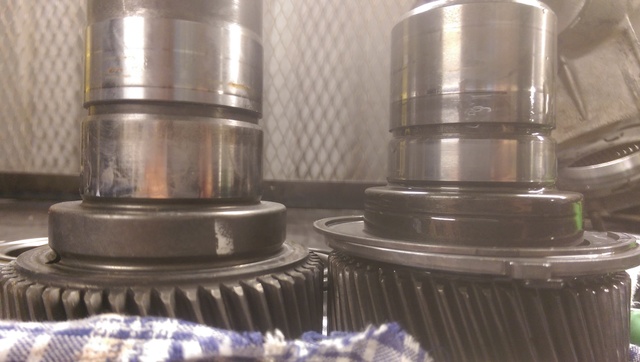
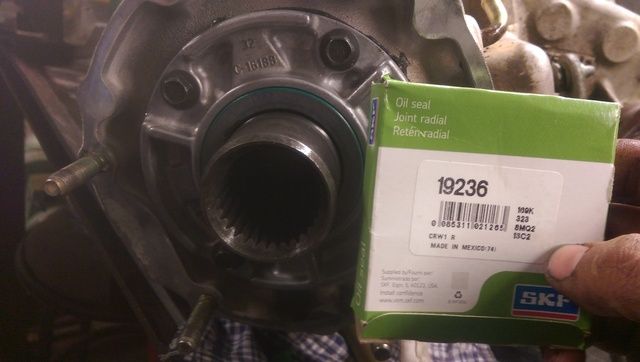
I took the transfercase inside my connex to tear it apart while my friend worked on removing the misc trans stuff. The auto has a 23 spline output shaft, while the G56 has a 29 spline output. The only thing you need to swap in the transfercase is the front input shaft and bearing. Both input shafts are the same size OD, and the 29 spline shaft uses a wider/deeper (depending on how you look at it) bearing. I installed a new input seal since I had it apart.
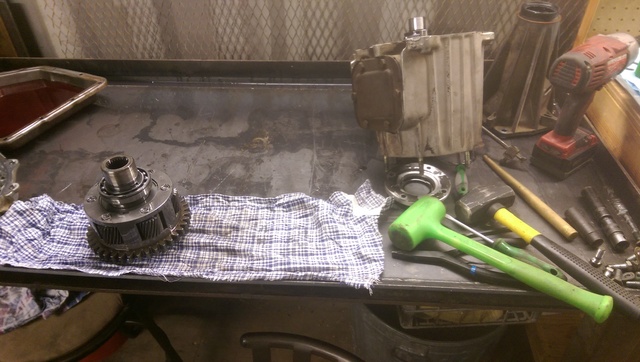
Then it was time to get ready to put the G56 in.
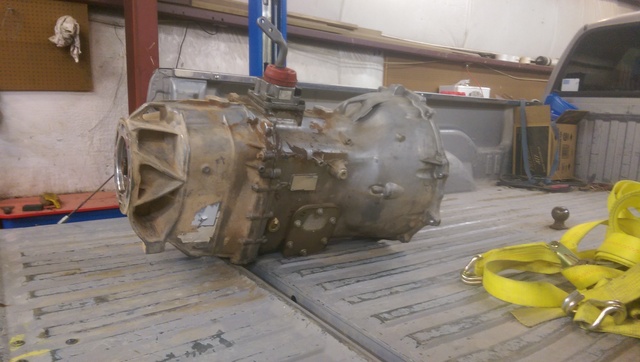
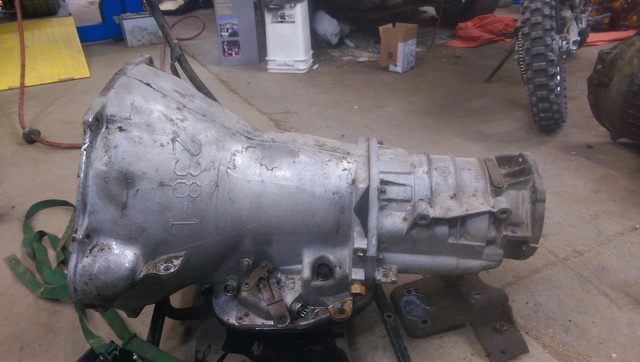
Here is a picture of the G56 compared to the 47RE, it's a big beefy rectangular box compared to the 47RE.
Here is the clutch kit installed.
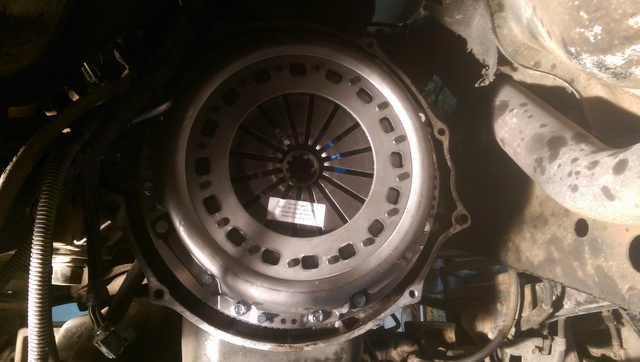
The clutch kit came with all the hardware to bolt it to the crankshaft and install the pressure plate.
Clutch Pedal Assmebly
Clutch Pedal Safety Switch
Clutch Hydraulics Kit (master & slave cylinder and line)
Clutch Kit G56-OHD (from Southbend)
29 Spline Transfercase Input Shaft & Bearing (for 241DHD)
Transfercase Input Seal
Transfercase Shifter (out of a 2001 Dodge)
I tried to remember to take pictures.
First thing we did was remove the drivelines and take a measurement of the transfercase output shaft position
The measurements were 17" from the left frame rail to the center of the transfercase output shaft, and 6 3/4" from the bottom of the frame rails to the center of the output shaft.
Then we removed the transfercase and transmission.
Then we worked on removing all the misc auto transmission stuff like the cooler lines and cooler, the heat exchanger, shift linkage, TV cable and flexplate. It took just as long or longer to take the misc pieces out as it did to take the transmission and transfercase out. The biggest pain was the heat exchanger, and it made a mess!
I took the transfercase inside my connex to tear it apart while my friend worked on removing the misc trans stuff. The auto has a 23 spline output shaft, while the G56 has a 29 spline output. The only thing you need to swap in the transfercase is the front input shaft and bearing. Both input shafts are the same size OD, and the 29 spline shaft uses a wider/deeper (depending on how you look at it) bearing. I installed a new input seal since I had it apart.
Then it was time to get ready to put the G56 in.
Here is a picture of the G56 compared to the 47RE, it's a big beefy rectangular box compared to the 47RE.
Here is the clutch kit installed.
The clutch kit came with all the hardware to bolt it to the crankshaft and install the pressure plate.
#2
04-14-2015, 08:37 PM
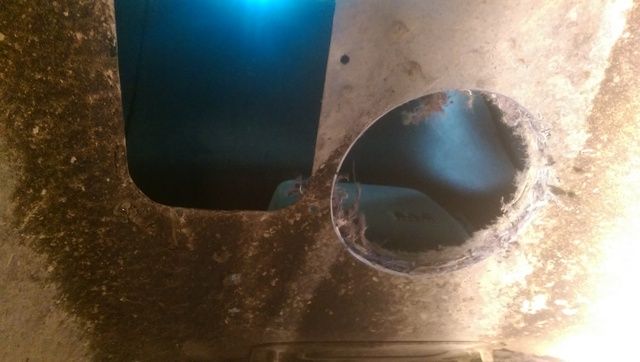
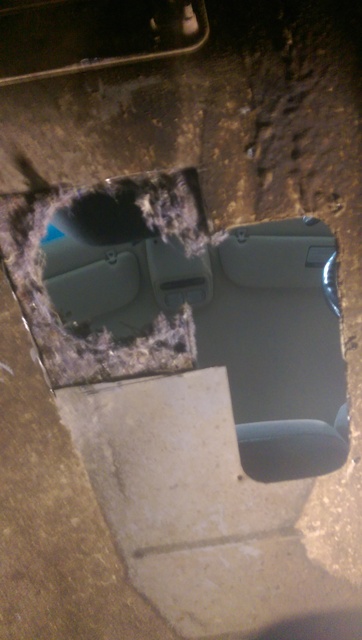
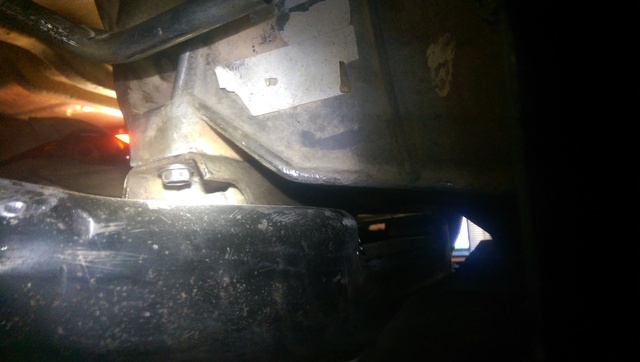
We measured back from the bellhousing adapter and used a 4" hole saw to cut the floor out for the shifter. It was soon apparent that would not be big enough so we got out the sawzall.
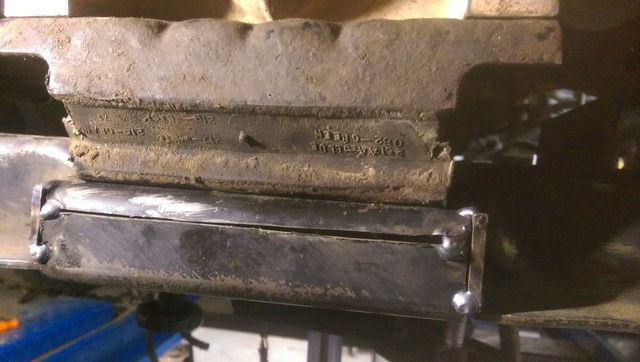
Next we worked on the crossmember. We measured from the front of the bellhousing back to the transmission mount. it was approximately 26 1/2".
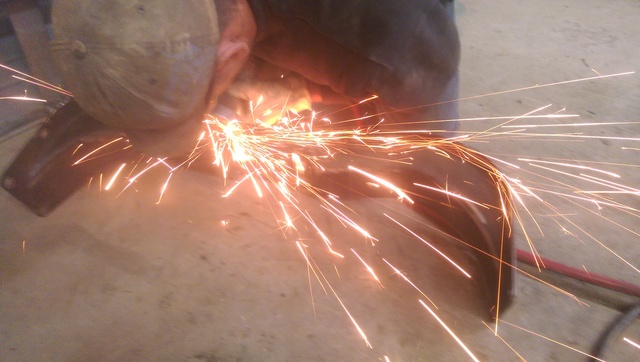
We cut around the transmission mounting surface on the crossmember and moved it accordingly....

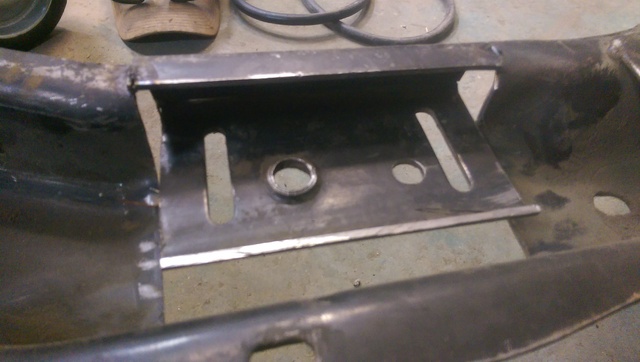
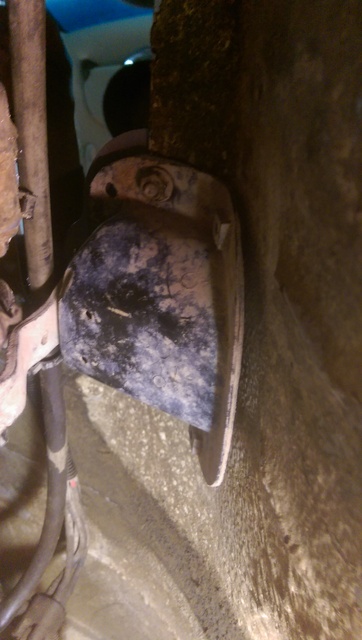
... and tack welded it in place only to find out we had messed up our measurements and had to move it again. With the G56 installed and touching the top of the transmission tunnel we needed about 1/2" just to get the mounting bolt holes for the crossmember to line up. We decided to drop it about 1" to give us some clearance on top of the transmission, and move it even further backwards. The transmission mount off of the 47RE bolted right up to the G56.
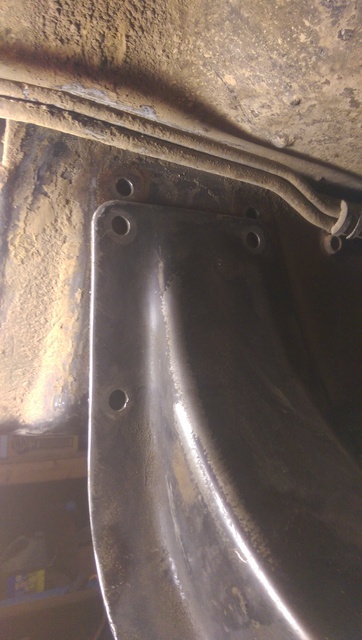
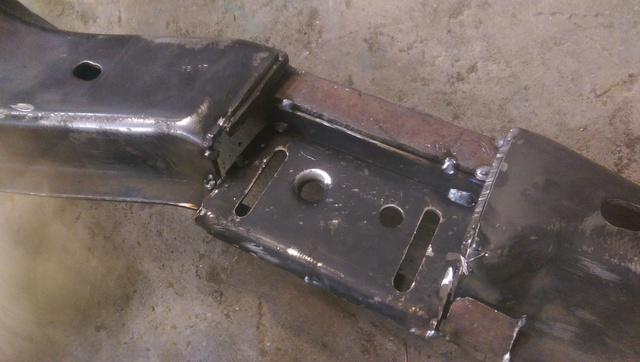
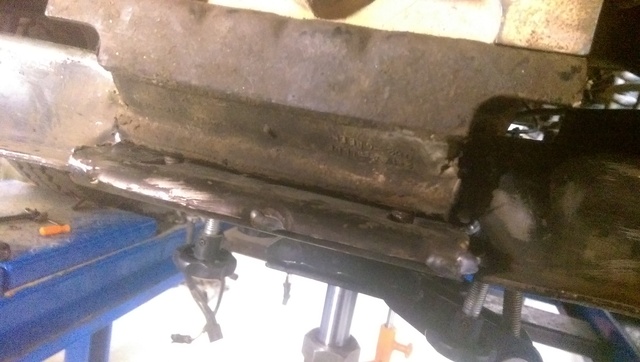
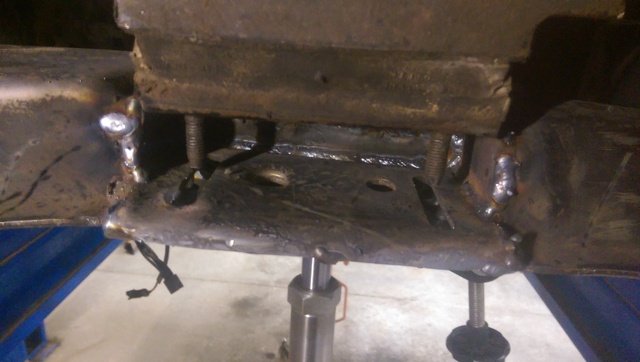
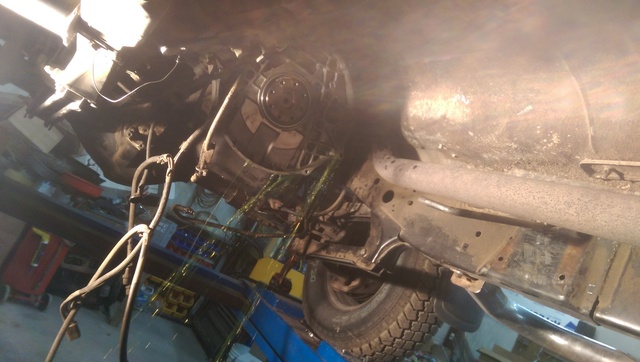
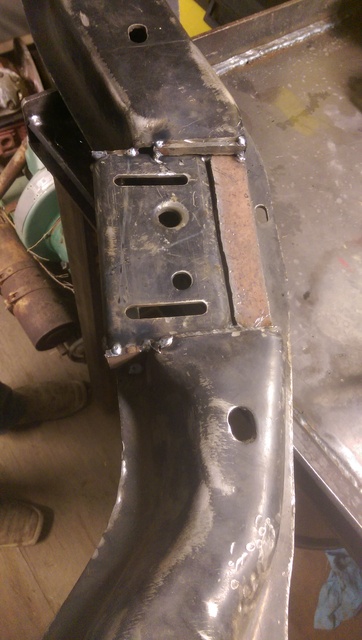
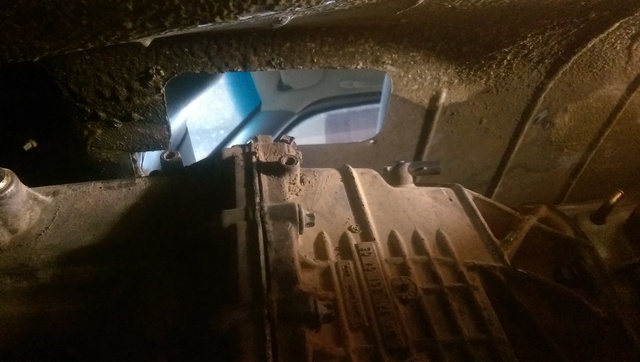
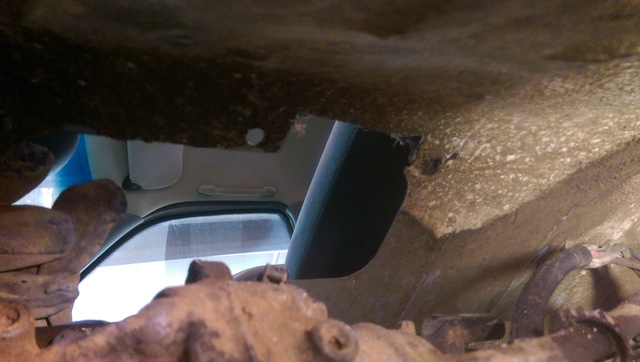
Here is a picture from the front looking back showing the clearance between the G56 and the front of the crossmember.
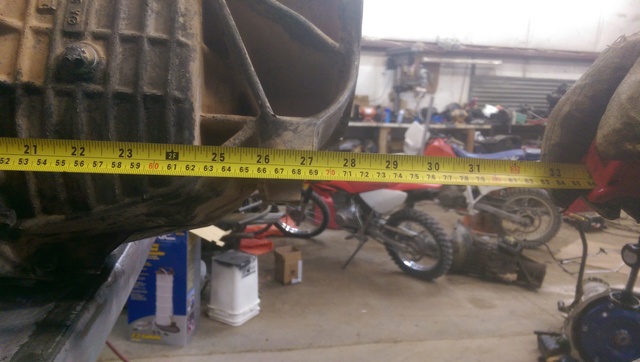
We installed the transfercase and took measurements.
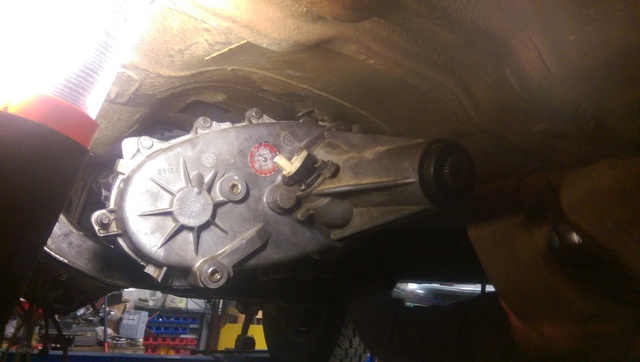
From the left frame rail to the output shaft was 17". We were worried about how far we dropped it so we shimmed it up about 1/4", making our measurement approximately 5 3/4" from the bottom of the frame rails. The driveline specialist we talked to said that amount should be just fine.
Next we worked on the crossmember. We measured from the front of the bellhousing back to the transmission mount. it was approximately 26 1/2".
We cut around the transmission mounting surface on the crossmember and moved it accordingly....
... and tack welded it in place only to find out we had messed up our measurements and had to move it again. With the G56 installed and touching the top of the transmission tunnel we needed about 1/2" just to get the mounting bolt holes for the crossmember to line up. We decided to drop it about 1" to give us some clearance on top of the transmission, and move it even further backwards. The transmission mount off of the 47RE bolted right up to the G56.
Here is a picture from the front looking back showing the clearance between the G56 and the front of the crossmember.
We installed the transfercase and took measurements.
From the left frame rail to the output shaft was 17". We were worried about how far we dropped it so we shimmed it up about 1/4", making our measurement approximately 5 3/4" from the bottom of the frame rails. The driveline specialist we talked to said that amount should be just fine.
#3
04-14-2015, 08:43 PM
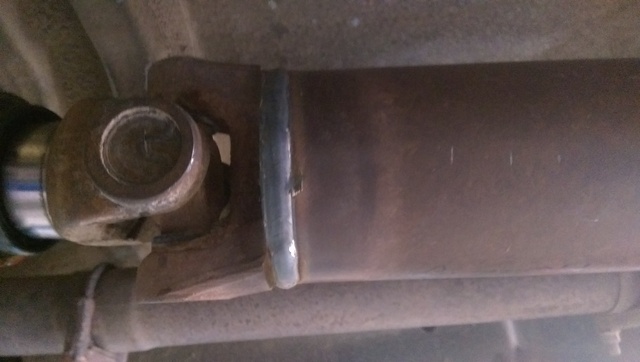
My friend took off to get the drivelines modified. We had the rear driveline shortened 2" and lengthed the front by 2". While he was busy dropping off the drivelines and picking up a shifter (he had to drive an hour and a half to find someone to do driveline work on a Saturday) I started on the clutch pedal and hydraulic kit.
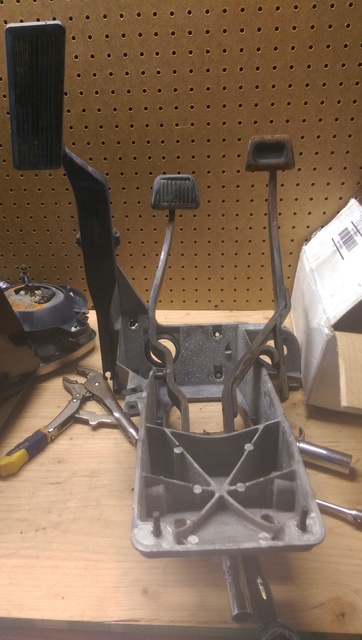
Rather than swap our entire assemblies I opted to remove the pivot pin and replace the automatic style brake pedal with the manual style clutch and brake pedals. It was a huge pain, I had to use a hammer and a punch to knock the pin out of the one I had on the bench. The pin in the truck was just as stubborn. I finally figured out the way to do it: remove the e-clips from both sides of the pin using a 90* pick on the left side and a small flat head screwdriver on the right side. Insert the flat head in the gap on the e-clip and rotate. This will start to remove the clip. Move the flat head closer to the center of the clip and rotate again. It should pop right off. Then get a small pair of vise-grips and clamp onto the right side of the pin. Rotate the pin while you pull outwards and it should come out. Remove the automatic style brake pedal and install the manual style. Make sure you have all the plastic pieces installed. Once you move the pin in flush with left side of the brake pedal install the clutch pedal. Continue to move the pin in until its farther left than it should be. Install that e-clip first and move the pin back to the right. I left the vise-grips on the whole time. Now install the e-clip on the right side. I had to bend the bracket holding the brake pedal switch so that the brake lights would shut off.
Now go under the hood and remove the rubber plug where the master cylinder goes. The master cylinder should push in and twist to lock. There are already dimples in the firewall where the reservoir mounts, I used two self-tapping screws to mount it. Then I routed the slave cylinder down to the transmission.
IIRC the nuts to bolt the slave cylinder up are 8mm x 1.25
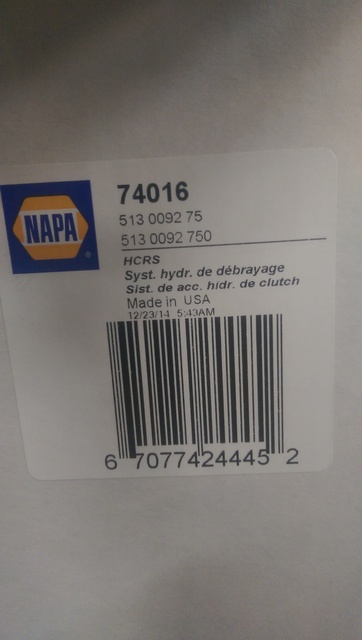
Here is the clutch hydraulic kit from Napa
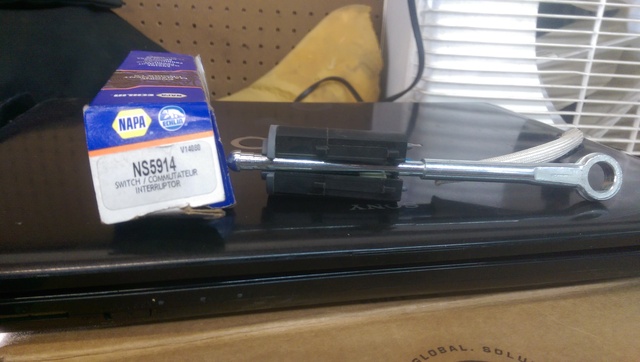
and the clutch safety switch from Napa
You will need to run wires from the neutral safety switch up inside the cab and hook them to the clutch saftey switch. We did not hook up the reverse lights at this time.
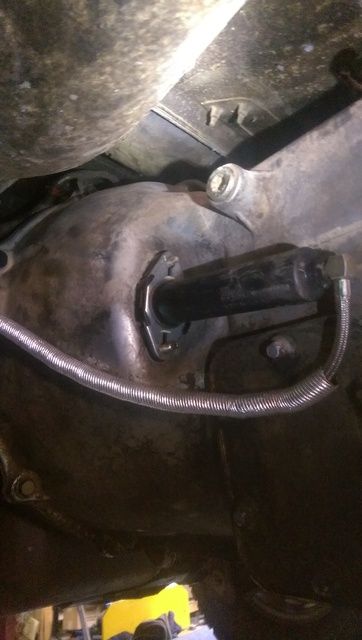
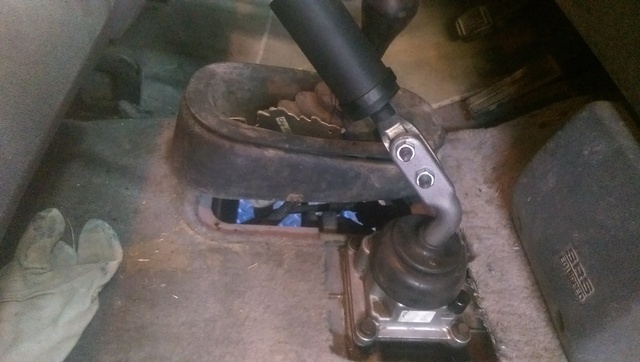
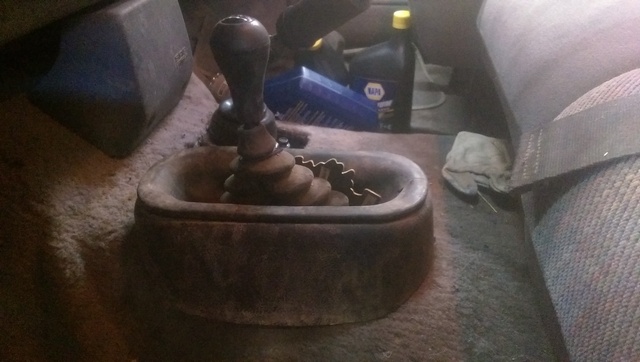
The transfercase shifter on the 97 bolted to the side of the transmission. This wasnt going to work with the G56. I had an old cab from a 2001 Dodge Cummins that we stole the shifter out of. In the 01 the shifter mounts to the floor. We drilled holes in the 97 and installed the 01 shifter.
My friend showed up with the drivelines and shifter.
We hooked up the wires to the transfercase and filled the transmission, transfercase, and radiator and took it for a test drive. The G56 shifted easily and the clutch engaged smoothly. We were very satisfied with the Southbend clutch.
My friend took it home and tidyed up the clutch switch wires, and welded in the floor around the shifter. He ordered a floor console out of a 99 Dodge with a manual and installed it.
Overall we are both very pleased with how this conversion went. We started around 7:30 Friday night and finished around 2:30 Saturday afternoon, though we werent working at 100% after about midnight. Getting the drivelines modified took up over 4hrs by itself. I know we could have finished it quicker if we would have had enough sleep instead of pulling an all-nighter.
If you have any questions let me know and I will try to answer them.
Rather than swap our entire assemblies I opted to remove the pivot pin and replace the automatic style brake pedal with the manual style clutch and brake pedals. It was a huge pain, I had to use a hammer and a punch to knock the pin out of the one I had on the bench. The pin in the truck was just as stubborn. I finally figured out the way to do it: remove the e-clips from both sides of the pin using a 90* pick on the left side and a small flat head screwdriver on the right side. Insert the flat head in the gap on the e-clip and rotate. This will start to remove the clip. Move the flat head closer to the center of the clip and rotate again. It should pop right off. Then get a small pair of vise-grips and clamp onto the right side of the pin. Rotate the pin while you pull outwards and it should come out. Remove the automatic style brake pedal and install the manual style. Make sure you have all the plastic pieces installed. Once you move the pin in flush with left side of the brake pedal install the clutch pedal. Continue to move the pin in until its farther left than it should be. Install that e-clip first and move the pin back to the right. I left the vise-grips on the whole time. Now install the e-clip on the right side. I had to bend the bracket holding the brake pedal switch so that the brake lights would shut off.
Now go under the hood and remove the rubber plug where the master cylinder goes. The master cylinder should push in and twist to lock. There are already dimples in the firewall where the reservoir mounts, I used two self-tapping screws to mount it. Then I routed the slave cylinder down to the transmission.
IIRC the nuts to bolt the slave cylinder up are 8mm x 1.25
Here is the clutch hydraulic kit from Napa
and the clutch safety switch from Napa
You will need to run wires from the neutral safety switch up inside the cab and hook them to the clutch saftey switch. We did not hook up the reverse lights at this time.
The transfercase shifter on the 97 bolted to the side of the transmission. This wasnt going to work with the G56. I had an old cab from a 2001 Dodge Cummins that we stole the shifter out of. In the 01 the shifter mounts to the floor. We drilled holes in the 97 and installed the 01 shifter.
My friend showed up with the drivelines and shifter.
We hooked up the wires to the transfercase and filled the transmission, transfercase, and radiator and took it for a test drive. The G56 shifted easily and the clutch engaged smoothly. We were very satisfied with the Southbend clutch.
My friend took it home and tidyed up the clutch switch wires, and welded in the floor around the shifter. He ordered a floor console out of a 99 Dodge with a manual and installed it.
Overall we are both very pleased with how this conversion went. We started around 7:30 Friday night and finished around 2:30 Saturday afternoon, though we werent working at 100% after about midnight. Getting the drivelines modified took up over 4hrs by itself. I know we could have finished it quicker if we would have had enough sleep instead of pulling an all-nighter.
If you have any questions let me know and I will try to answer them.
The following users liked this post:
Clandrum (12-10-2020)
#4
04-20-2015, 09:43 AM

#5
04-20-2015, 10:09 PM

Thread
Thread Starter
Forum
Replies
Last Post
12vWoodHauler
12 Valve 2nd Gen Dodge Cummins 94-98
1
09-30-2015 07:58 PM
Diesel Bombers
General Diesel Related
0
11-04-2014 08:10 AM


