LB7 Water Pump Replacement DIY
#1
 09-02-2008, 01:14 AM


LLY similar
Parts:
Water pump
Minimum tool requirements:
Good socket set with atleast 30 inches of 3/8 extensions for starter bolts swivel extensions and u joint extensions.
Ratcheting flex head wrenches make life easier in tight areas.
10,12,14 mm sockets both regular and deep
15mm 3/8" socket for the starter
12mm wrench
screwdriver, retaining pin pliers or wire nippers, 90 degree needle nose pliers.
Something to protect Radiator from damage, wood cardboard, sheet metal. something gotta be there.
fan clutch removal tool from autoparts store, I used the 1-7/8 flat wrench and 90 degree needle nose pliers to remove fan clutch
3/4 drive breaker with big *** cheater bar and a 12pt 36mm or 1-7/16(36.5m) 3/4 drive socket
torque wrench that can do at least 260ftlbs.
one short half inch extension, really only need a 5 inch one.
large bucket or pan for coolant.
something to stand on work off of, its going to be a long day
dielectric grease/ motor oil for o-rings
And a good helper. and about 4-6 hours of your day.
- Start off by disconnecting the negatives on both the batteries and start removing the upper fan shroud, the cover for it has a couple of push pins that hold it to the grille/fan shroud and you just need to remove the center pins on them like the fender liner pins.
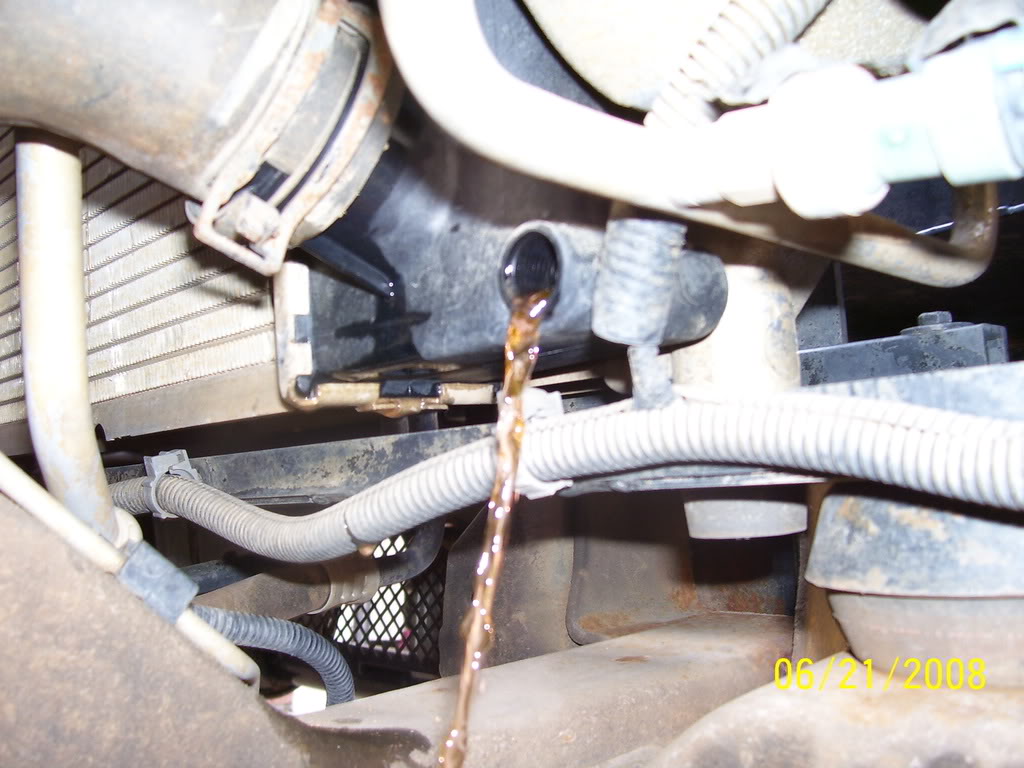
- While your doing that you can drain the coolant out the little drain plug located on the passenger side bottom corner and place a bucket underneath before you open up the drain.
- unbolt the TCM its on the driver side and its sitting on top of the upper fan shroud, it has two 10mm bolts holding it then unplug it and set it aside, i covered up my red and clear connectors form my tcm with a sandwich bag and rubber banned it and layed it asside.
- remove the other two bolt from the upper fan shroud and there will be 4 push pins holding the upper shroud to the lower two on eash side about fan clutch height. pull the center pins out and pull out the upper fan shroud.
- Now use the 1-7/8 fat wrench and the 90 degree needle nose pliers to remove the fan, it might be tough, be sure to wear gloves for this but i could the "proper" tool for that.
 now place some cradboard or something against the radiator so udont dammage it so you can remove the lower fan shroud, its real hassle but it does come out.
 - ok so its time to remove the passenger side fender liner and tire if you need more room and remove the unbolt the starter from the motor, you dont have to remove it just slide it away from the area. theres two bolts holding the starter to the block.
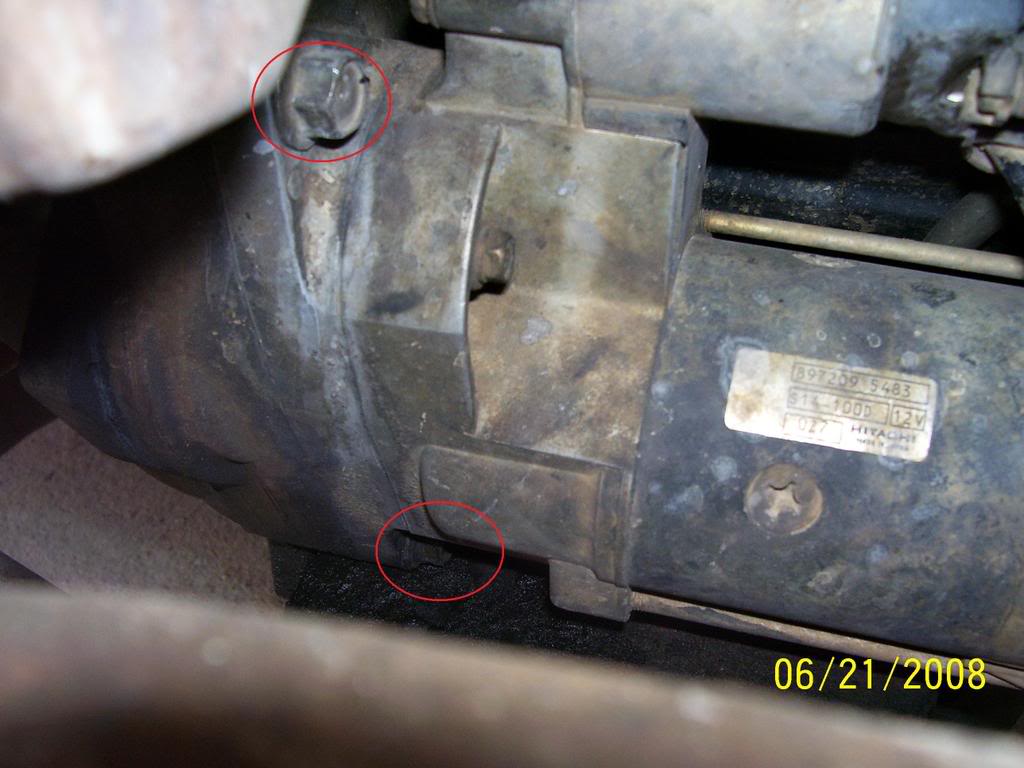 The trick to getting the starter out is using about 30 inches of 3/8 extension and a 15mm socket for the bottom bolt mine was so loose i could take it out with my fingers so check that every so often. the top on is a little tricky too, a 15mm swivel socket/wrench/u-joint will work here.
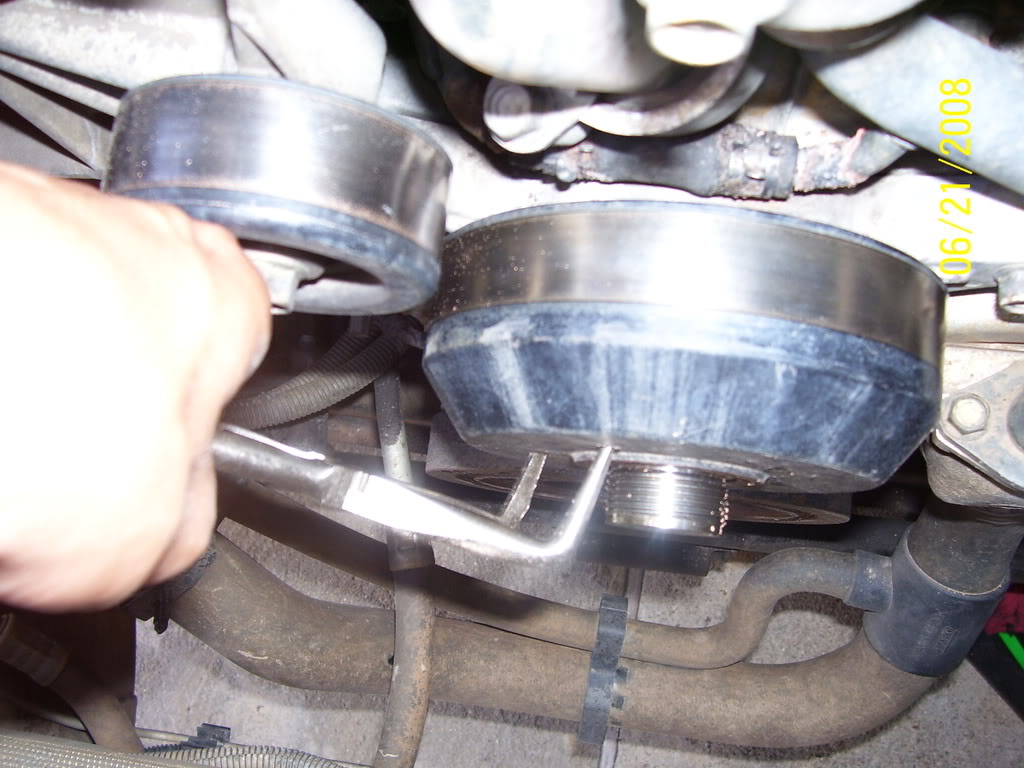
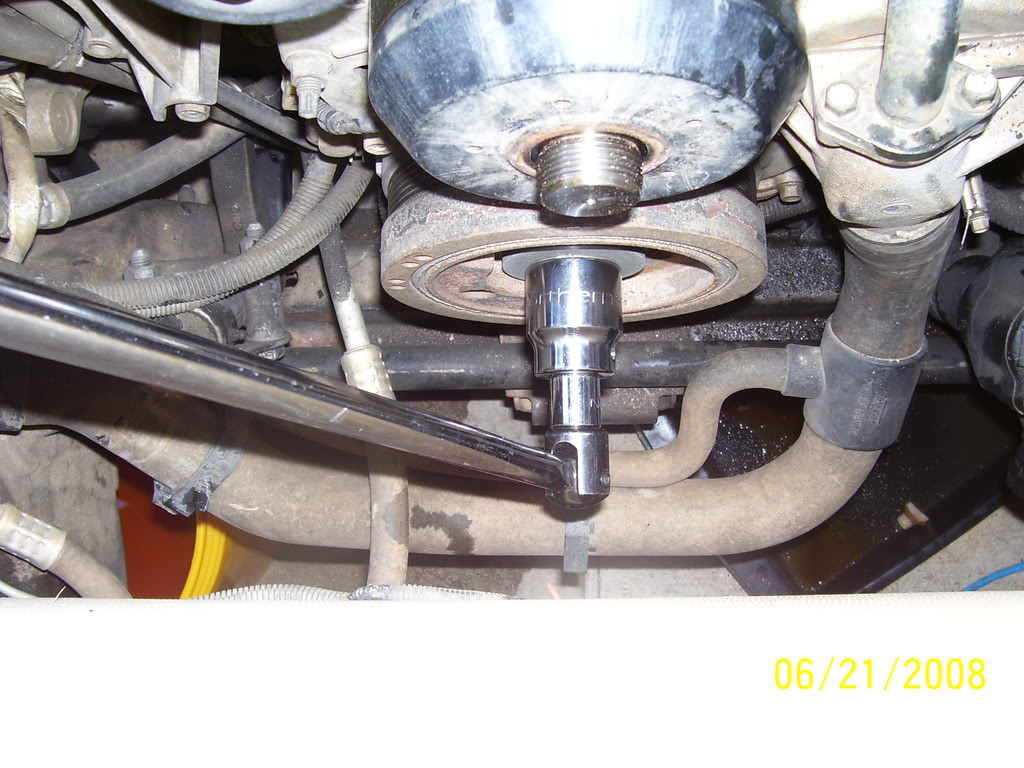
 - Once thats out of the way, ur supposed to use a J-44643, but a half inch extension will work too, just have someone rotate the flywheel by using the 36mm/breaker to rotate the crank till you see a hole in the flywheel then stick the female end of the extension into the hole and have your buddy turn the crank like he was going to lossen it so the extension will stay snugley into place.
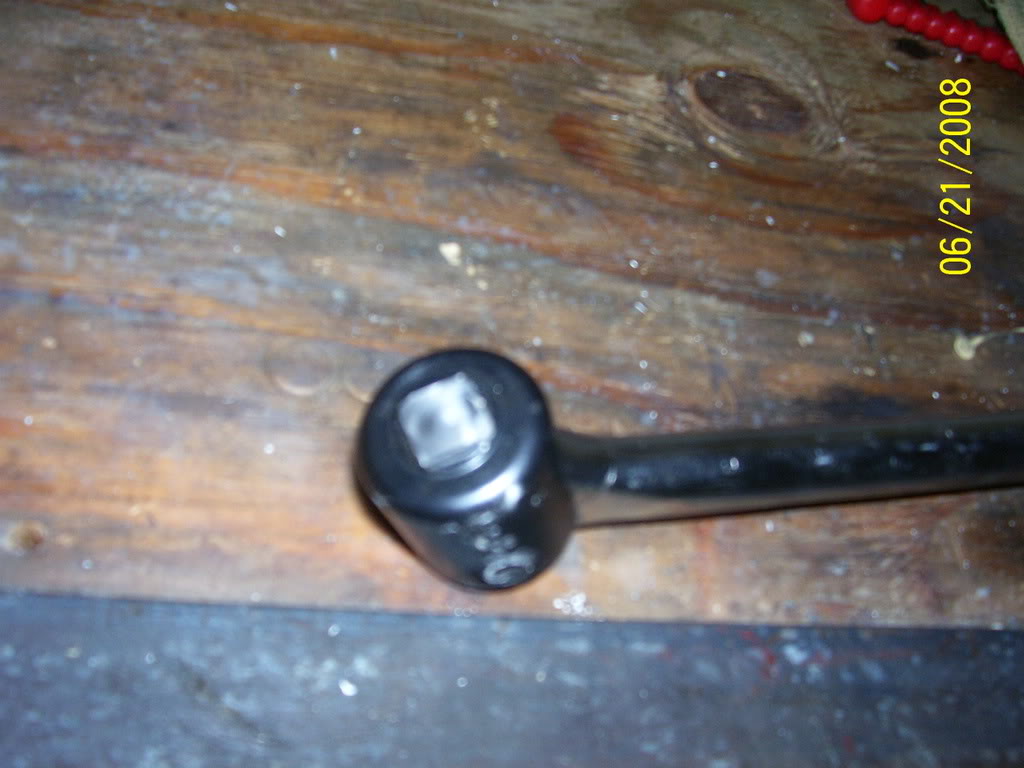
- OK no i hope you ate a big breakfast cause this bolt is tight, i was told its locktighted and torqued down to about 500 ftlbs, but i hope you ate the whole box of wheates for this bolt. Use the 3/4 breaker about 60 inches of cheater bar and pull down on it to try a break the bolt loose an easy way to fit such a big cheater is to unbolt the hood with a 13mm and lift it up higher and rebolt it in the other slots for bolts in the hood. this make it to where u can make the hood stand straight up, Dont use a half inch you will break it. see look what happened to me
- once you got bolt off the balencer slides right off, its a heavy one so dont drop it.
- Now to the pump one thing i did was remove the fan clutch pulley too from the block, it has about 3 14mm bolts and 2 14mm nuts on it, i used a 14mm wrench and stepped on it to break the nuts and bolts free and slide that out.
- loosen the coolant hose on the bottom of the water pump and watch out for the coolant. undo the two bolts on the black pipe comming from the thermostat housing to the top of the pump and wactch out for the coolant spill and the o-ring if there is one keep a pan underneath so you can catch it. and there is two nuts on the oil cooler tube that are on the on the back side of the pump on the lower driver side of the engine theyre kinds hard to get to, but you can reach from below with a 12mm wrench or from the driver side fenderwell.
- There will be 3 bolts left on the pump housing tha hold it to the block
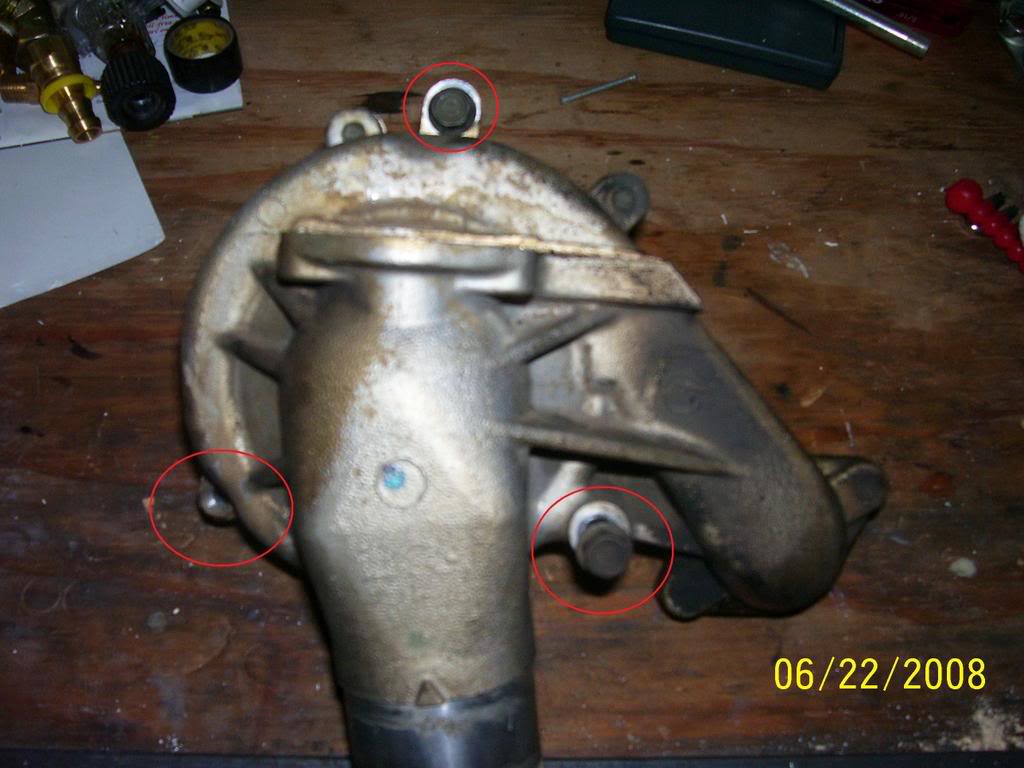 to get the top one kinda move the black pipe out of the way and try to get the bolt from the side with a wrench, its a little hard and a pain in the but but itl come out, this is the short bolt, the long bolt is on the bottom right of the pump and the nut is on the left side. with them out you can wiggle out the pump, and get it onto the table.
 - Theres 3 bolts that hold the pump housing together, use a 12mm wrench and someone to hold it to take it apart to replace the pump. heres a video http://s219.photobucket.com/albums/cc9/2500heavyduty/DIY/water%20pump/?action=view¤t=100_2106.flv
- There should be o-rings supplied and a gasket too for the oil cooler tube, lube it up with oil or dielectric grease and slide it on the "pump" side of the pump and tighten the bolts down to 14-20 ftlbs, nvm what i said in the video i had a brain fart. http://s219.photobucket.com/albums/cc9/2500heavyduty/DIY/water%20pump/?action=view¤t=100_2109.flv
- Install the pump and torque down the 3 bolts that hold it to the bock to 15ftlbs. the coolant tube nuts are torqued down to 18ftlbs and thermostat bolts are 15 ftlbs.
- put back on the hose, and the fan pully mount bracket, torque them bolts to 45 ftlbs.
- Torque down the harmonic balencer bolt to 260ftlbs and coat the threads on the bolt with red locktite, u dont want that comming off.
- drank a beer
- pull the 1/2 extension out the flywheel and torque down the starter bolts to 58ftlbs.
- and put everything back together, they dont really need trq specs.
- fill the coolant up with dexcool or something that is dexcool compatible, or u will mess up ur colling system, i bought about 5 gallons of 50/50 dexcool and poured it in and oppened up the middle bleeder bolt on top of the thermostat and tighten that back down to 20 ftlbs. and fill over flow tank to the cold level line.
- and change your oil too your pump may have leaked coolant to the oil contaminating the oil.

Thread
Thread Starter
Forum
Replies
Last Post
Gm3500
Chevy/GMC 6.2L and 6.5L
9
05-07-2015 11:01 AM
Lawrence D. Sanders Sr
5.9 Liter CR Dodge Cummins 03-07
3
12-16-2014 11:52 PM


